Workflow
The Workflow feature provides a visual interface for managing your AI assistant's conversation flow and tool configuration. Use the interactive flowchart to understand how your assistant routes calls, transfers to specialists, and executes actions throughout a conversation.
Overview
Workflow helps you:
- Visualize conversation flow - See how your assistant connects tools and actions.
- Manage assistant tools - Add, edit, and configure tools like Transfer and Hang Up.
- Understand call routing - Track how calls move through your system.
- Optimize assistant behavior - Identify and improve conversation paths.
Accessing Workflow
You can access the Workflow feature in two ways:
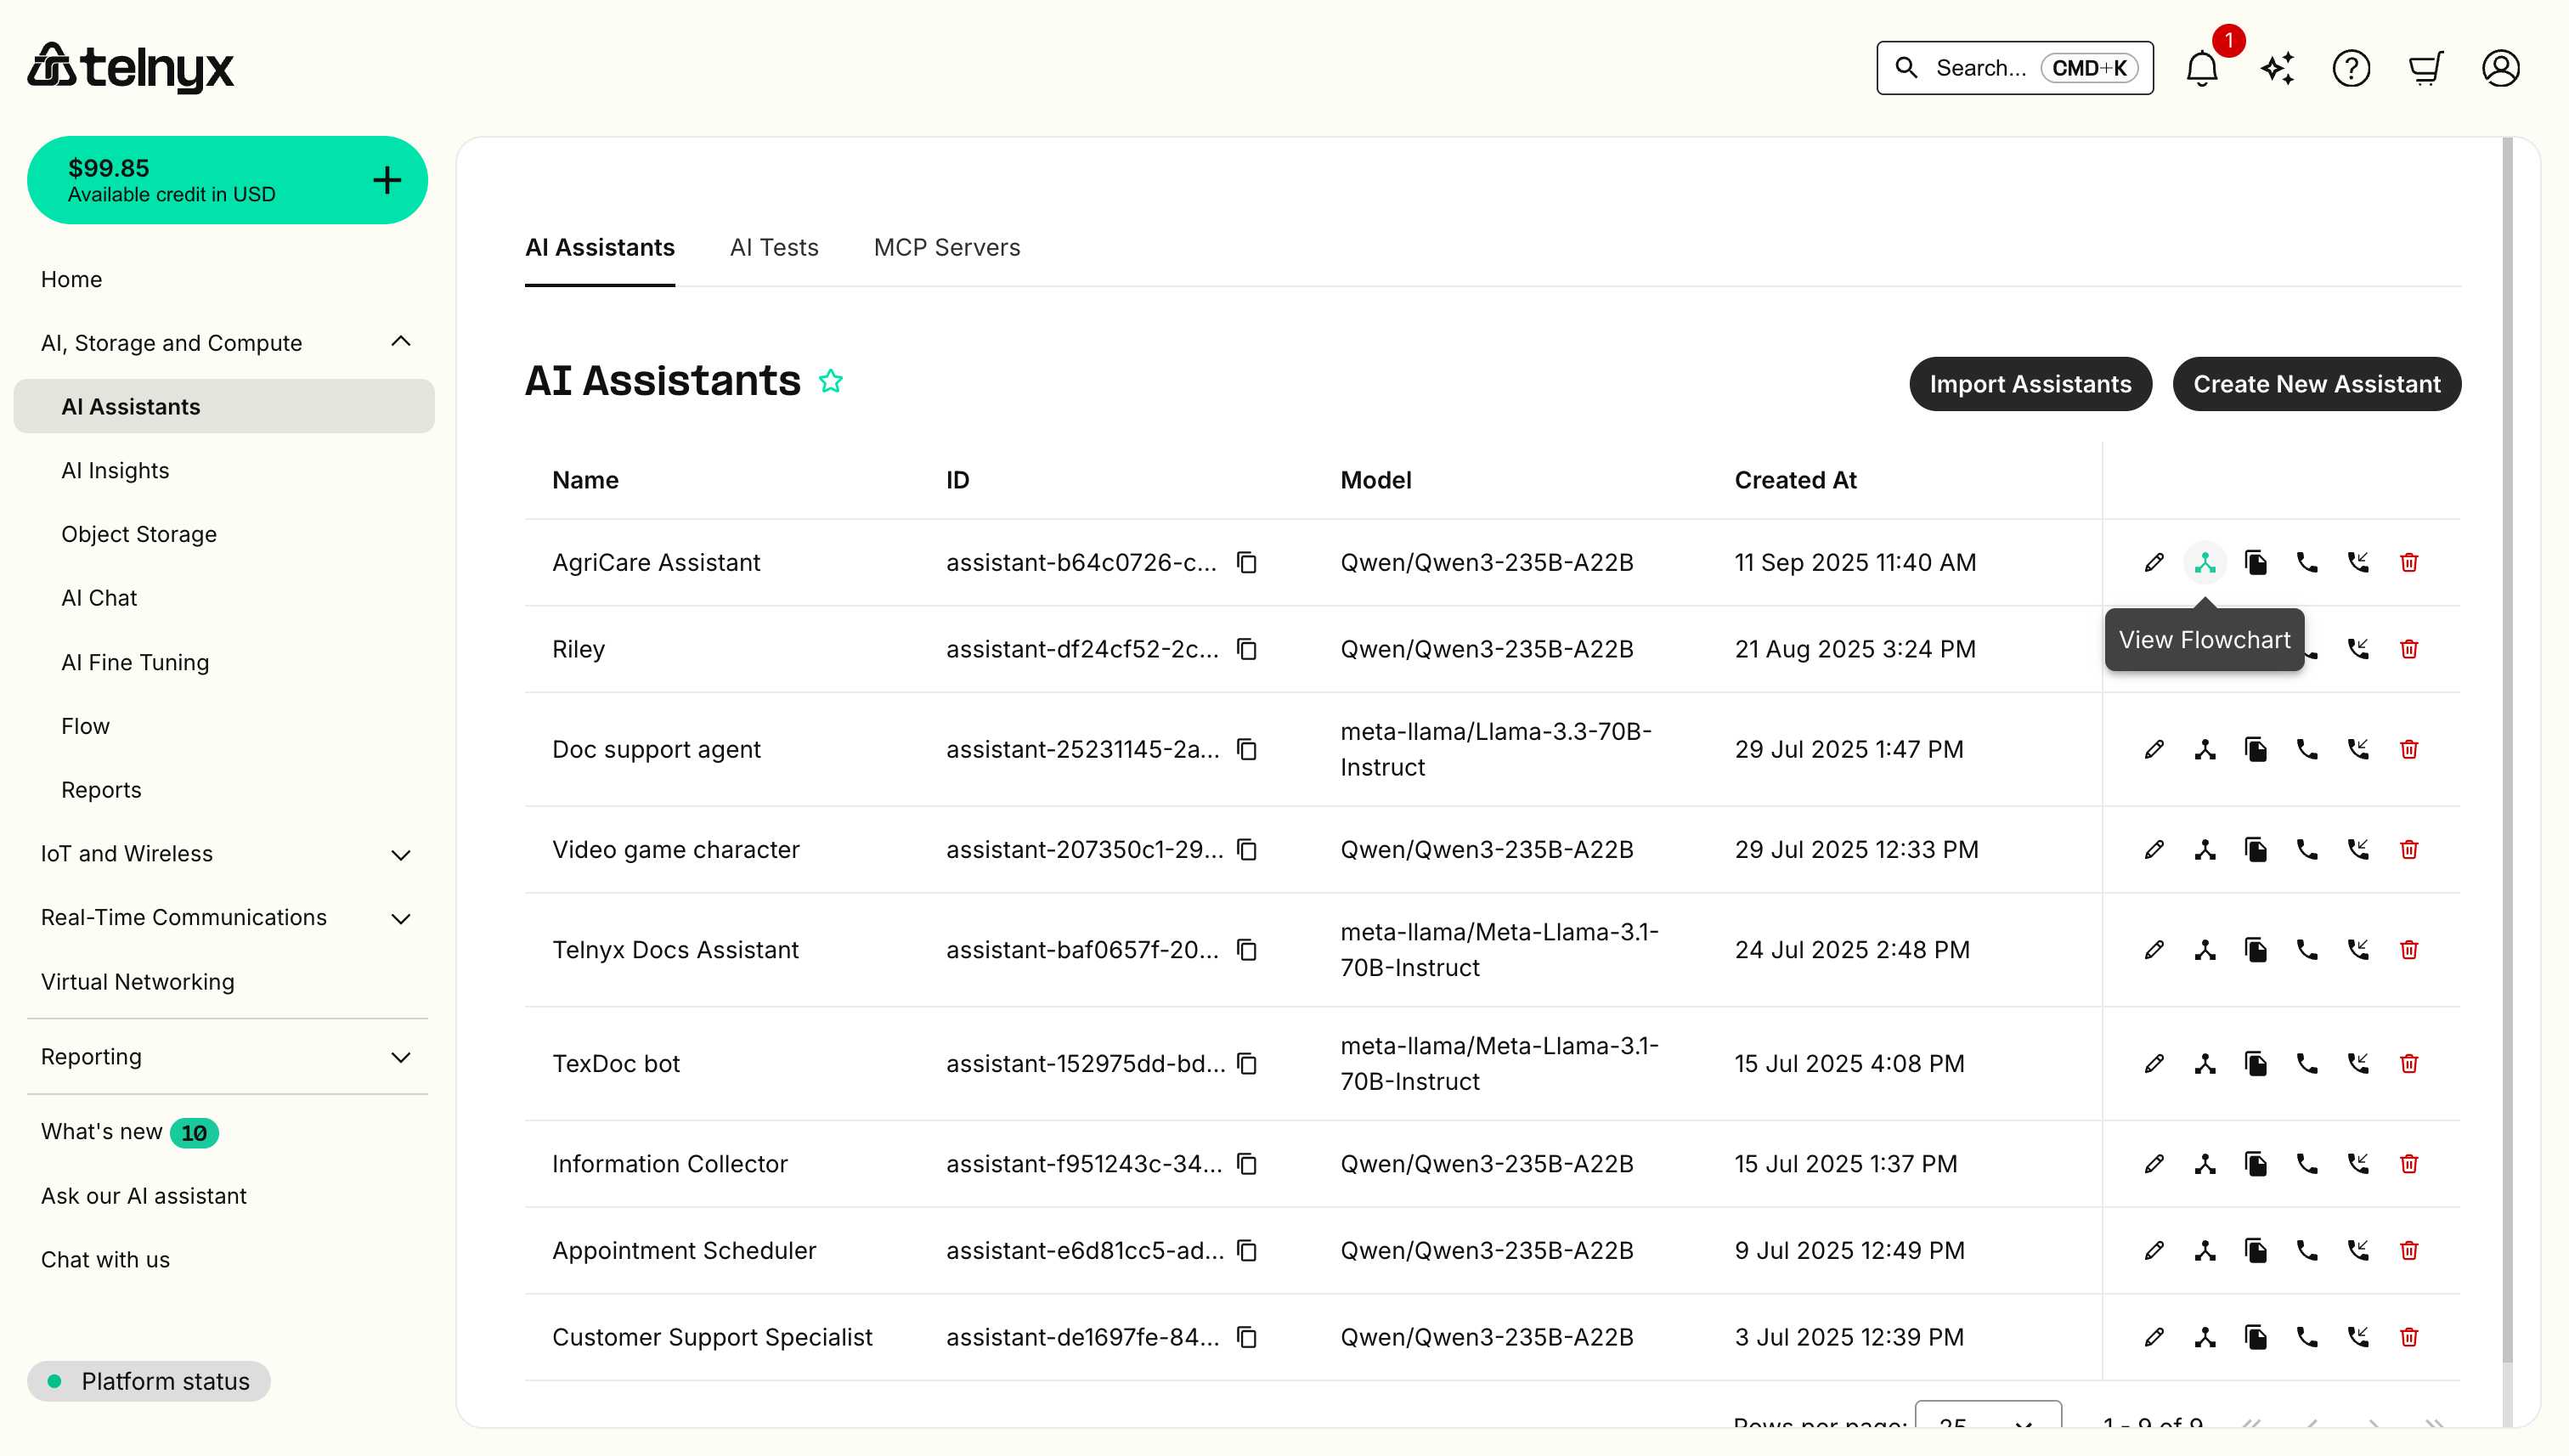
Quick access to Flowchart
From the AI Assistants dashboard, click the View Flowchart icon next to any assistant to directly view its conversation flow.
Full Workflow editor
To access the complete Workflow interface with tool management:
- Navigate to AI Assistants in the portal.
- Select your assistant from the list.
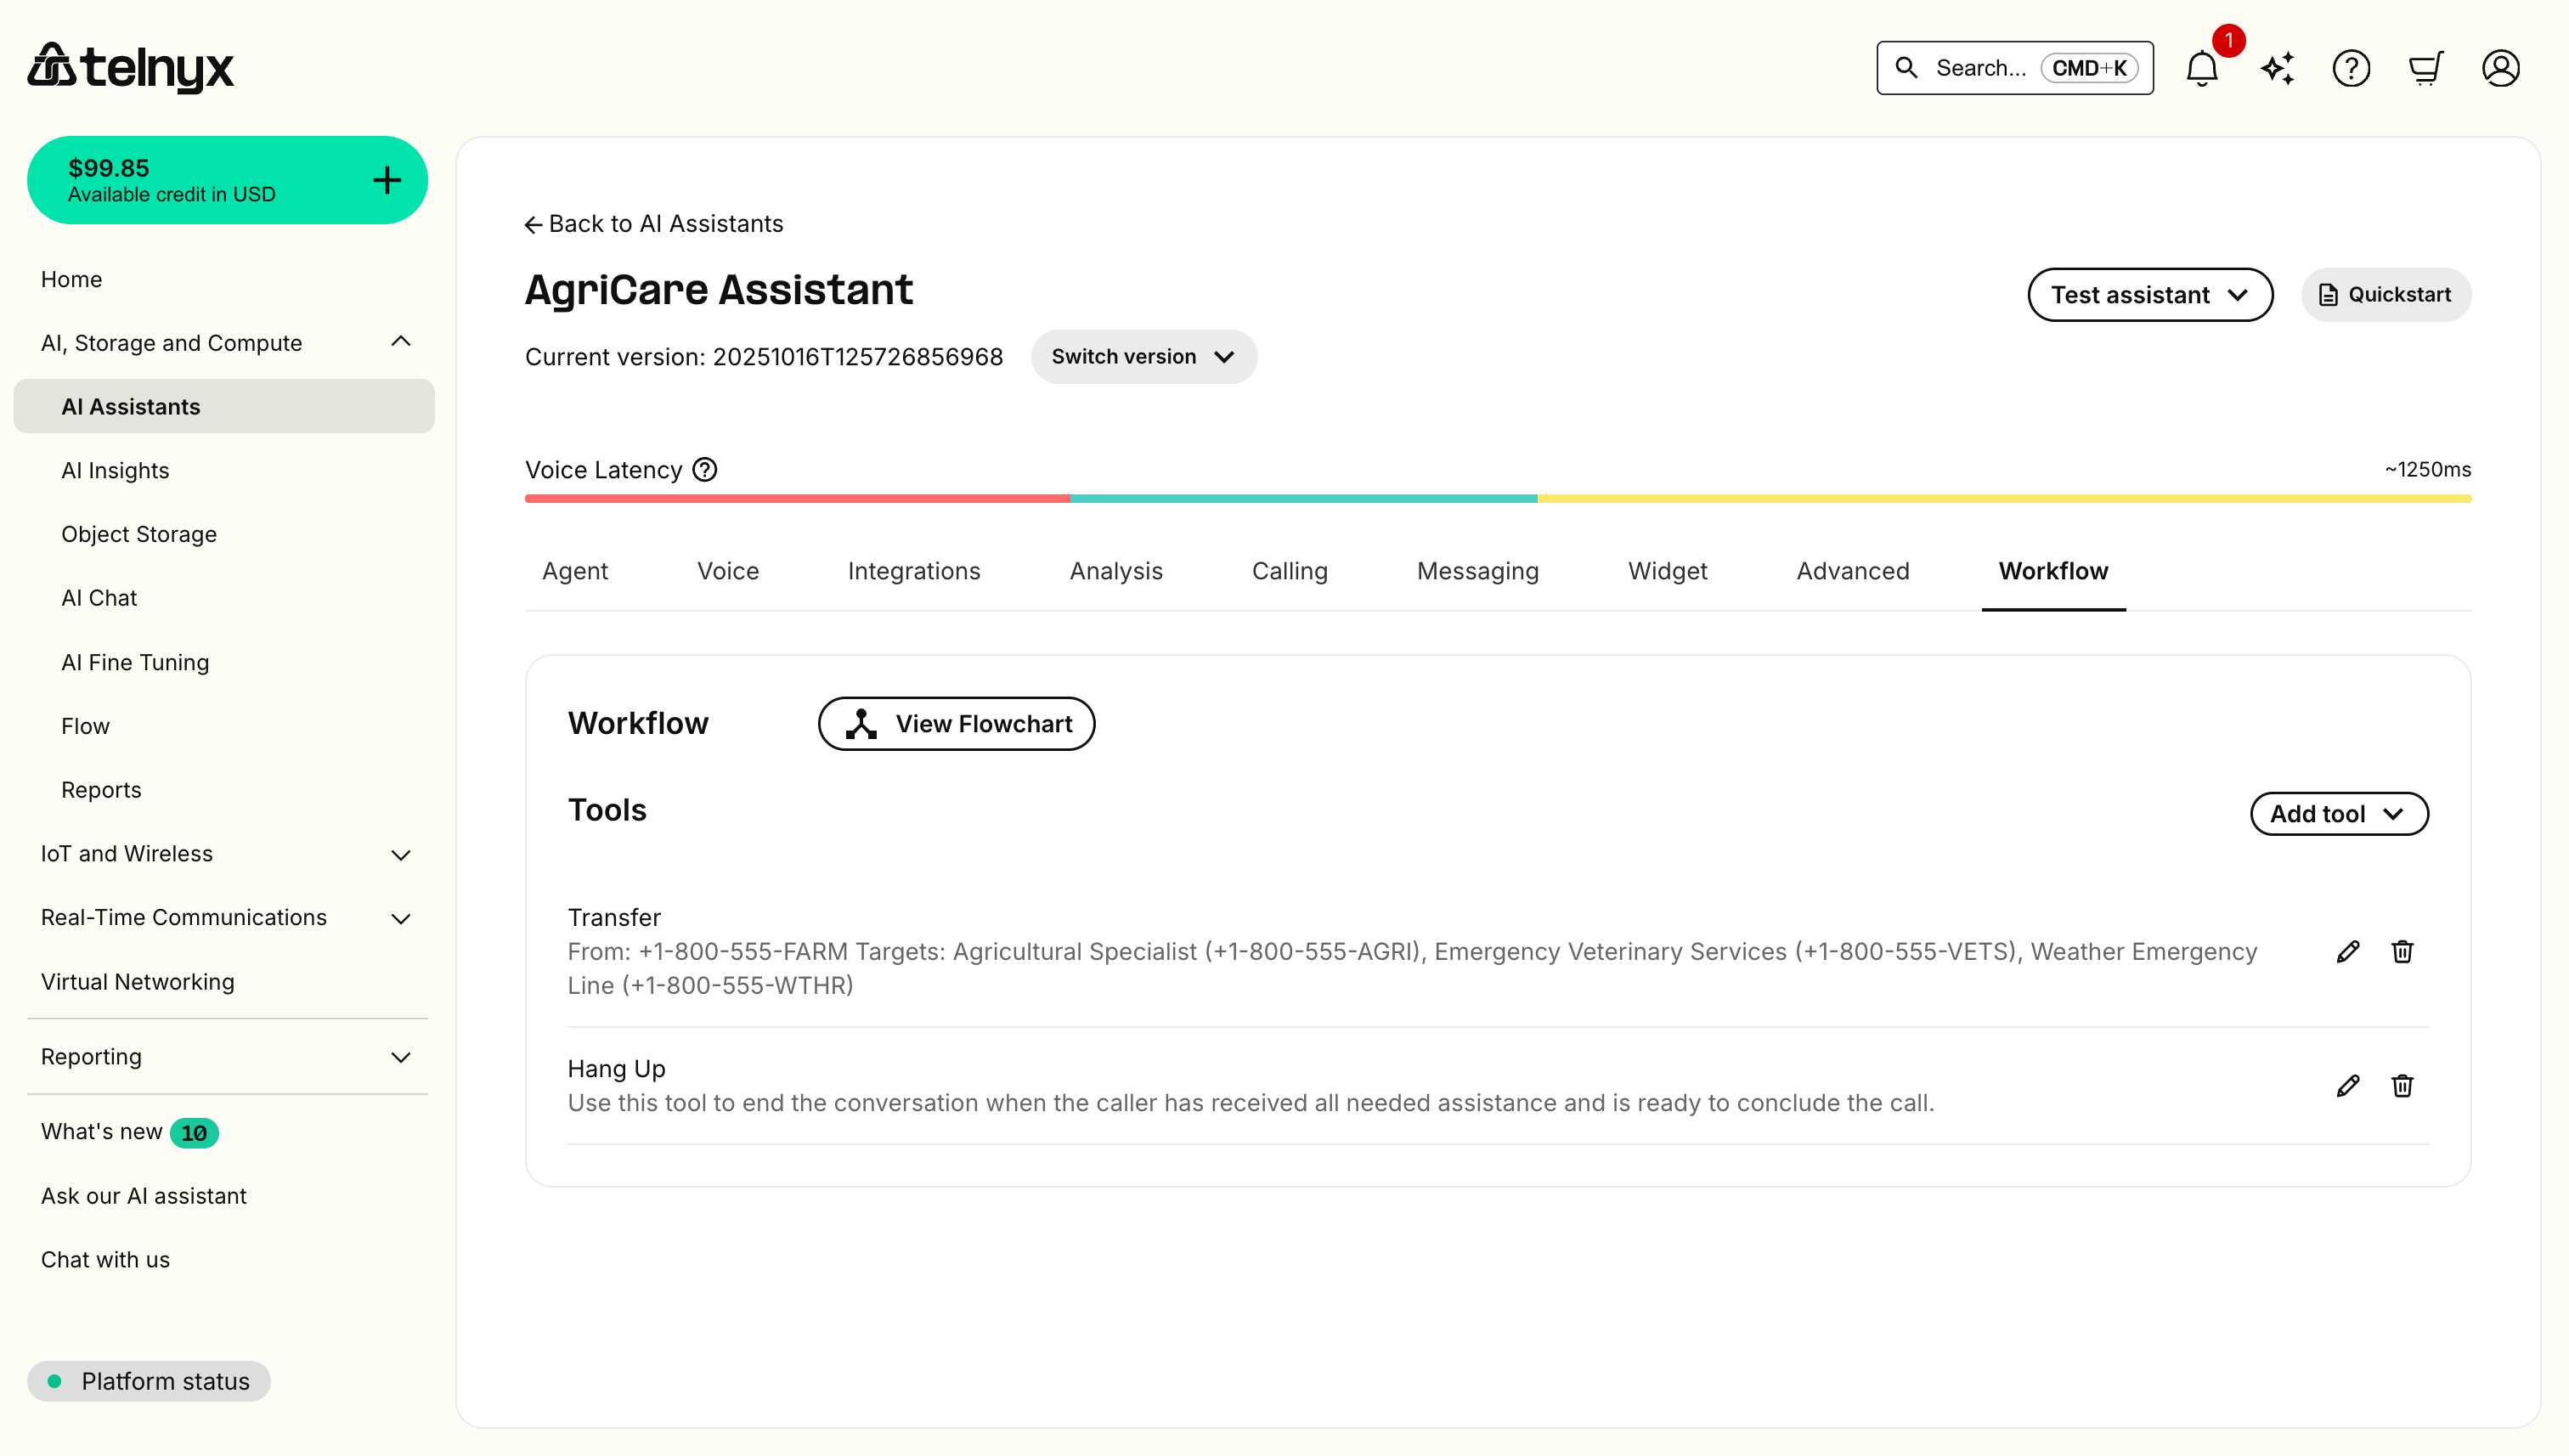
- Click the Workflow tab in the assistant editor.
The Workflow tab displays:
- Tools section - List of configured tools with edit/delete options.
- View Flowchart button - Opens the visual flowchart interface.
Managing tools
The Tools section shows all tools configured for your assistant. Each tool can perform specific actions during conversations.
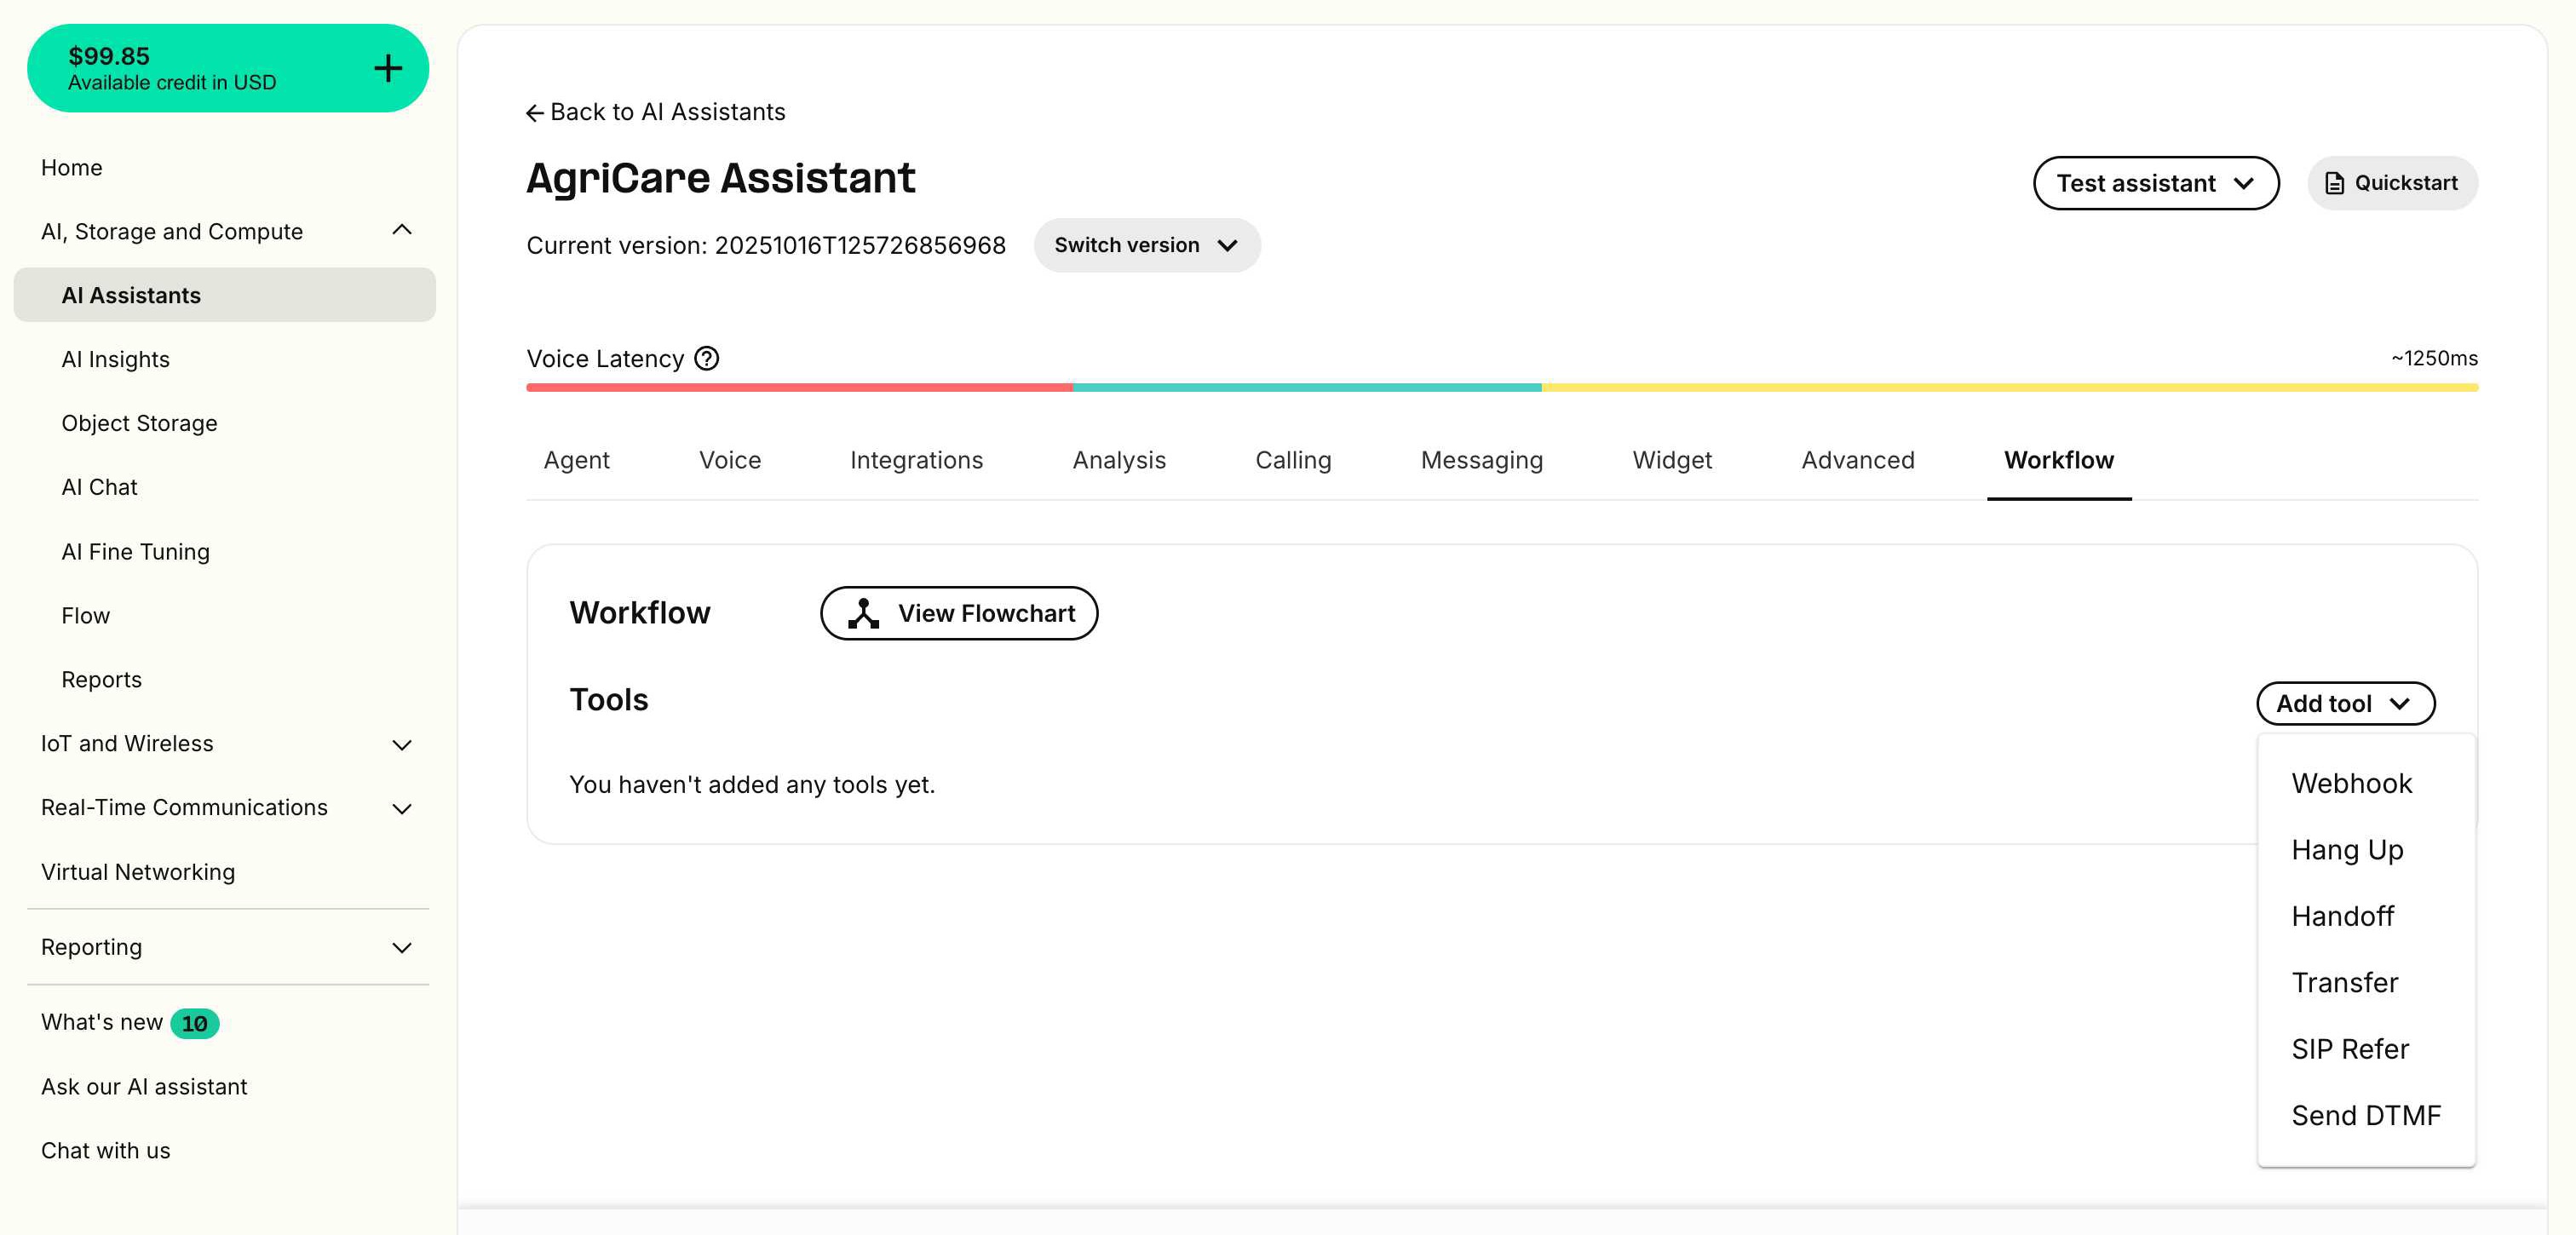
Adding a tool
- Click Add tool in the Workflow tab.
- Select a tool type:
- Webhook - Connect to external services.
- Hang Up - End the call.
- Handoff - Transfer to another AI assistant.
- Transfer - Transfer call to a phone number.
- SIP Refer - Transfer using SIP protocol.
- Send DTMF - Send touch-tone signals.
- Configure the tool's settings.
- Save your changes.
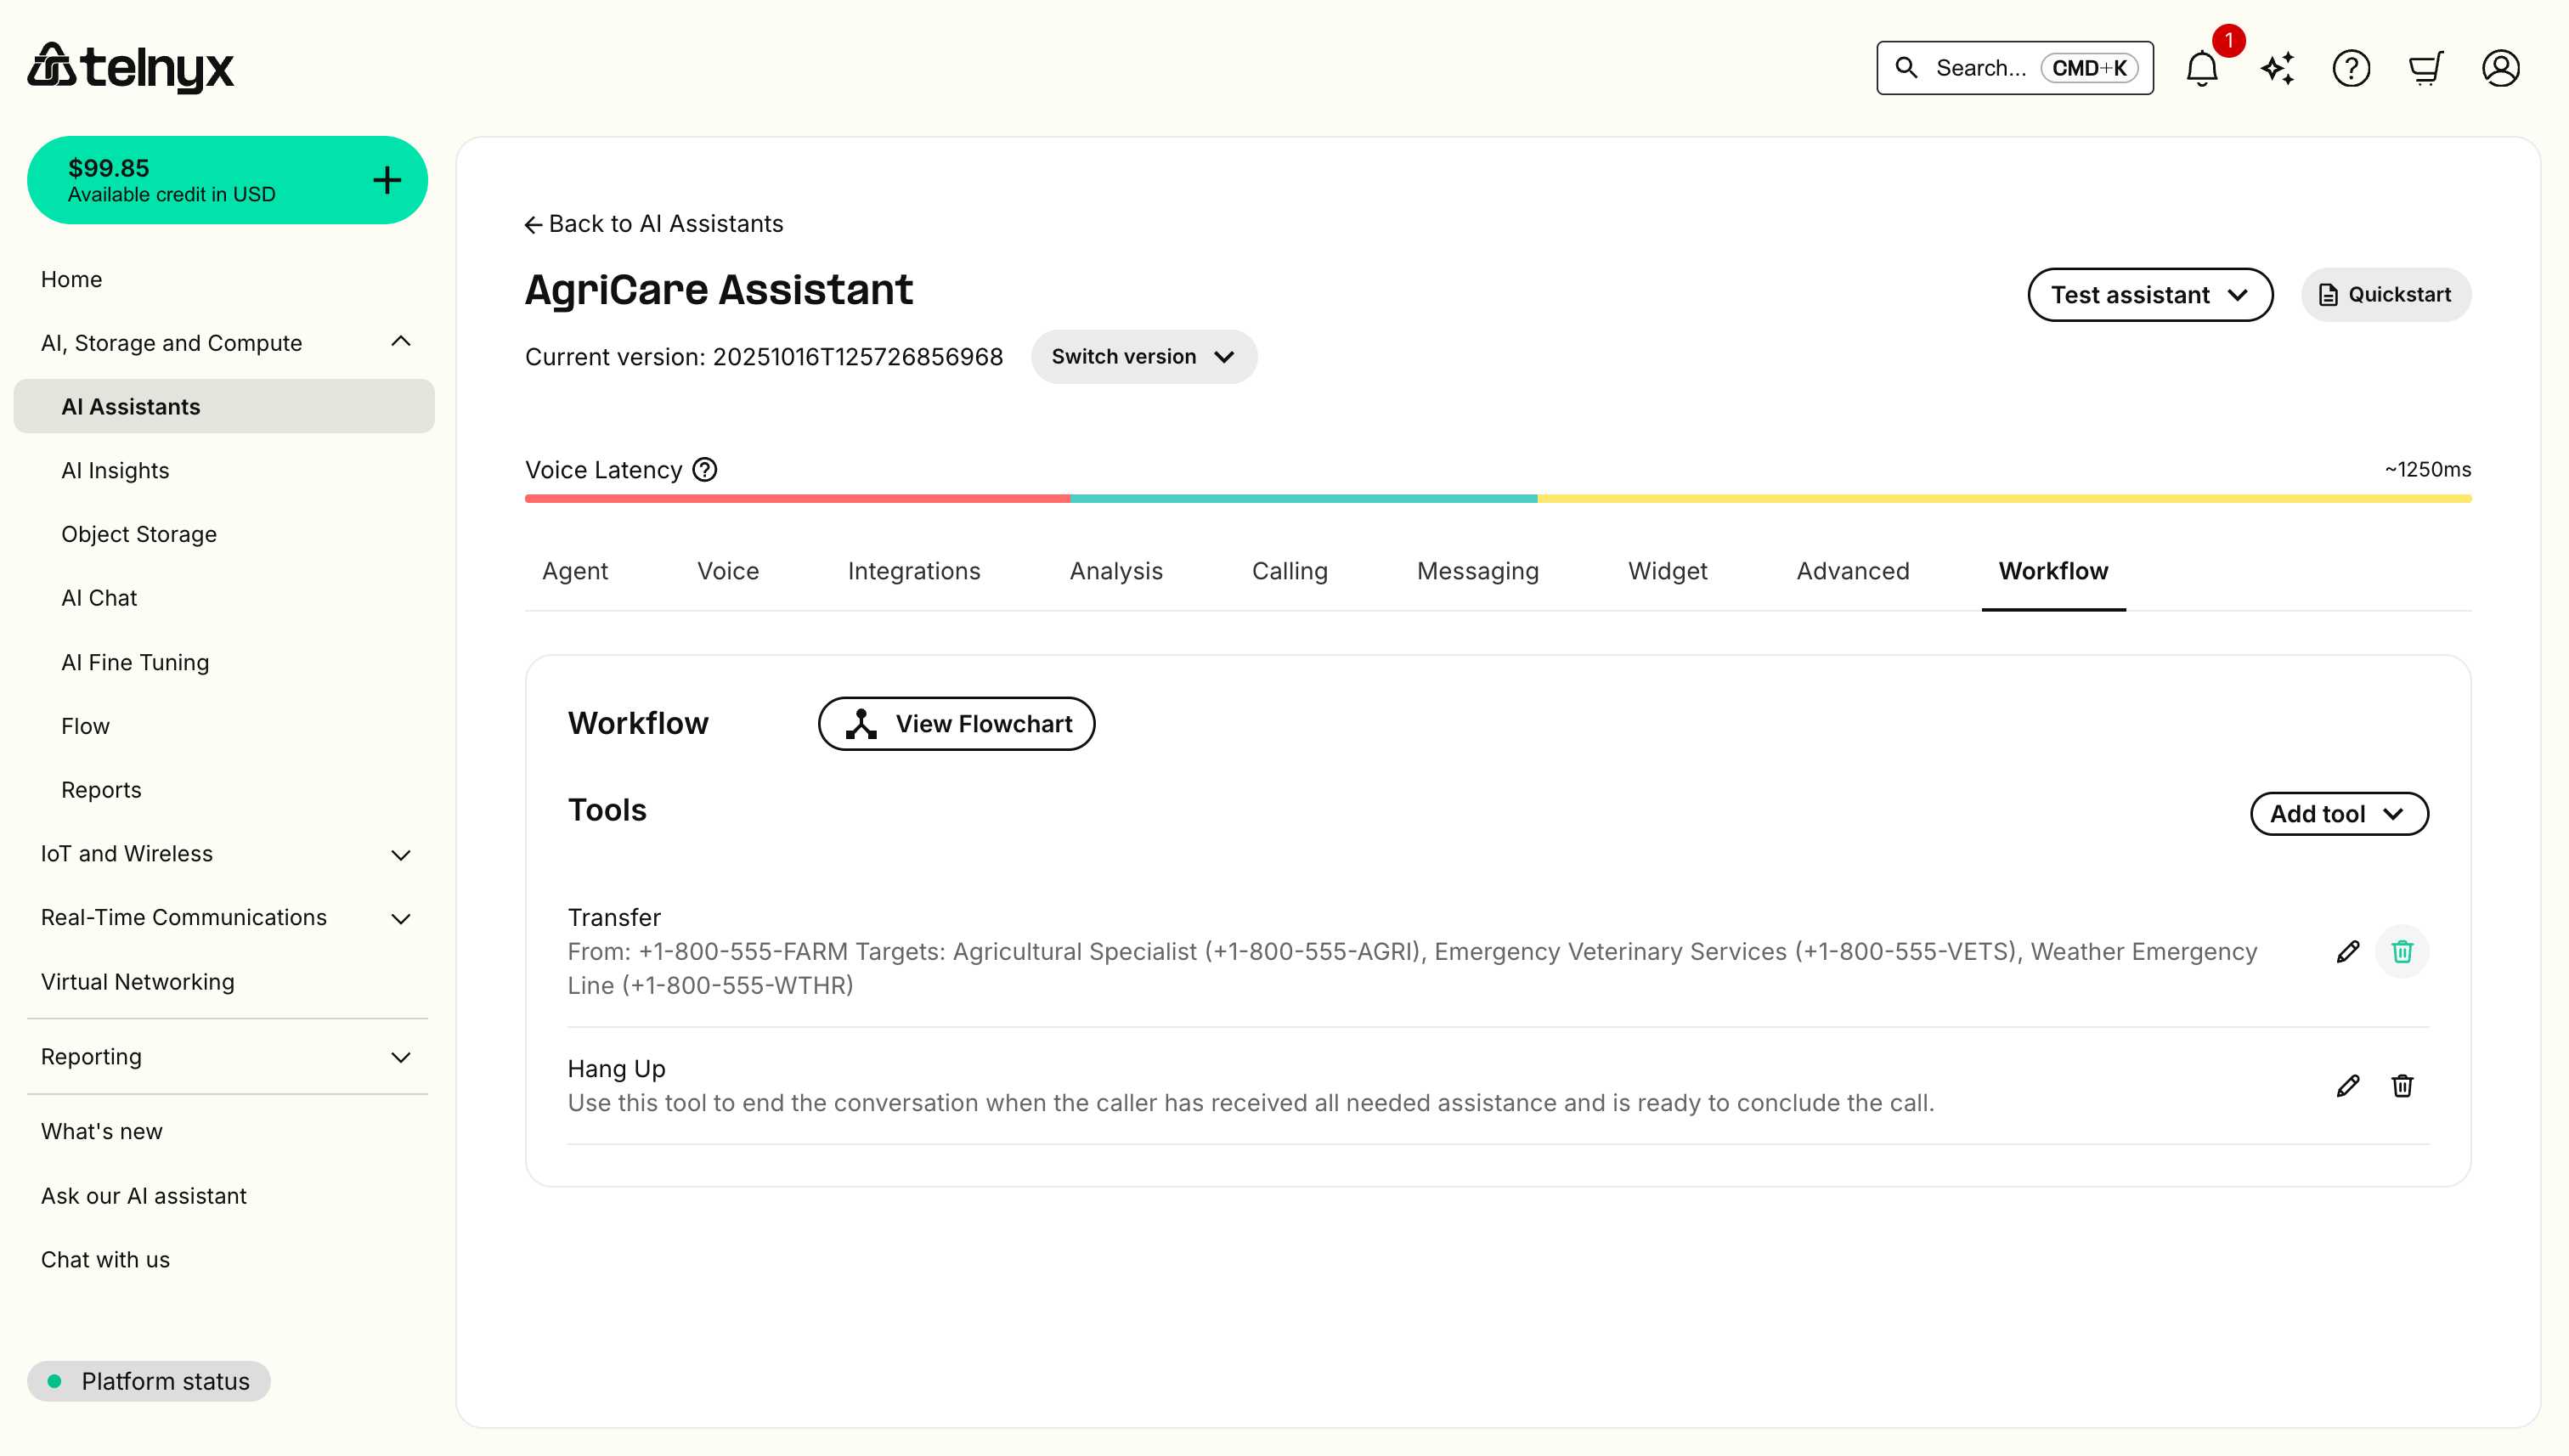
Editing a tool
- Locate the tool in the Tools list.
- Click the edit icon (pencil).
- Update the tool configuration.
- Save your changes.
![]()
Deleting a tool
- Locate the tool in the Tools list.
- Click the delete icon (trash).
- Confirm the deletion.
Deleting a tool removes it from your assistant's capabilities. Ensure the tool is not critical to your conversation flow before removing it.
Understanding the flowchart
The flowchart view provides a visual representation of your assistant's conversation flow.
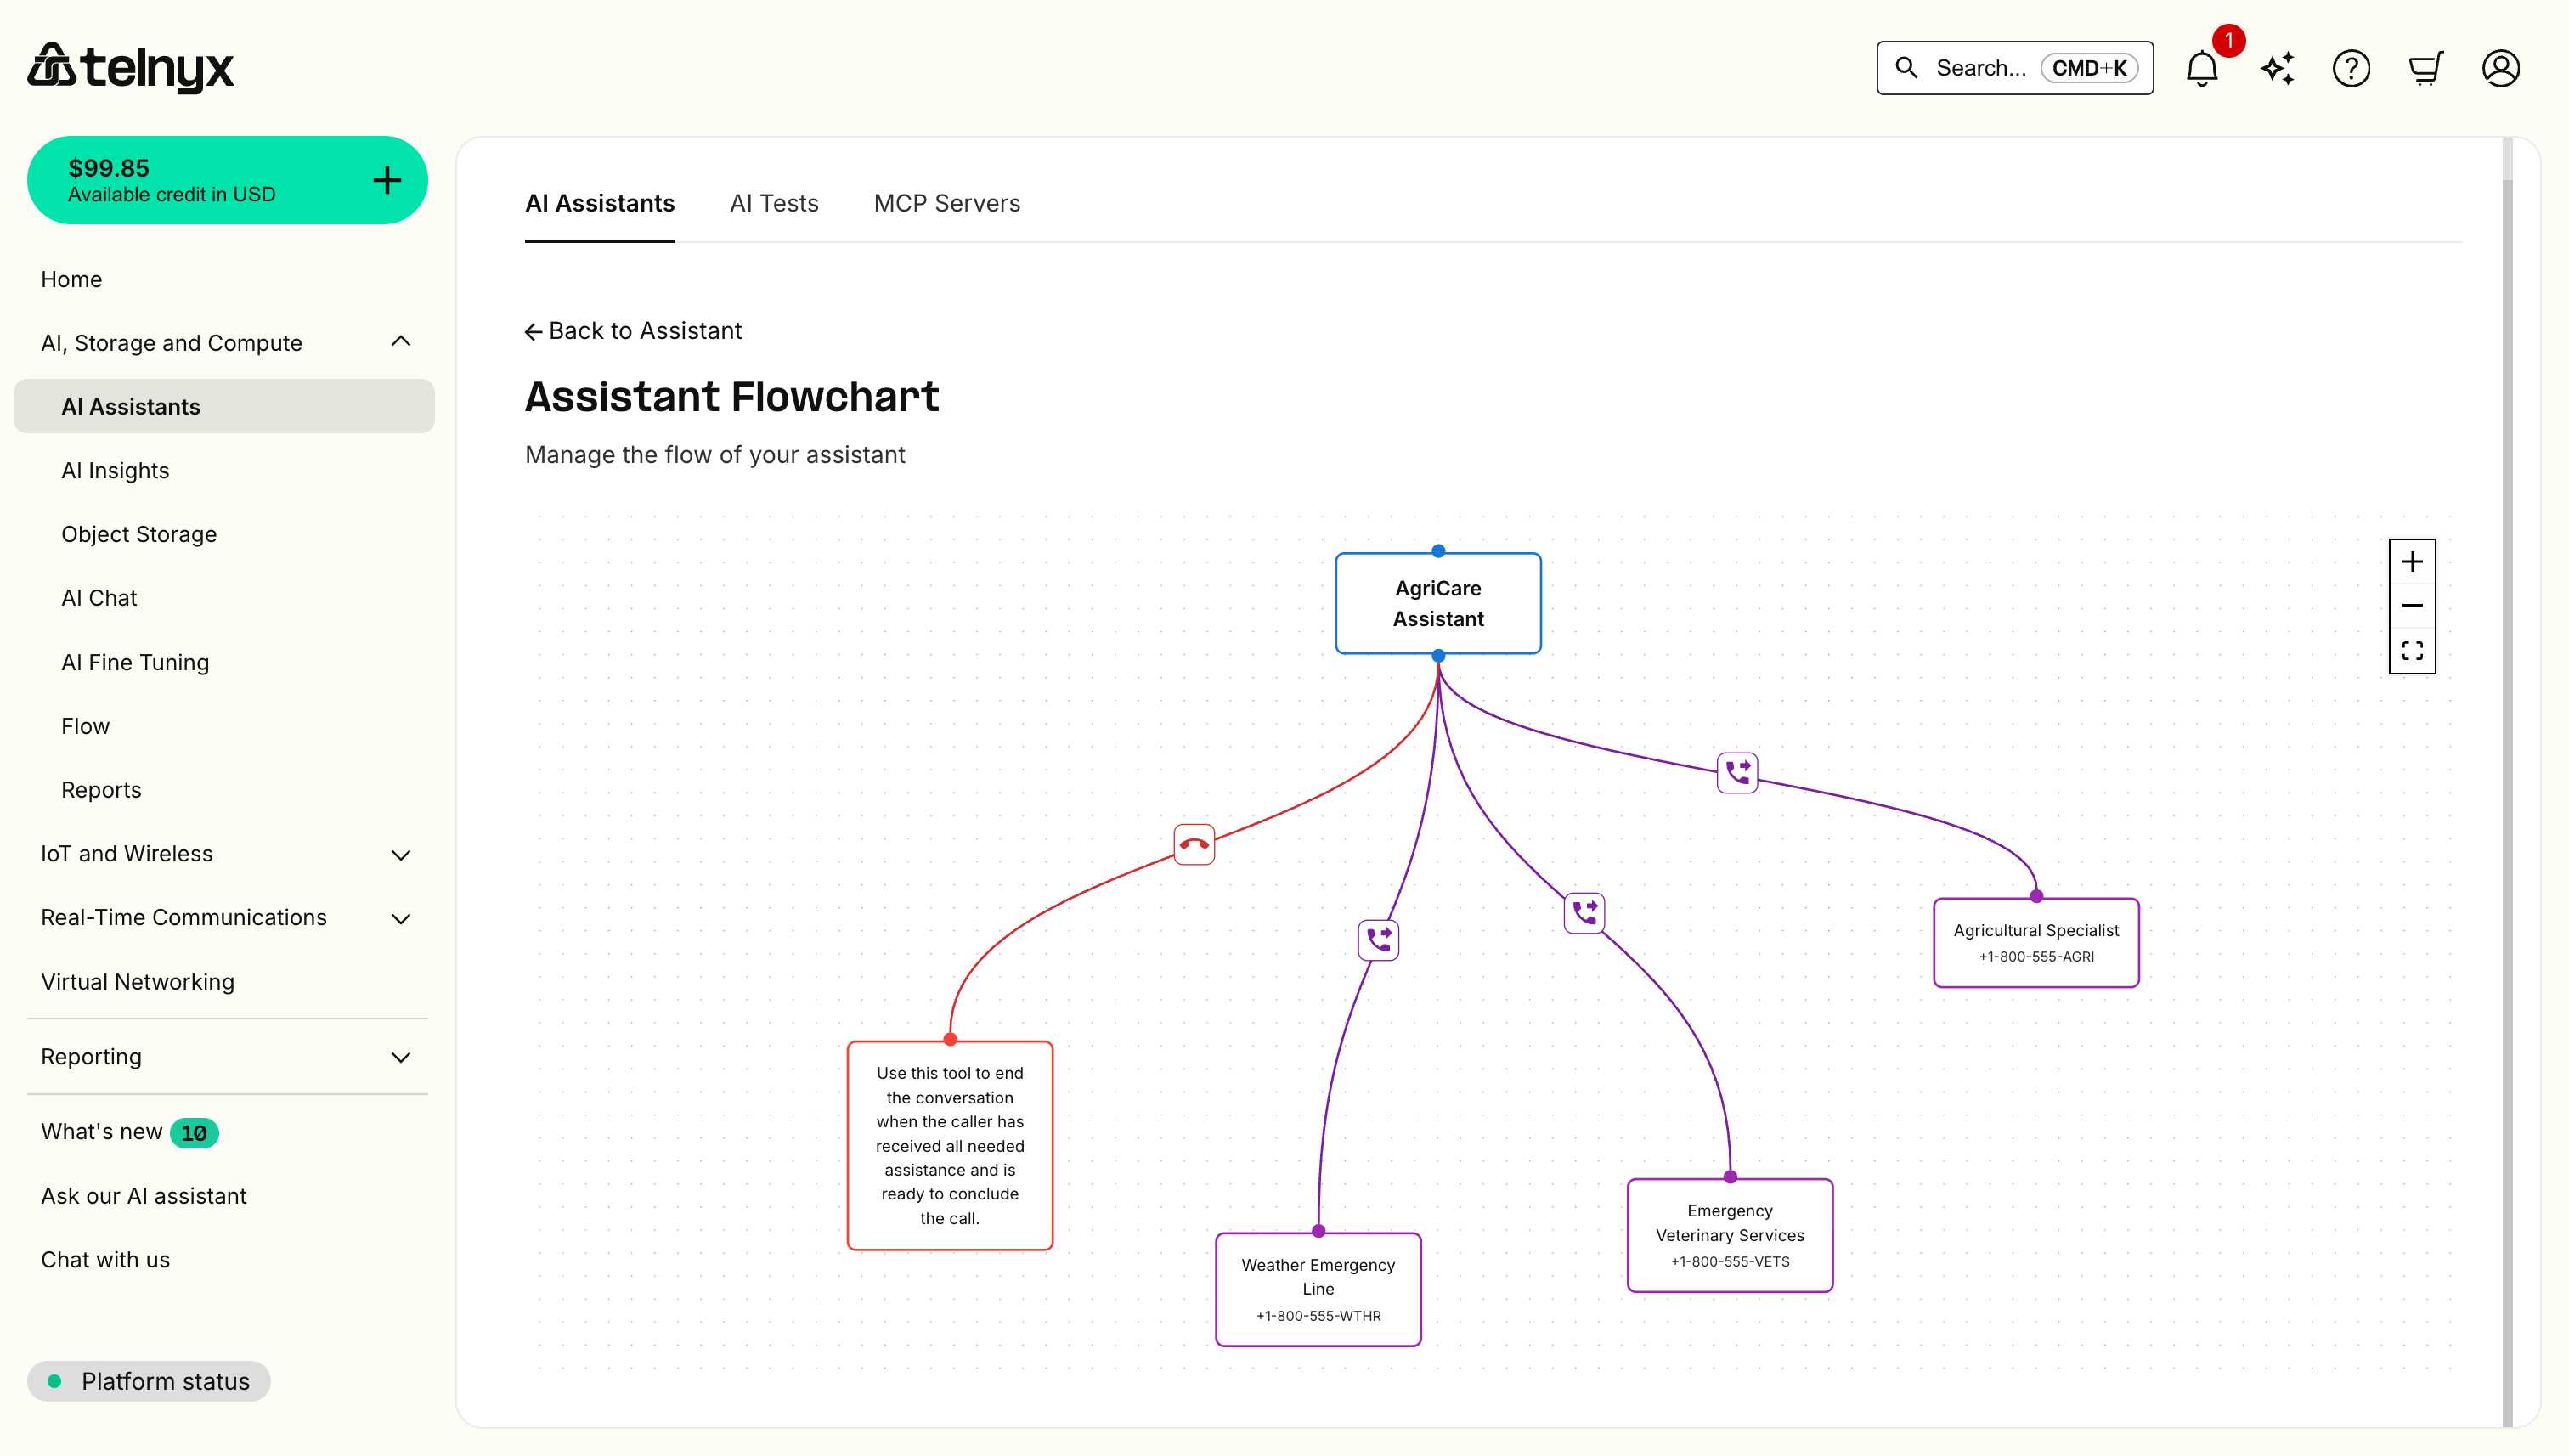
Flowchart components
Assistant node (top of diagram)
- Represents your main AI assistant.
- Shows the assistant name.
- All conversation flows start from this node.
Tool nodes (connected nodes)
- Represent configured tools.
- Color-coded by tool type.
- Display tool name and configuration details.
Connection arrows
- Show how tools connect.
- Color-coded to indicate relationships:
- Purple - Transfer connections.
- Red - Hang Up connections.
- Blue - Other actions.
Control panel (right side)
- Zoom In (+) - Enlarge the flowchart.
- Zoom Out (-) - Shrink the flowchart.
- Fit View - Auto-fit the entire flowchart to your screen.

Interacting with the flowchart
- Zoom - Use the control panel or mouse wheel.
- Pan - Click and drag the canvas.
- Inspect nodes - Hover over nodes to see details.
- Navigate back - Click "Back to Assistant" to return to the Workflow tab.
Use cases
Multi-department routing
Create workflows that route callers to different departments based on their needs:
Main Assistant
├── Sales Department Transfer
├── Support Department Transfer
├── Billing Department Transfer
└── Hang Up
Emergency handling
Design workflows that prioritize urgent situations:
Emergency Hotline Assistant
├── Critical Emergency Transfer (Immediate)
├── Non-Critical Transfer (Queue)
├── Information Only (Continue conversation)
└── Hang Up
Appointment scheduling
Build workflows for scheduling and confirmation:
Scheduling Assistant
├── Check Availability (Webhook)
├── Book Appointment (Webhook)
├── Send Confirmation (Webhook)
├── Transfer to Human Agent
└── Hang Up
Best practices
Design clear flow paths
- Keep flows simple - Avoid overly complex routing.
- Limit transfer targets - Too many options confuse callers.
- Test thoroughly - Verify all paths work as expected.
Use descriptive names
- Name tools clearly - Use descriptive labels (e.g., "Emergency Veterinary Services" instead of "Transfer 1").
- Add descriptions - Provide context for when each tool should be used.
Monitor and optimize
- Review flowcharts regularly - Ensure flows match business needs.
- Analyze call patterns - Identify frequently used paths.
- Update as needed - Adjust tools based on caller behavior.
Consider caller experience
- Minimize transfers - Reduce how often callers are transferred.
- Provide context - Ensure transferred calls include relevant information.
- Always offer exit - Include Hang Up option when assistance is complete.
Common workflow patterns
Simple routing workflow
Basic pattern for routing to departments:
- Assistant greets caller.
- Assistant determines caller's need.
- Assistant transfers to appropriate department or continues conversation.
- Caller receives assistance or hangs up.
Multi-tier support workflow
Escalation pattern for complex issues:
- Assistant attempts to resolve issue.
- If unresolved, transfer to Level 1 support.
- If still unresolved, transfer to Level 2 specialist.
- Issue resolved or callback scheduled.
Information gathering workflow
Pattern for collecting data before routing:
- Assistant greets and identifies purpose.
- Assistant gathers required information.
- Assistant uses webhook to validate/process data.
- Assistant routes to appropriate destination or confirms completion.
Related resources
- Integrations - Learn how to connect external services that appear in your workflow.
- Agent Handoff - Understand how to transfer between multiple AI assistants.
- Dynamic Variables - Pass data between workflow steps.
- Testing Assistants - Test your workflows before deploying to production.