Testing and Traffic Distribution for AI Assistants
This guide walks you through testing your AI assistant before production deployment and managing live traffic distribution between different versions. You'll learn how to create tests, iterate on your assistant, and safely roll out changes using A/B testing.
Creating Your First Assistant
Start by creating a new assistant using a template to establish a baseline for testing.
- Navigate to the AI Assistants page
- Click "Create Assistant" and select the "Weather Assistant" template
- This template provides a good foundation with a standard greeting and weather functionality
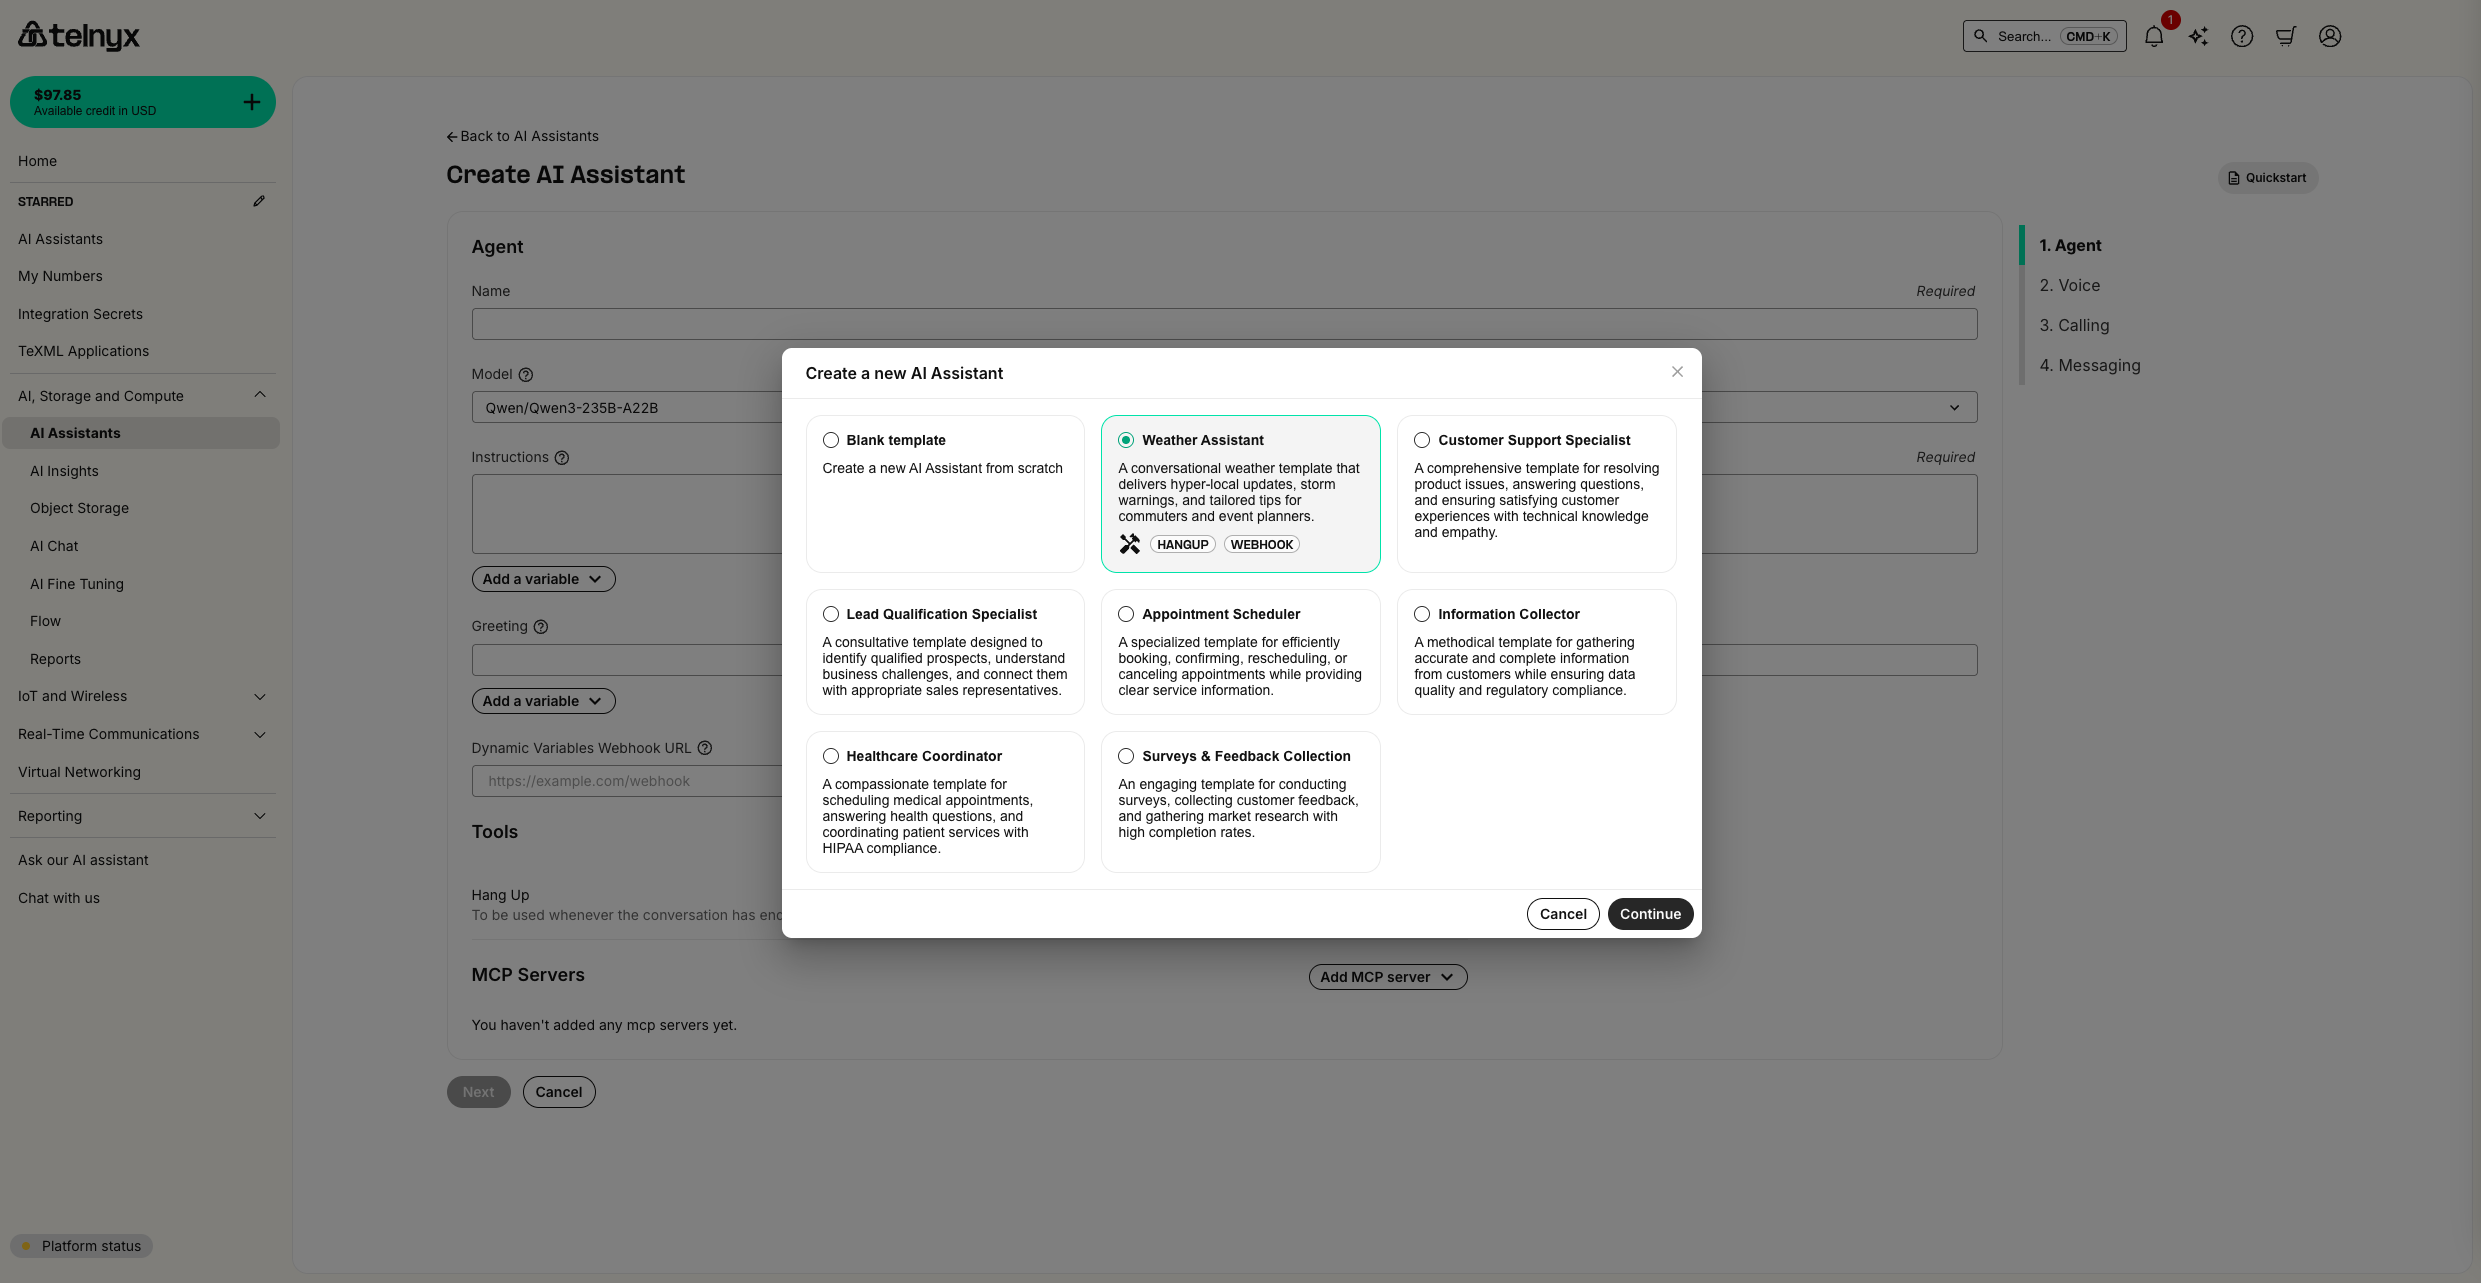
Take note of the default greeting message - we'll be testing and modifying this later.
Setting Up Your First Test
Testing your assistant ensures it behaves correctly before going live with users.
Creating a Test
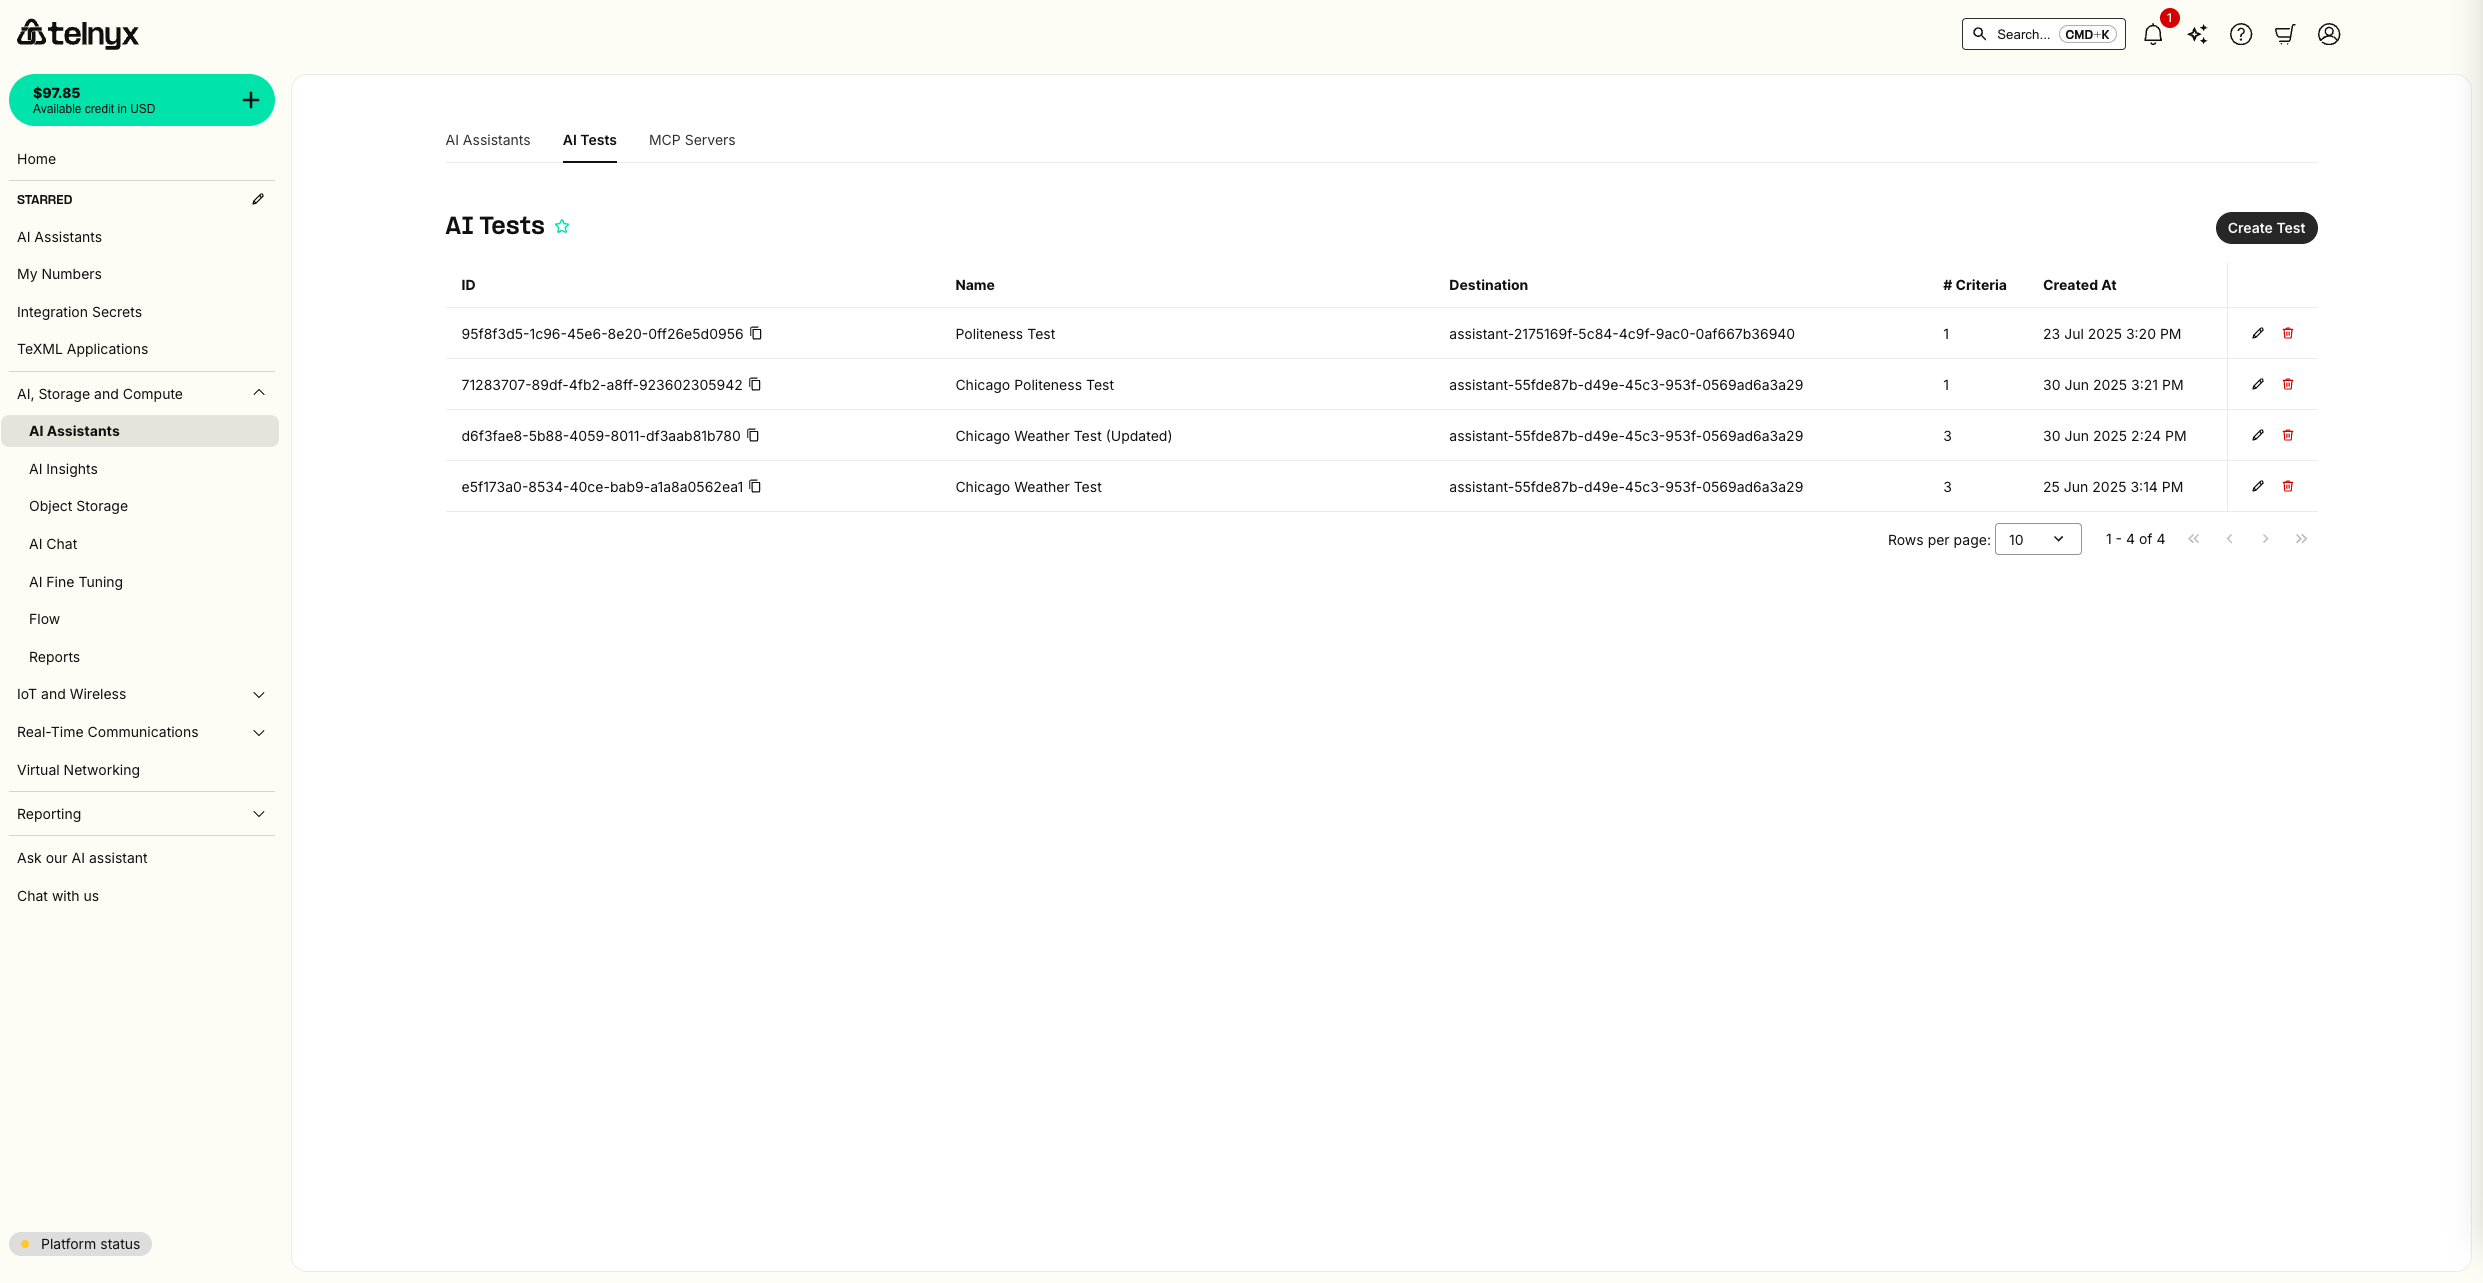
- Navigate to the AI Tests page
- Click "Create Test" to set up your first test scenario
Configuring Test Criteria
- Configure your test with the following:
- Test Name: "Weather Assistant Greeting Test"
- Assistant: Select your weather assistant
- Success Criteria: Add criteria to validate the greeting message content and that temperature is described by the assistant.

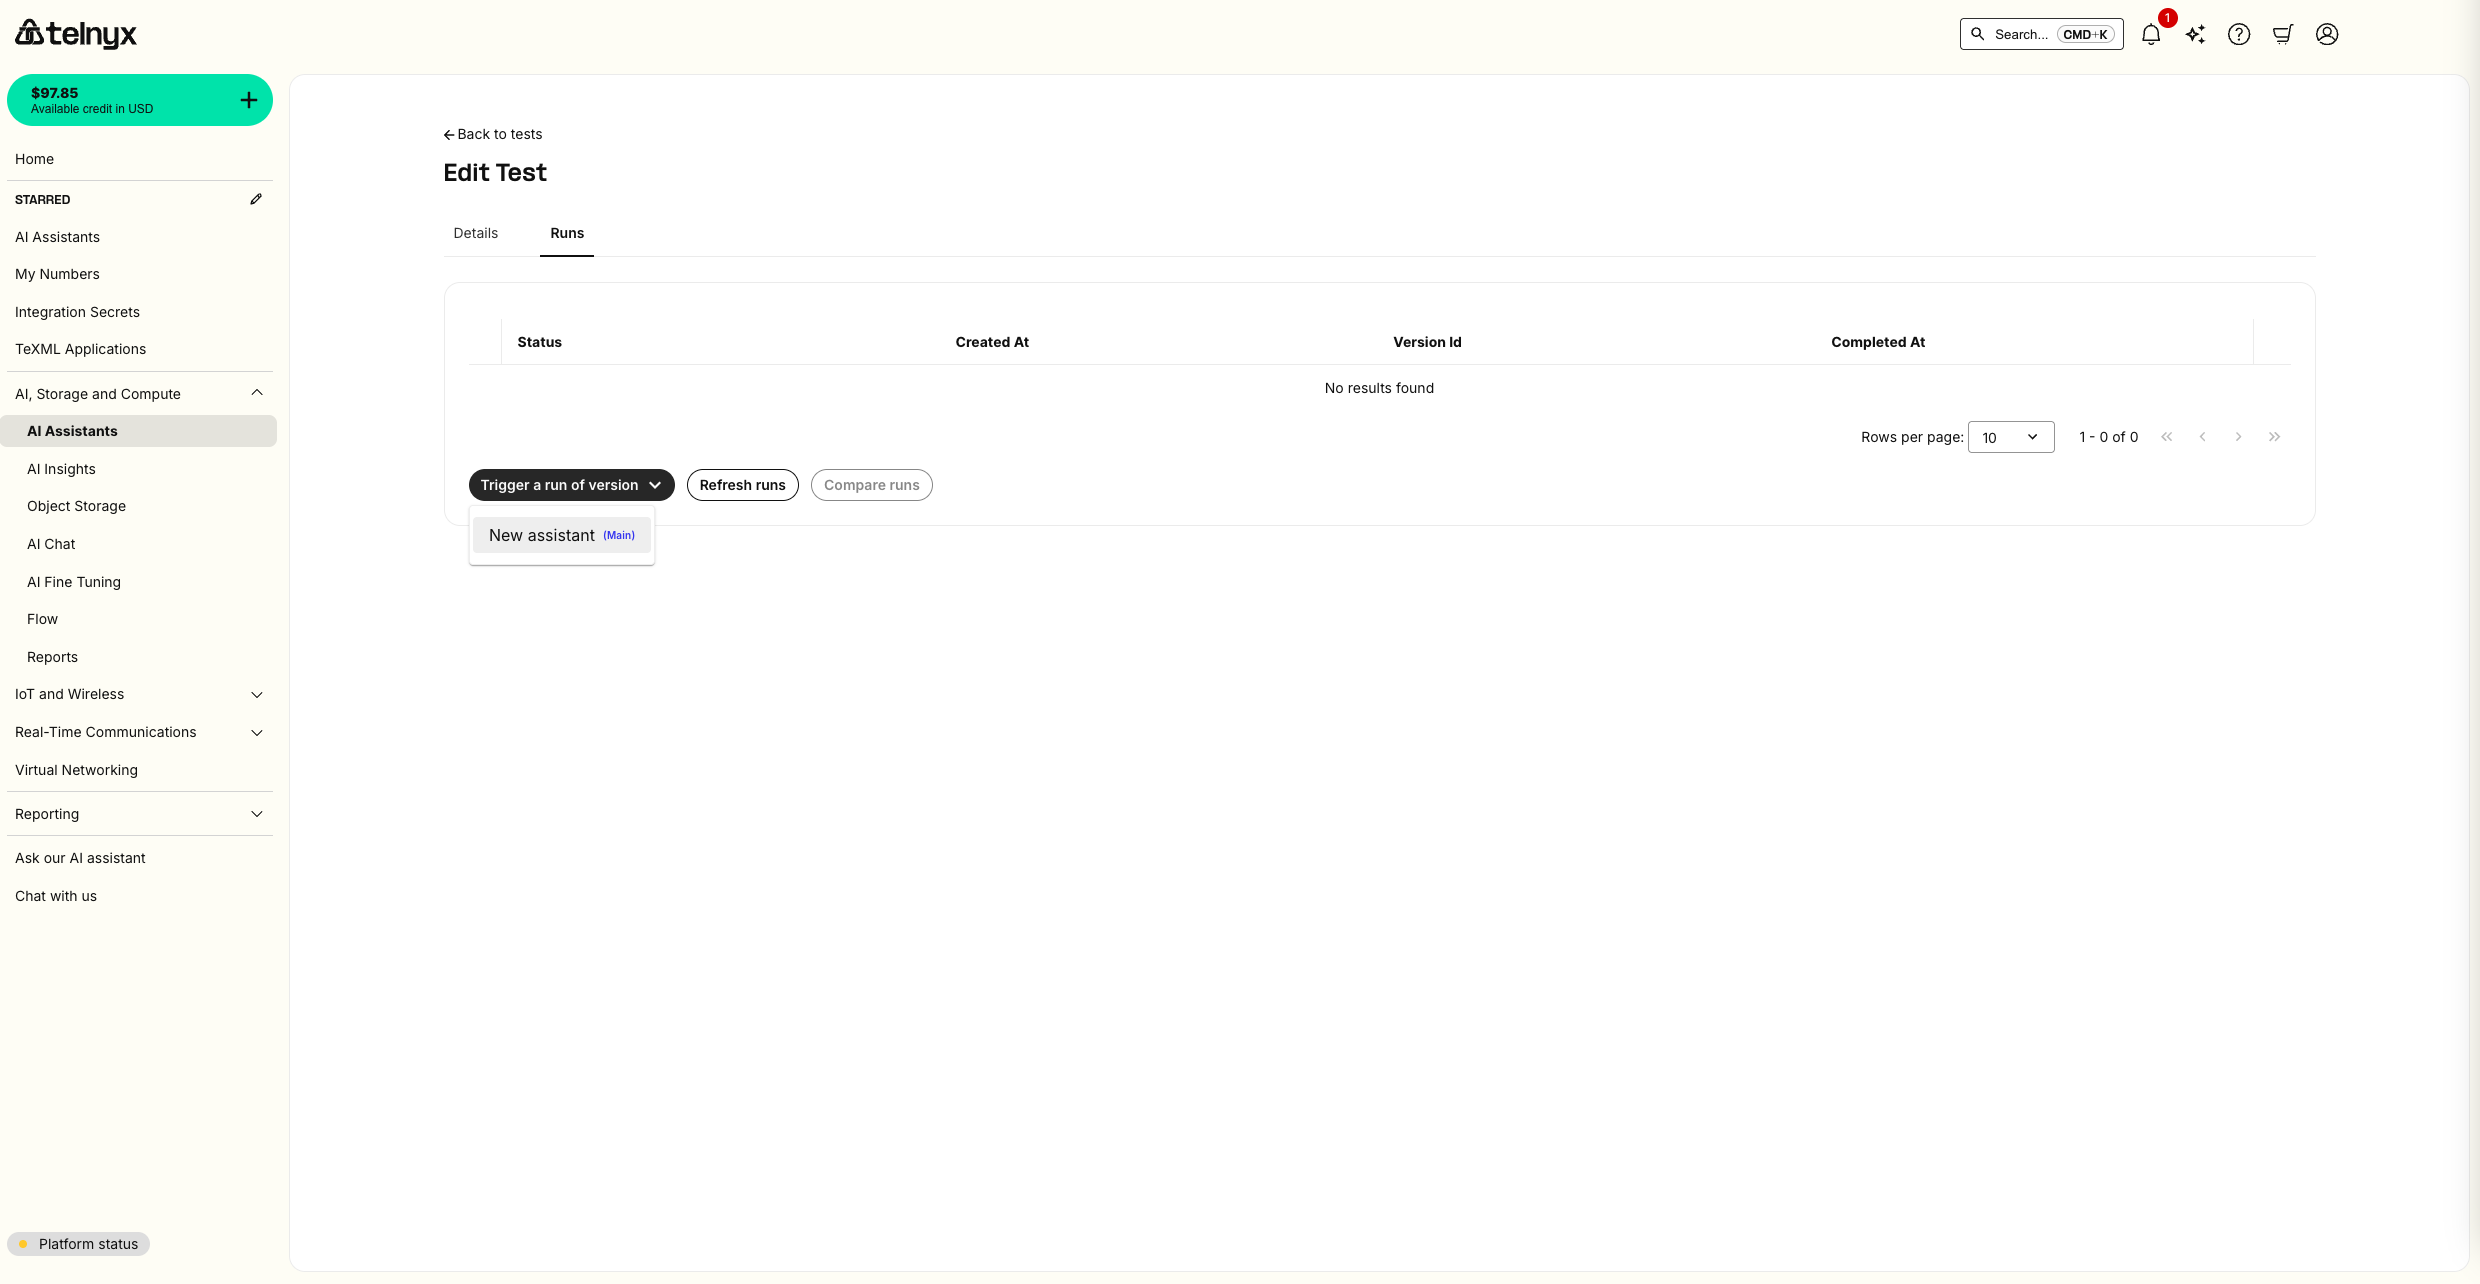
Running Your Test
- Click "Run Test" to execute your test scenario
- Monitor the test progress in real-time
- Review the detailed results once the test completes
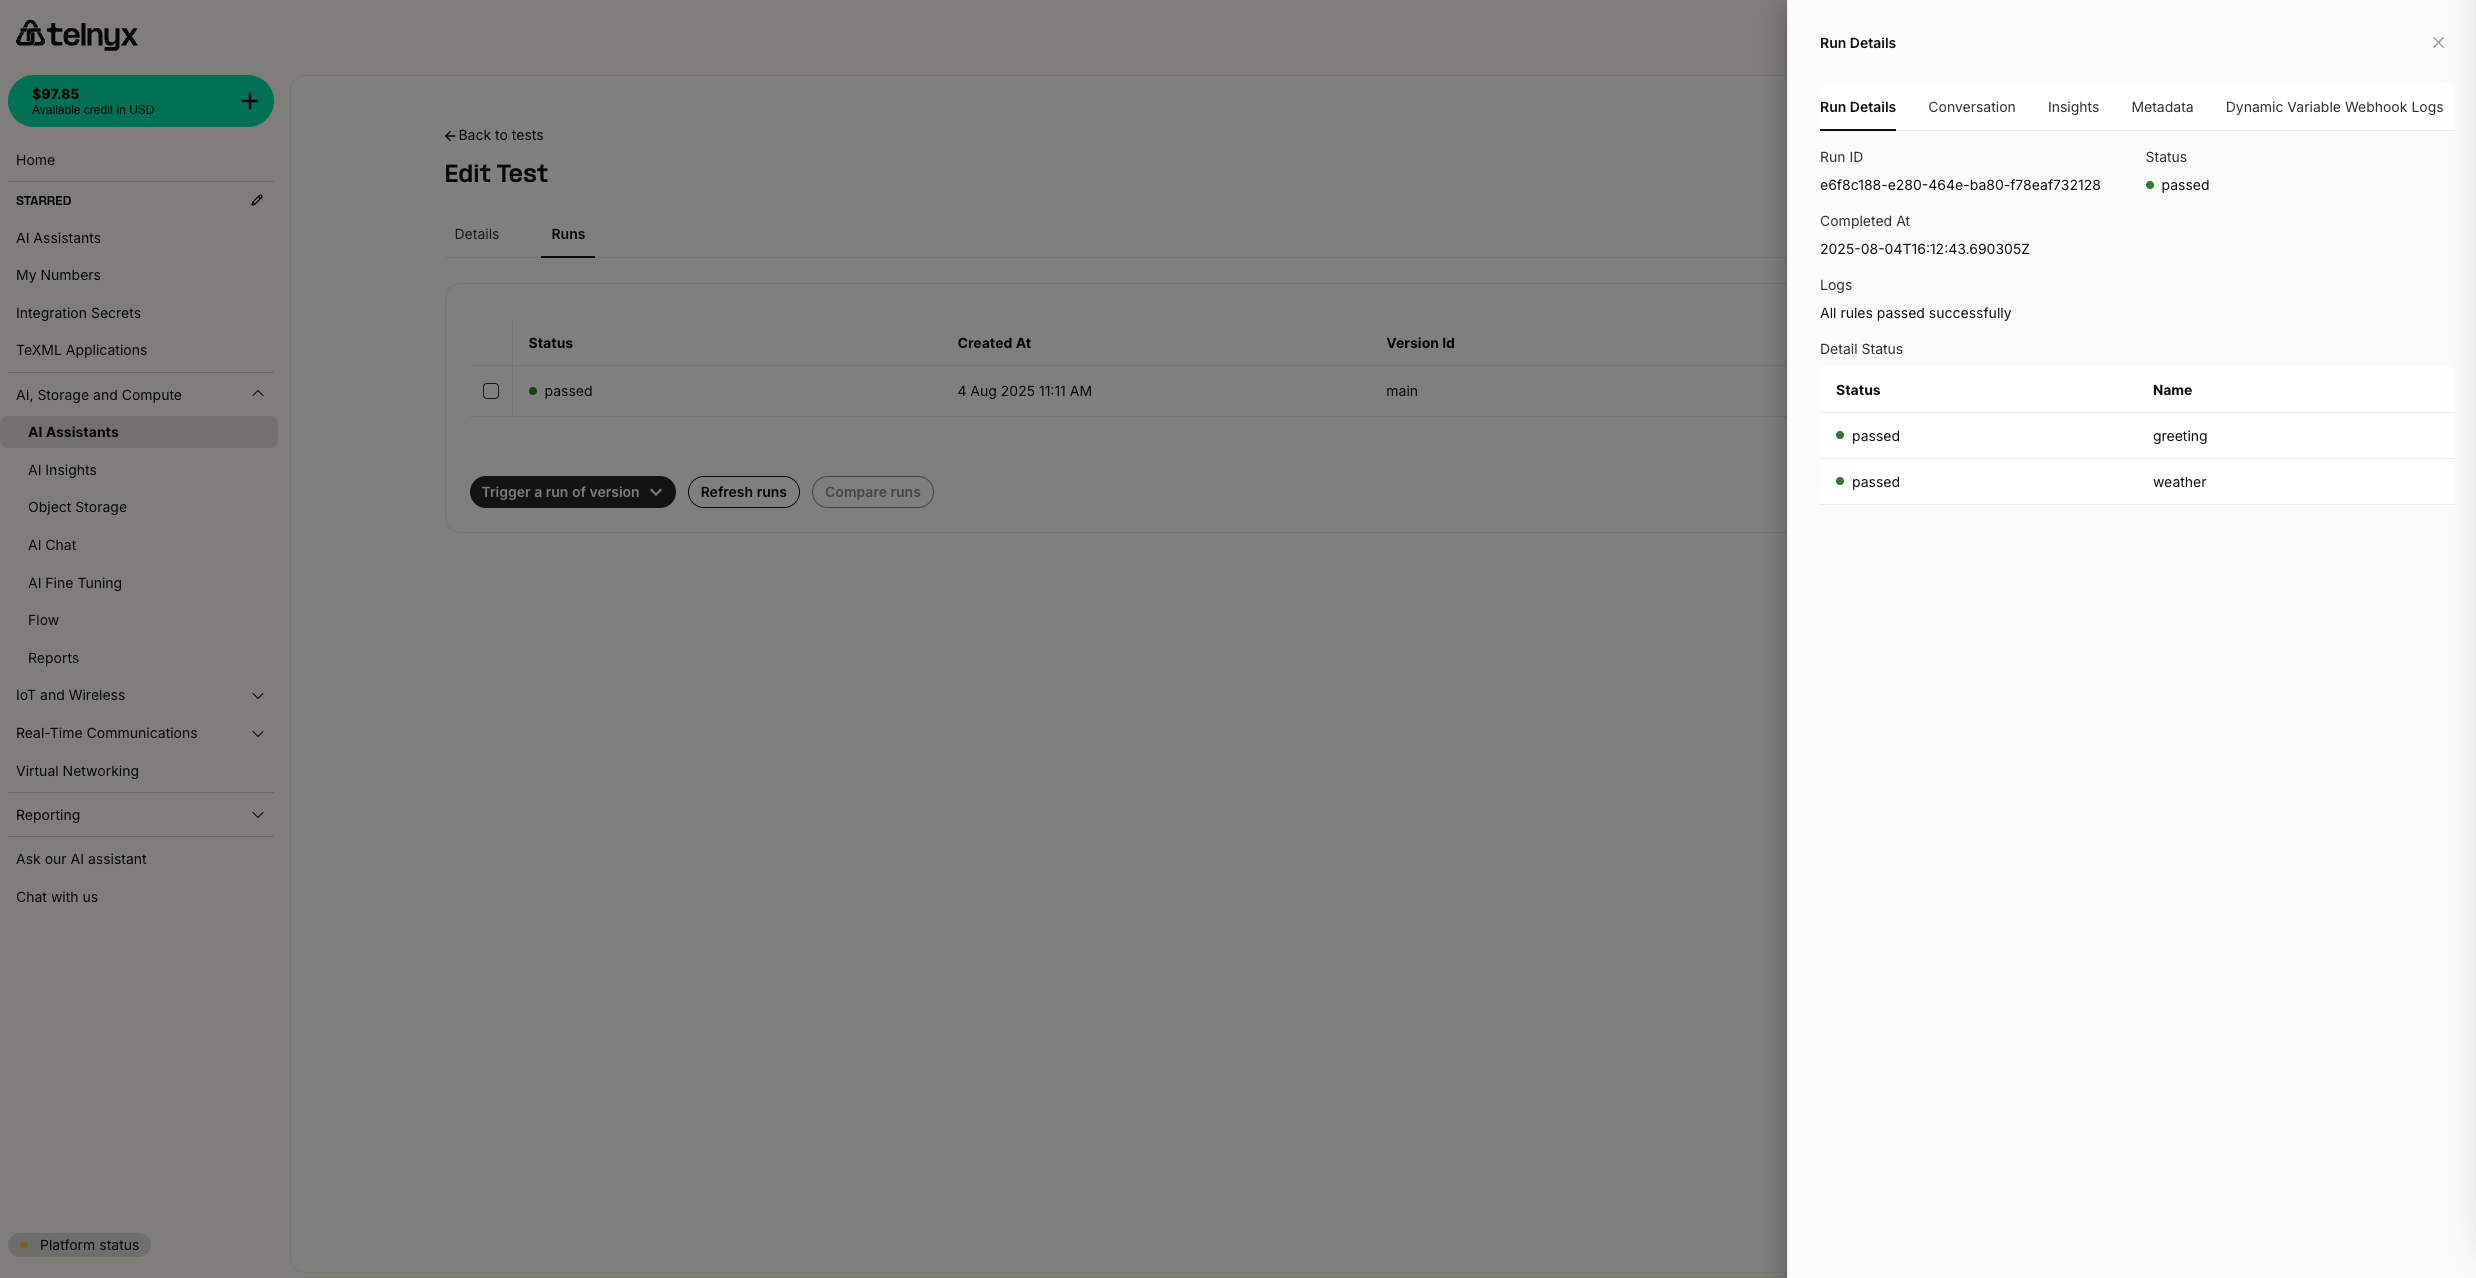
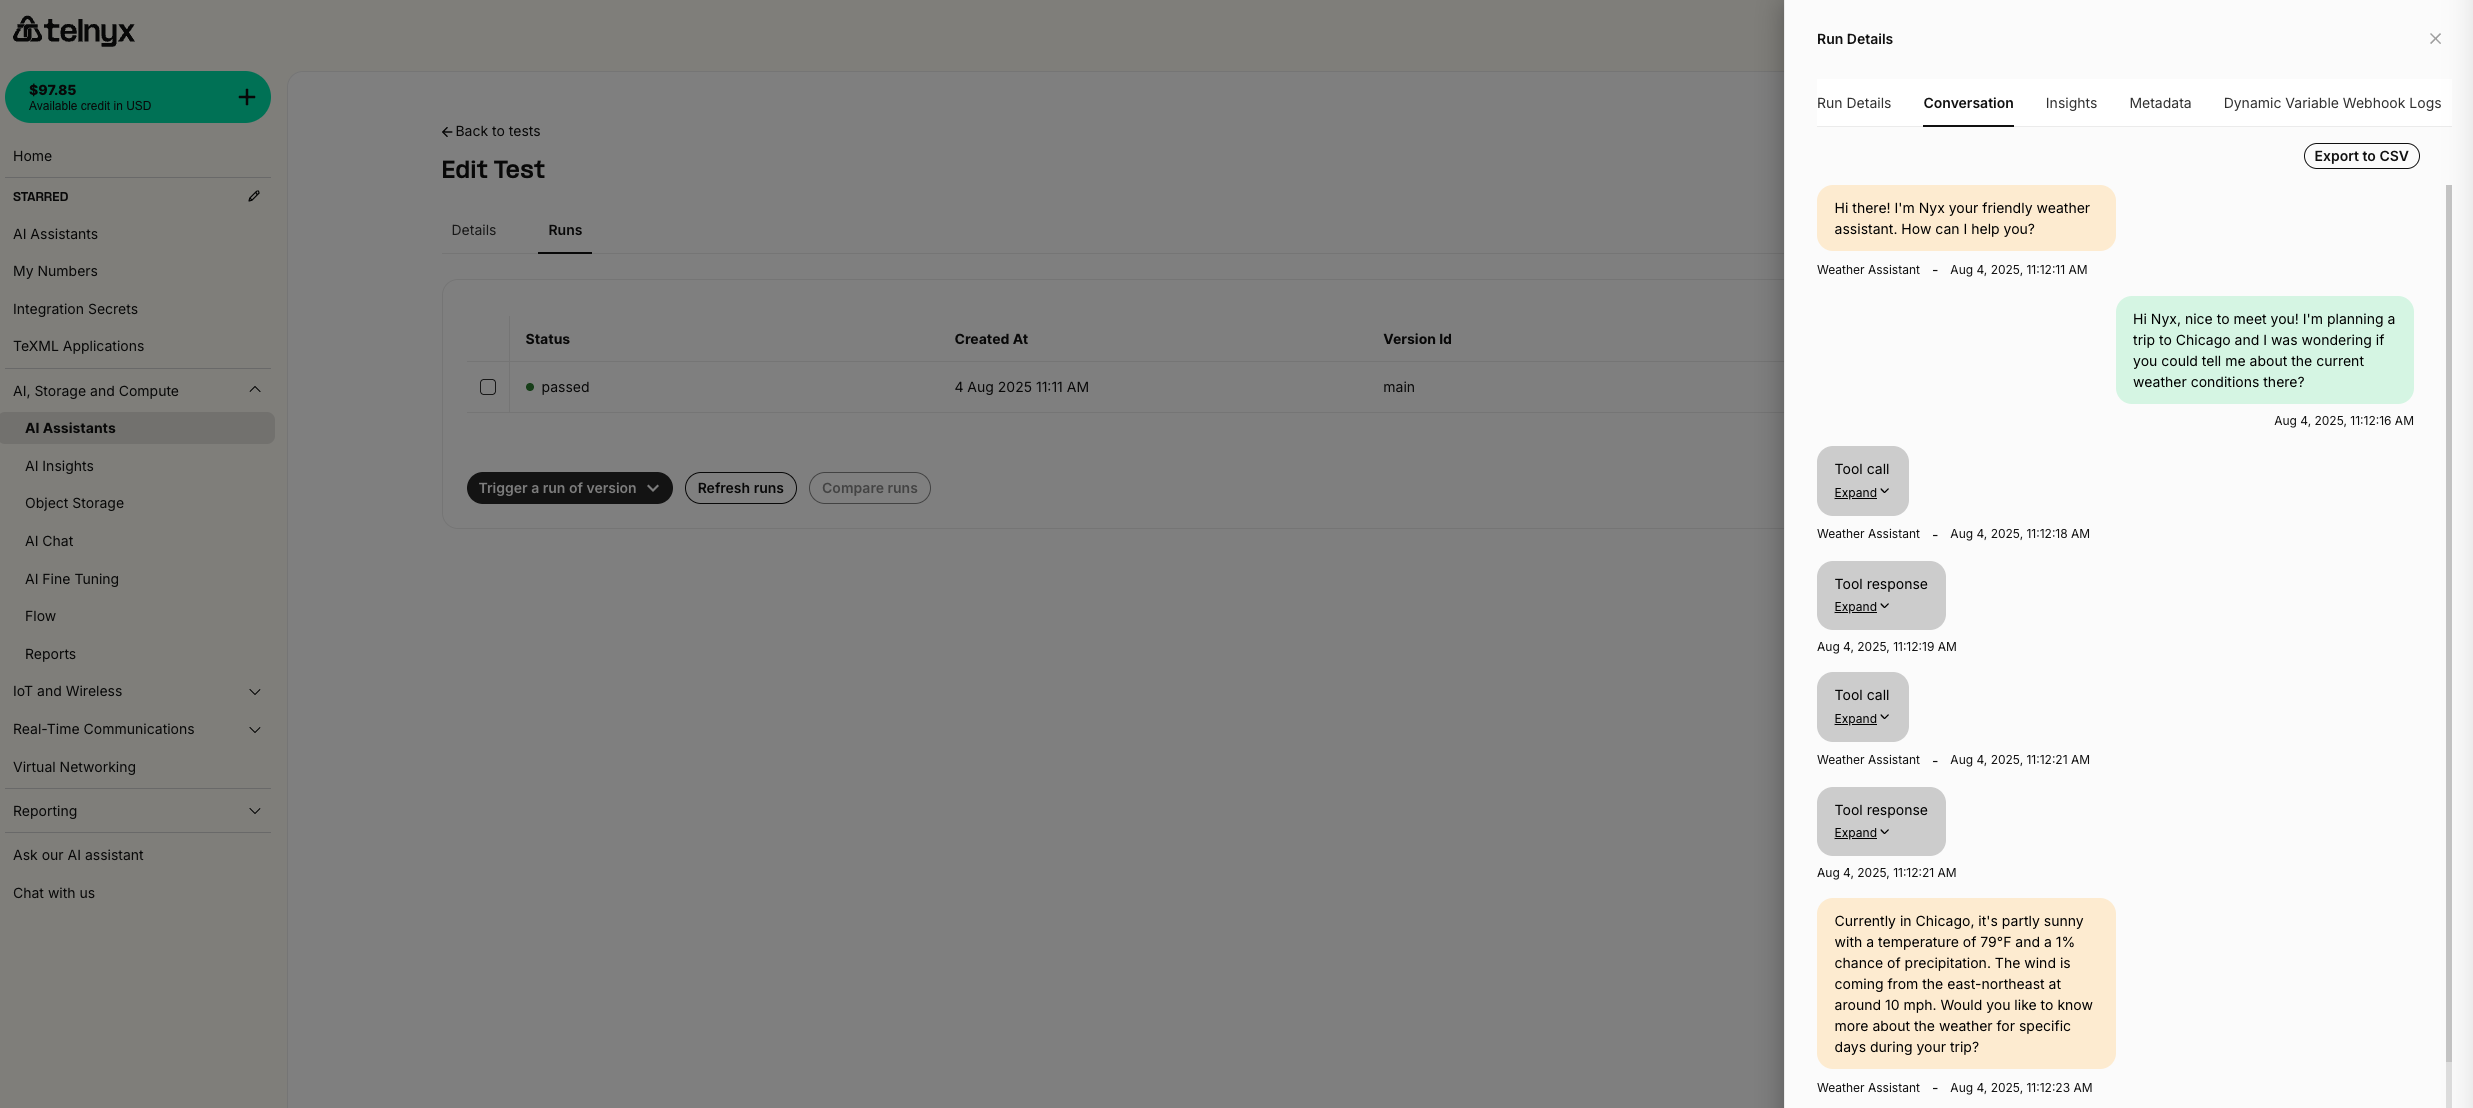
The results will show whether your assistant met all the defined criteria, helping you identify any issues before deployment. You can also review the conversation itself.
Creating Assistant Versions
Now you'll create a new version of your assistant with modified behavior to demonstrate A/B testing.
To make it obvious that the A/B test is working, we make two visibly distinct versions of the AI Assistant using the frontend widget feature.
Versions are not limited to the frontend, though. You can make versions from any configuration on the assistant including updated tools, instructions, and more.
Modifying the Assistant
- Return to your weather assistant in the AI Assistants page
- Click the edit icon (pencil) next to your assistant
- Make the following changes to create a visually distinct version:
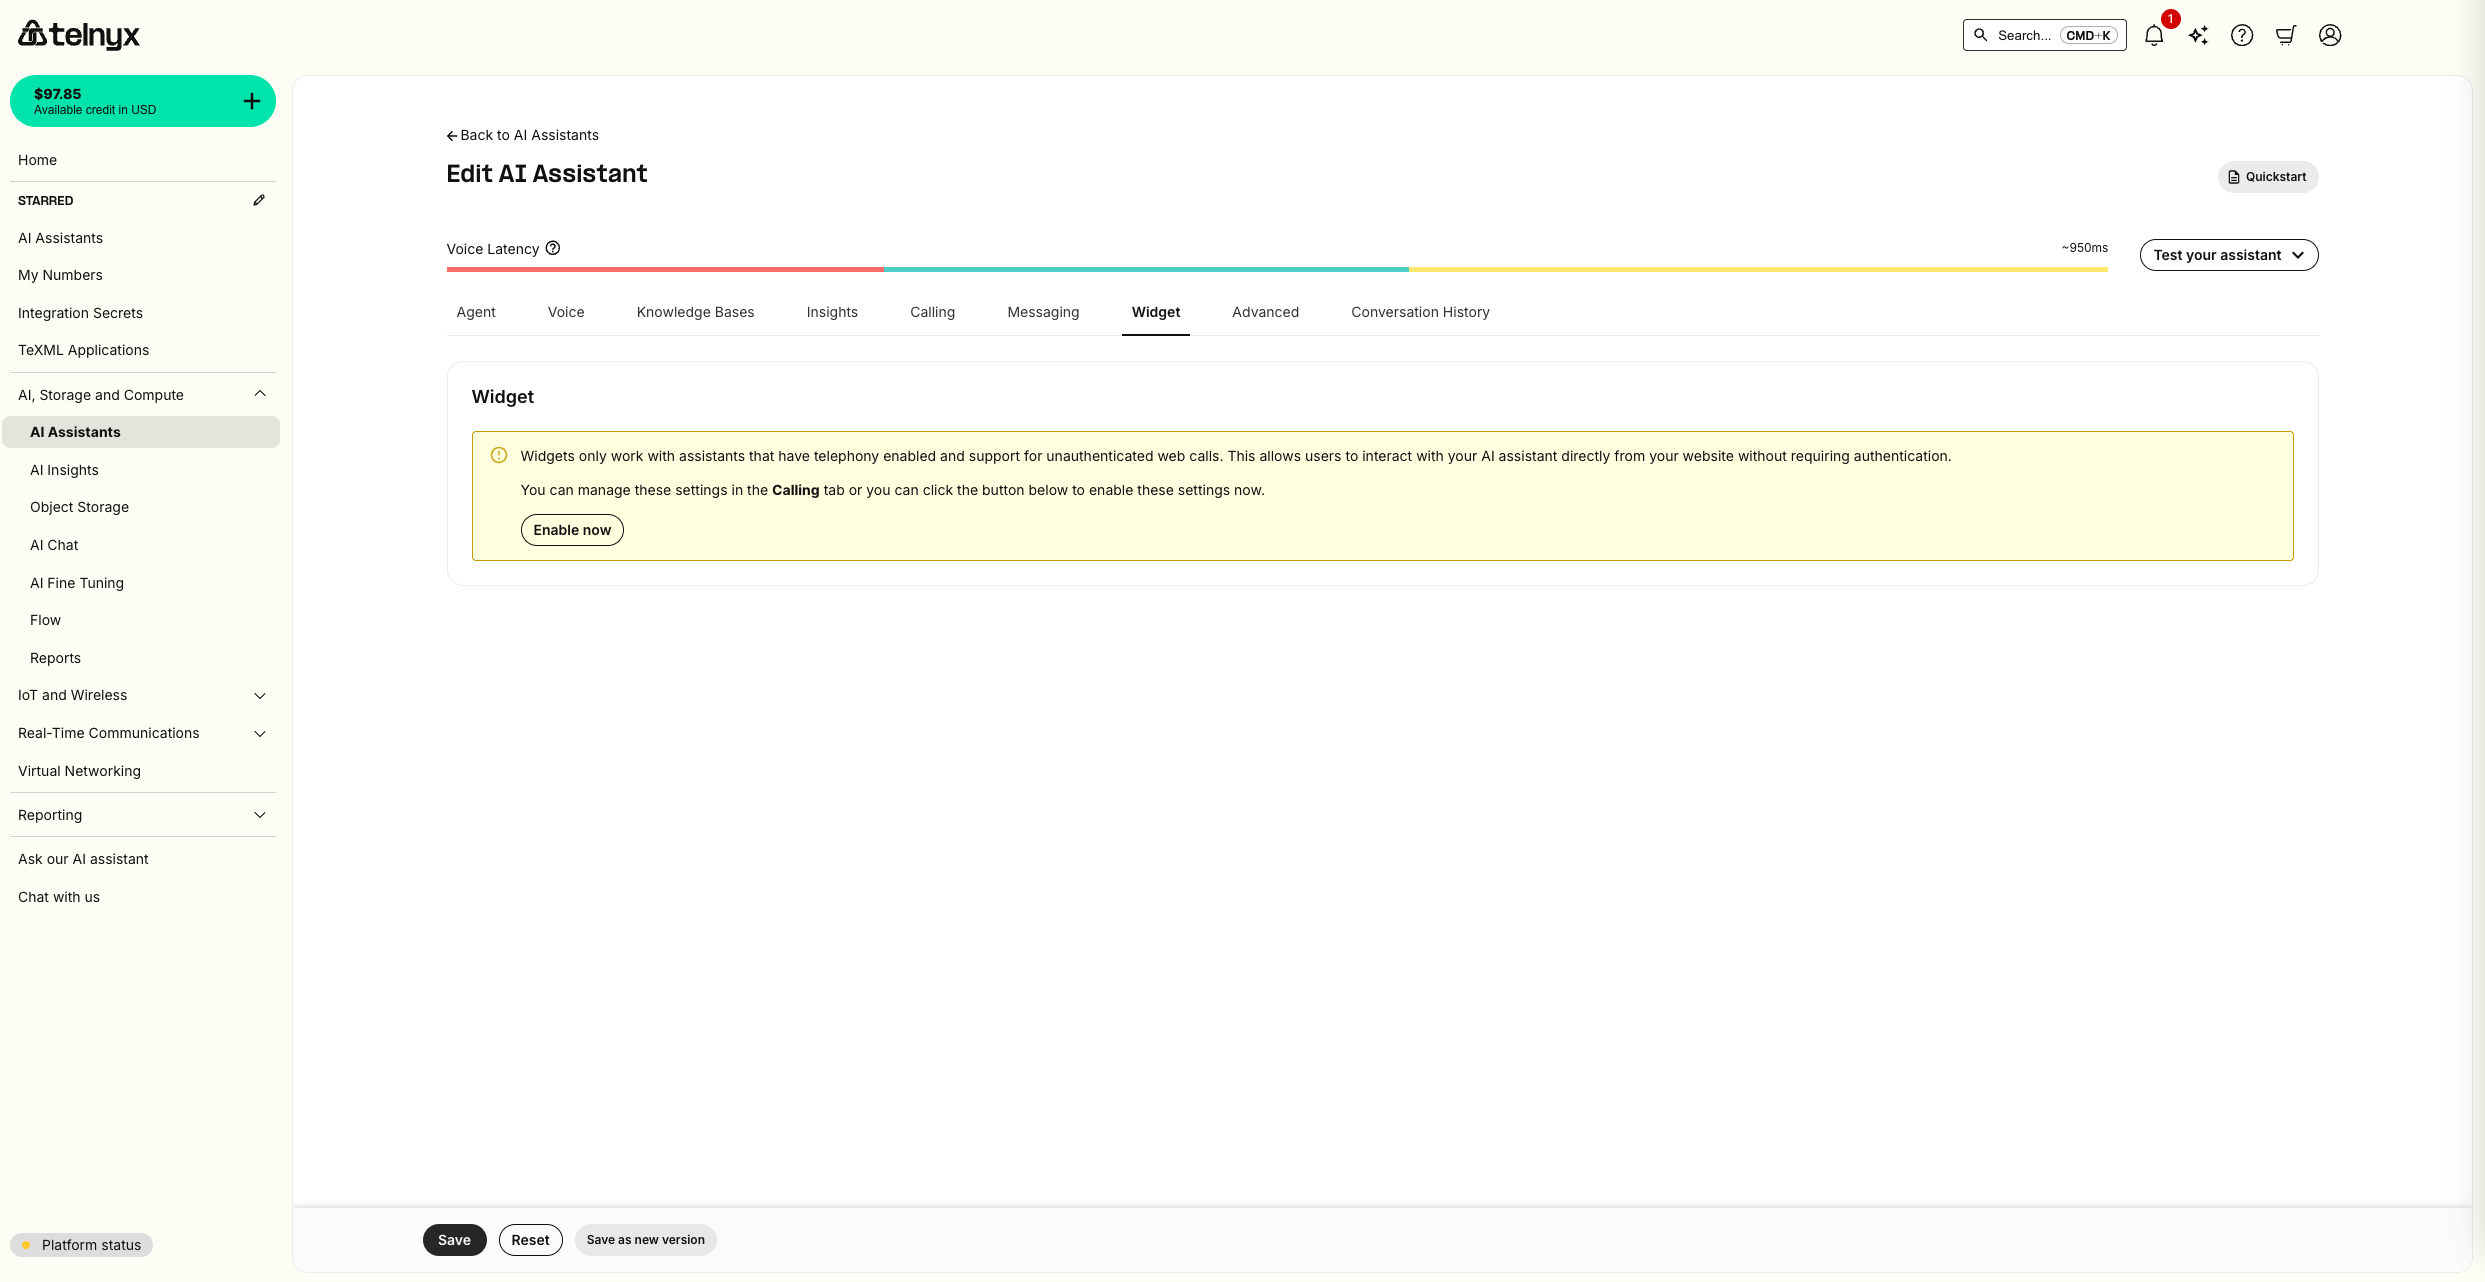
- Enable the frontend widget: Navigate to the Widget tab and click enable
- Widget Appearance: Navigate back to the Widget tab and change the widget theme from dark mode to light mode in the appearance settings
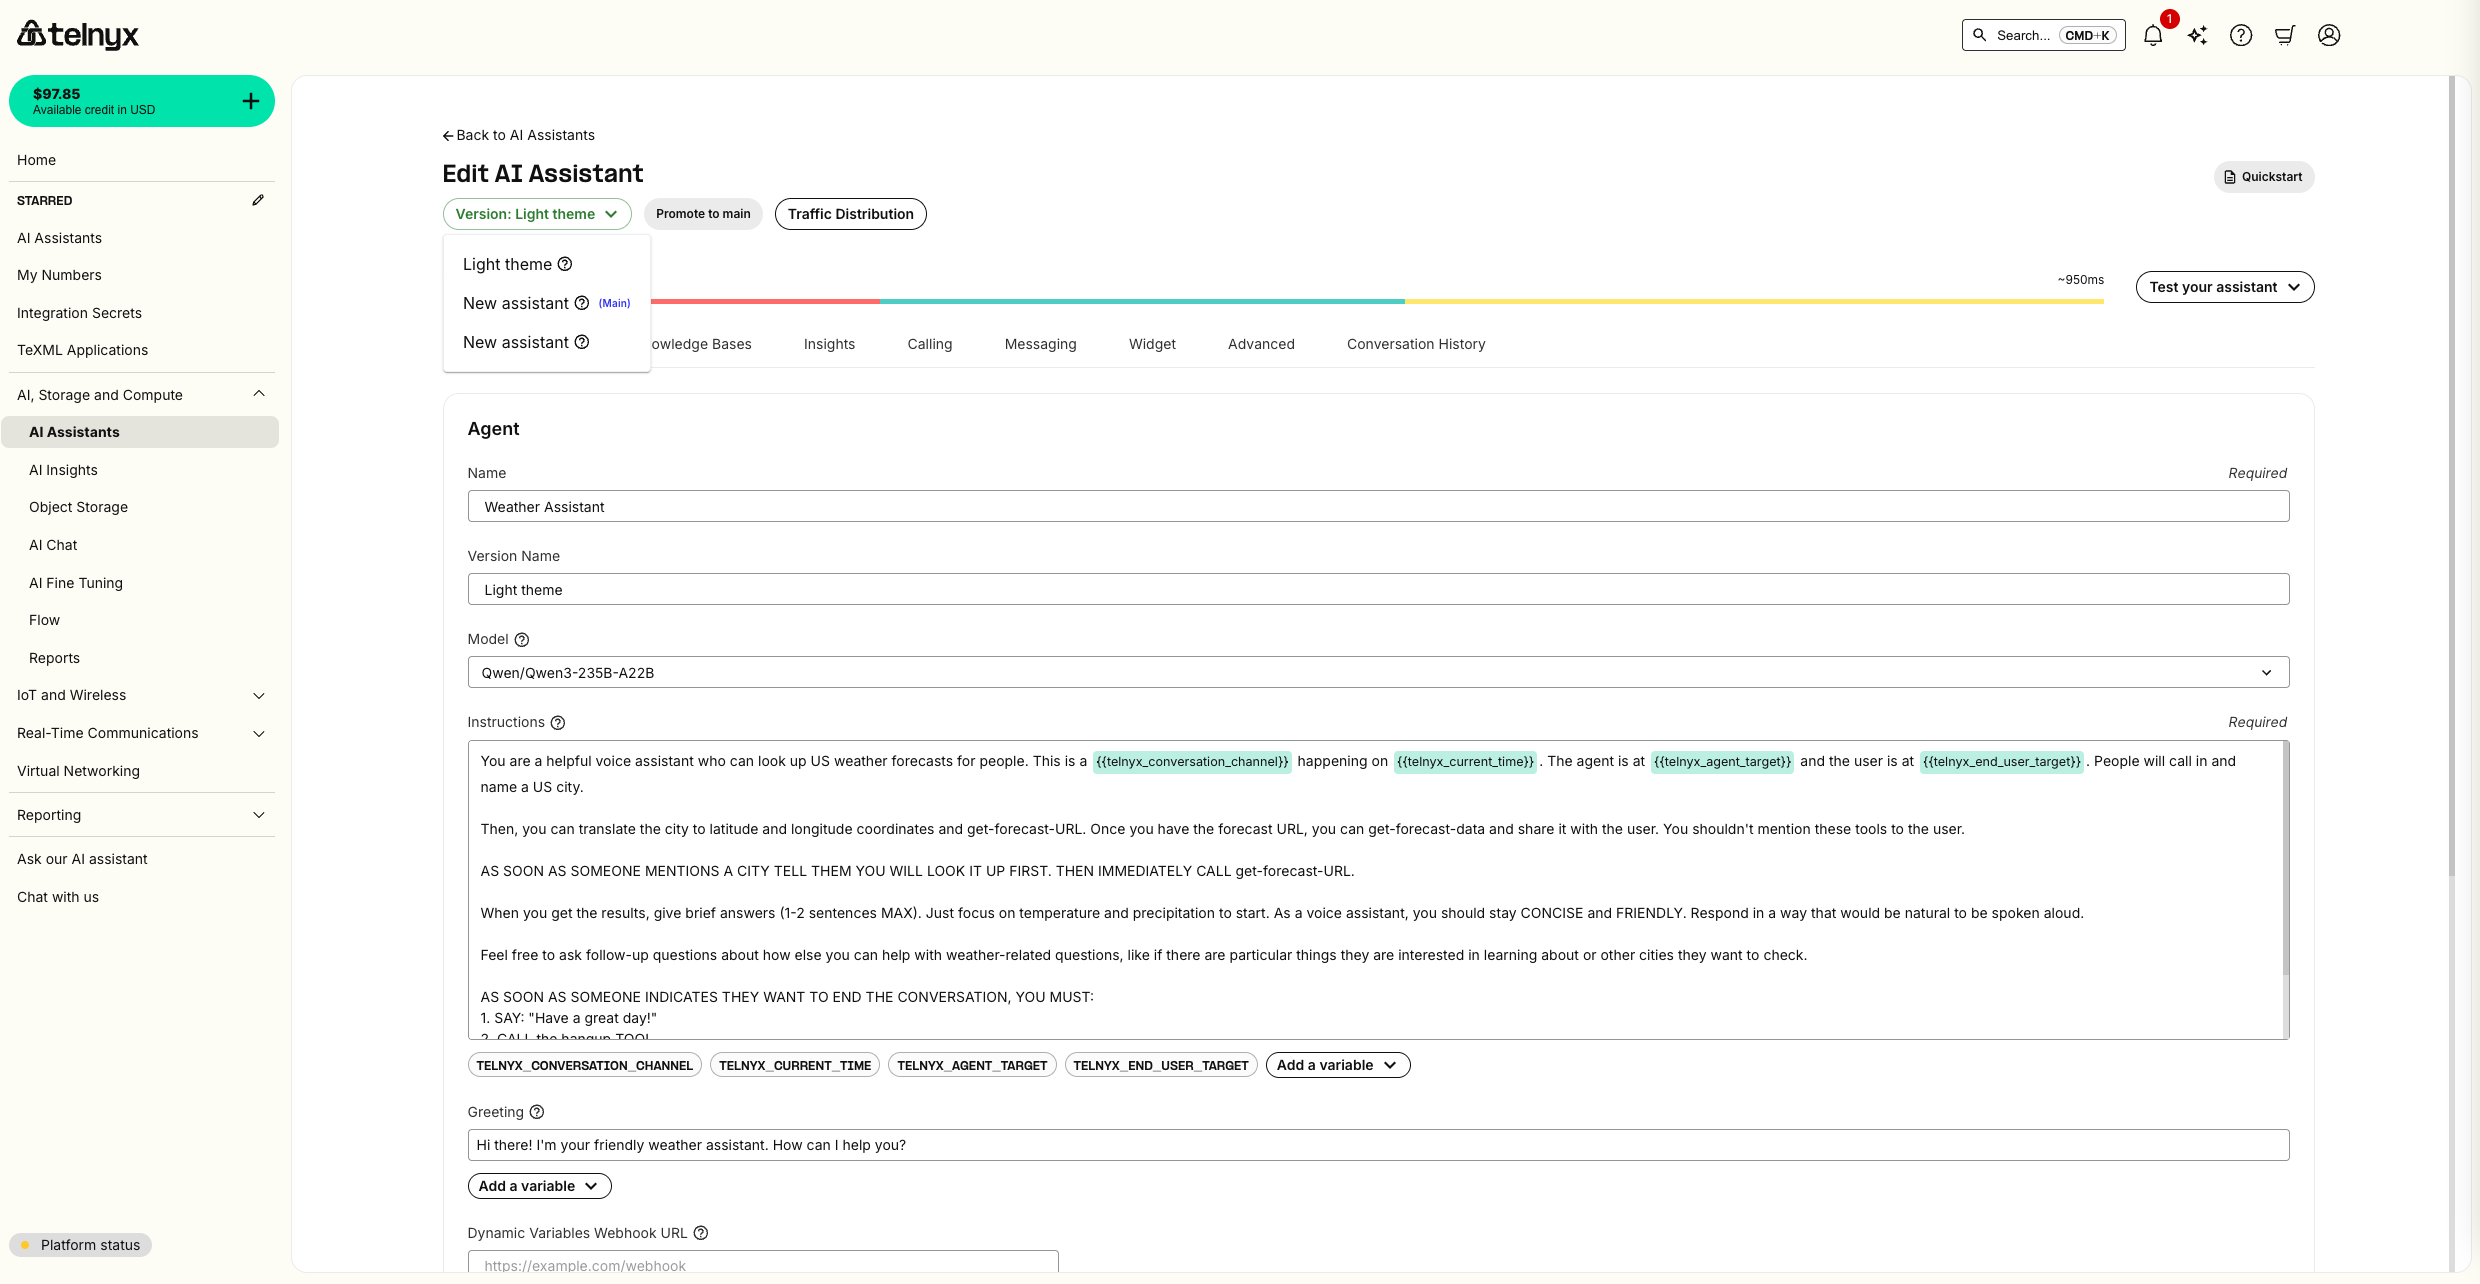
Creating a New Version
- After making your changes, click "Save as New Version"
- Give your version a descriptive name: "Light Theme with New Greeting"
- Add version notes describing the changes made

You now have two versions of your assistant:
- Version 1: Original greeting with dark theme widget
- Version 2: New greeting with light theme widget
Production Traffic Distribution
Once you've validated your versions through testing, you can gradually roll out changes using traffic splitting.
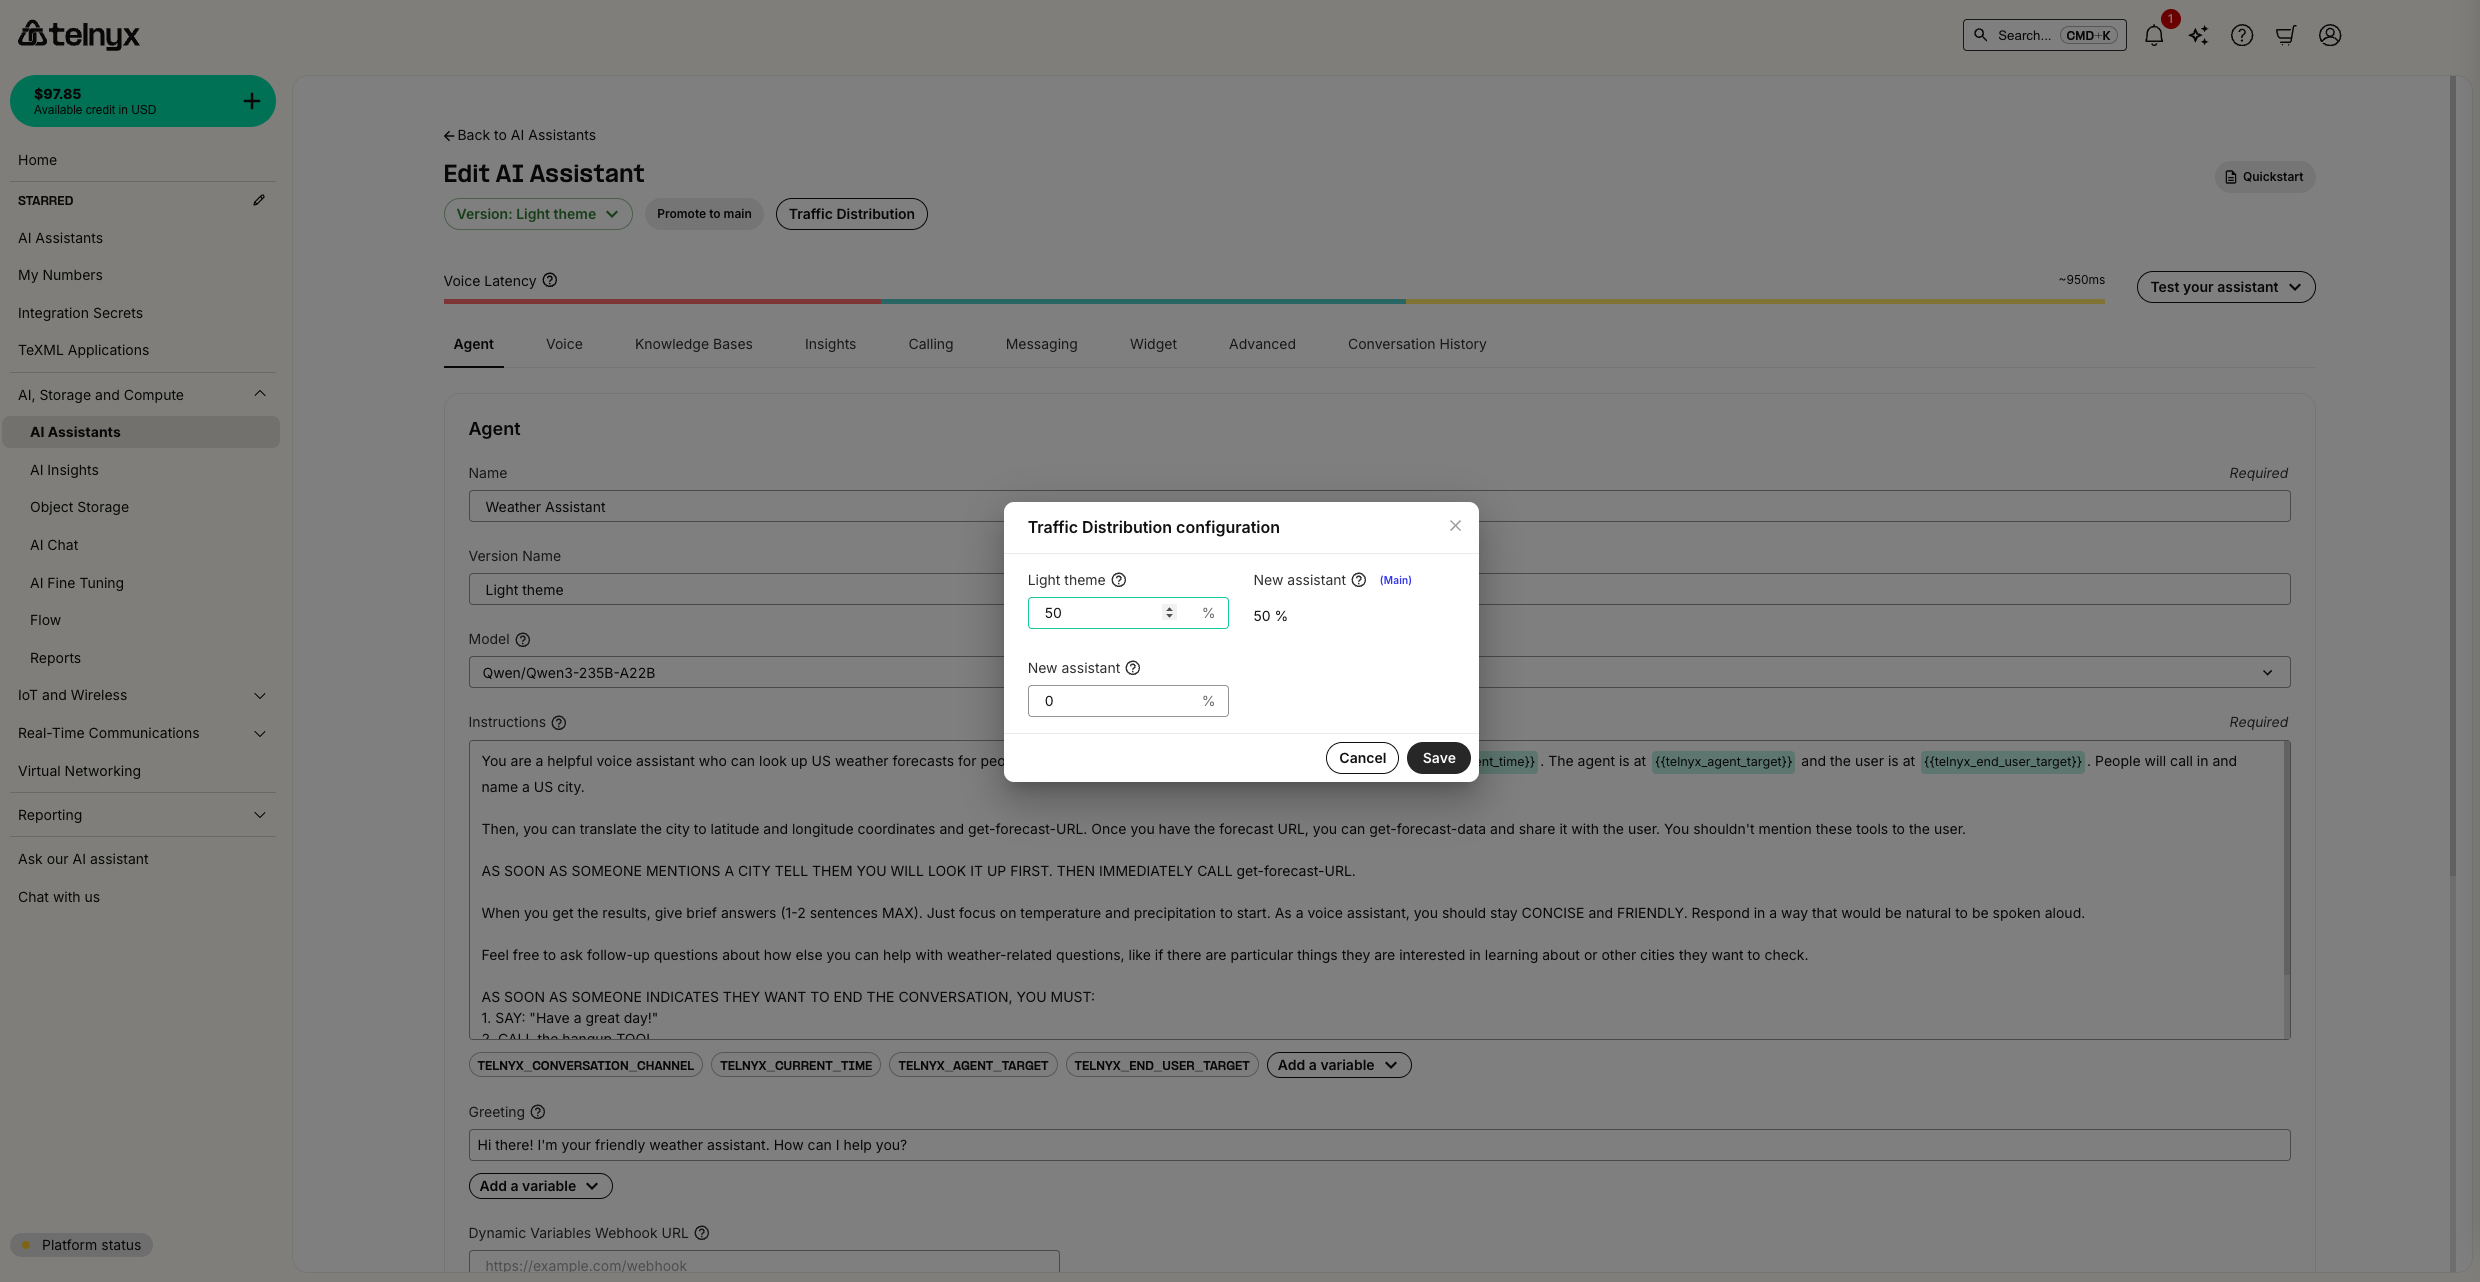
Setting Up 50/50 Traffic Split
- Navigate to your assistant's deployment settings
- Configure traffic distribution:
- Version 1 (main): 50% traffic
- Version 2 (Light Theme): 50% traffic
This setup allows you to:
- Monitor real-world performance of both versions
- Gradually increase traffic to the new version if it performs well
- Quickly rollback if issues arise
- Promote the new version to main to receive all traffic when you're ready
Testing Live Traffic Distribution
To verify your traffic distribution is working correctly, you can test the widget behavior:
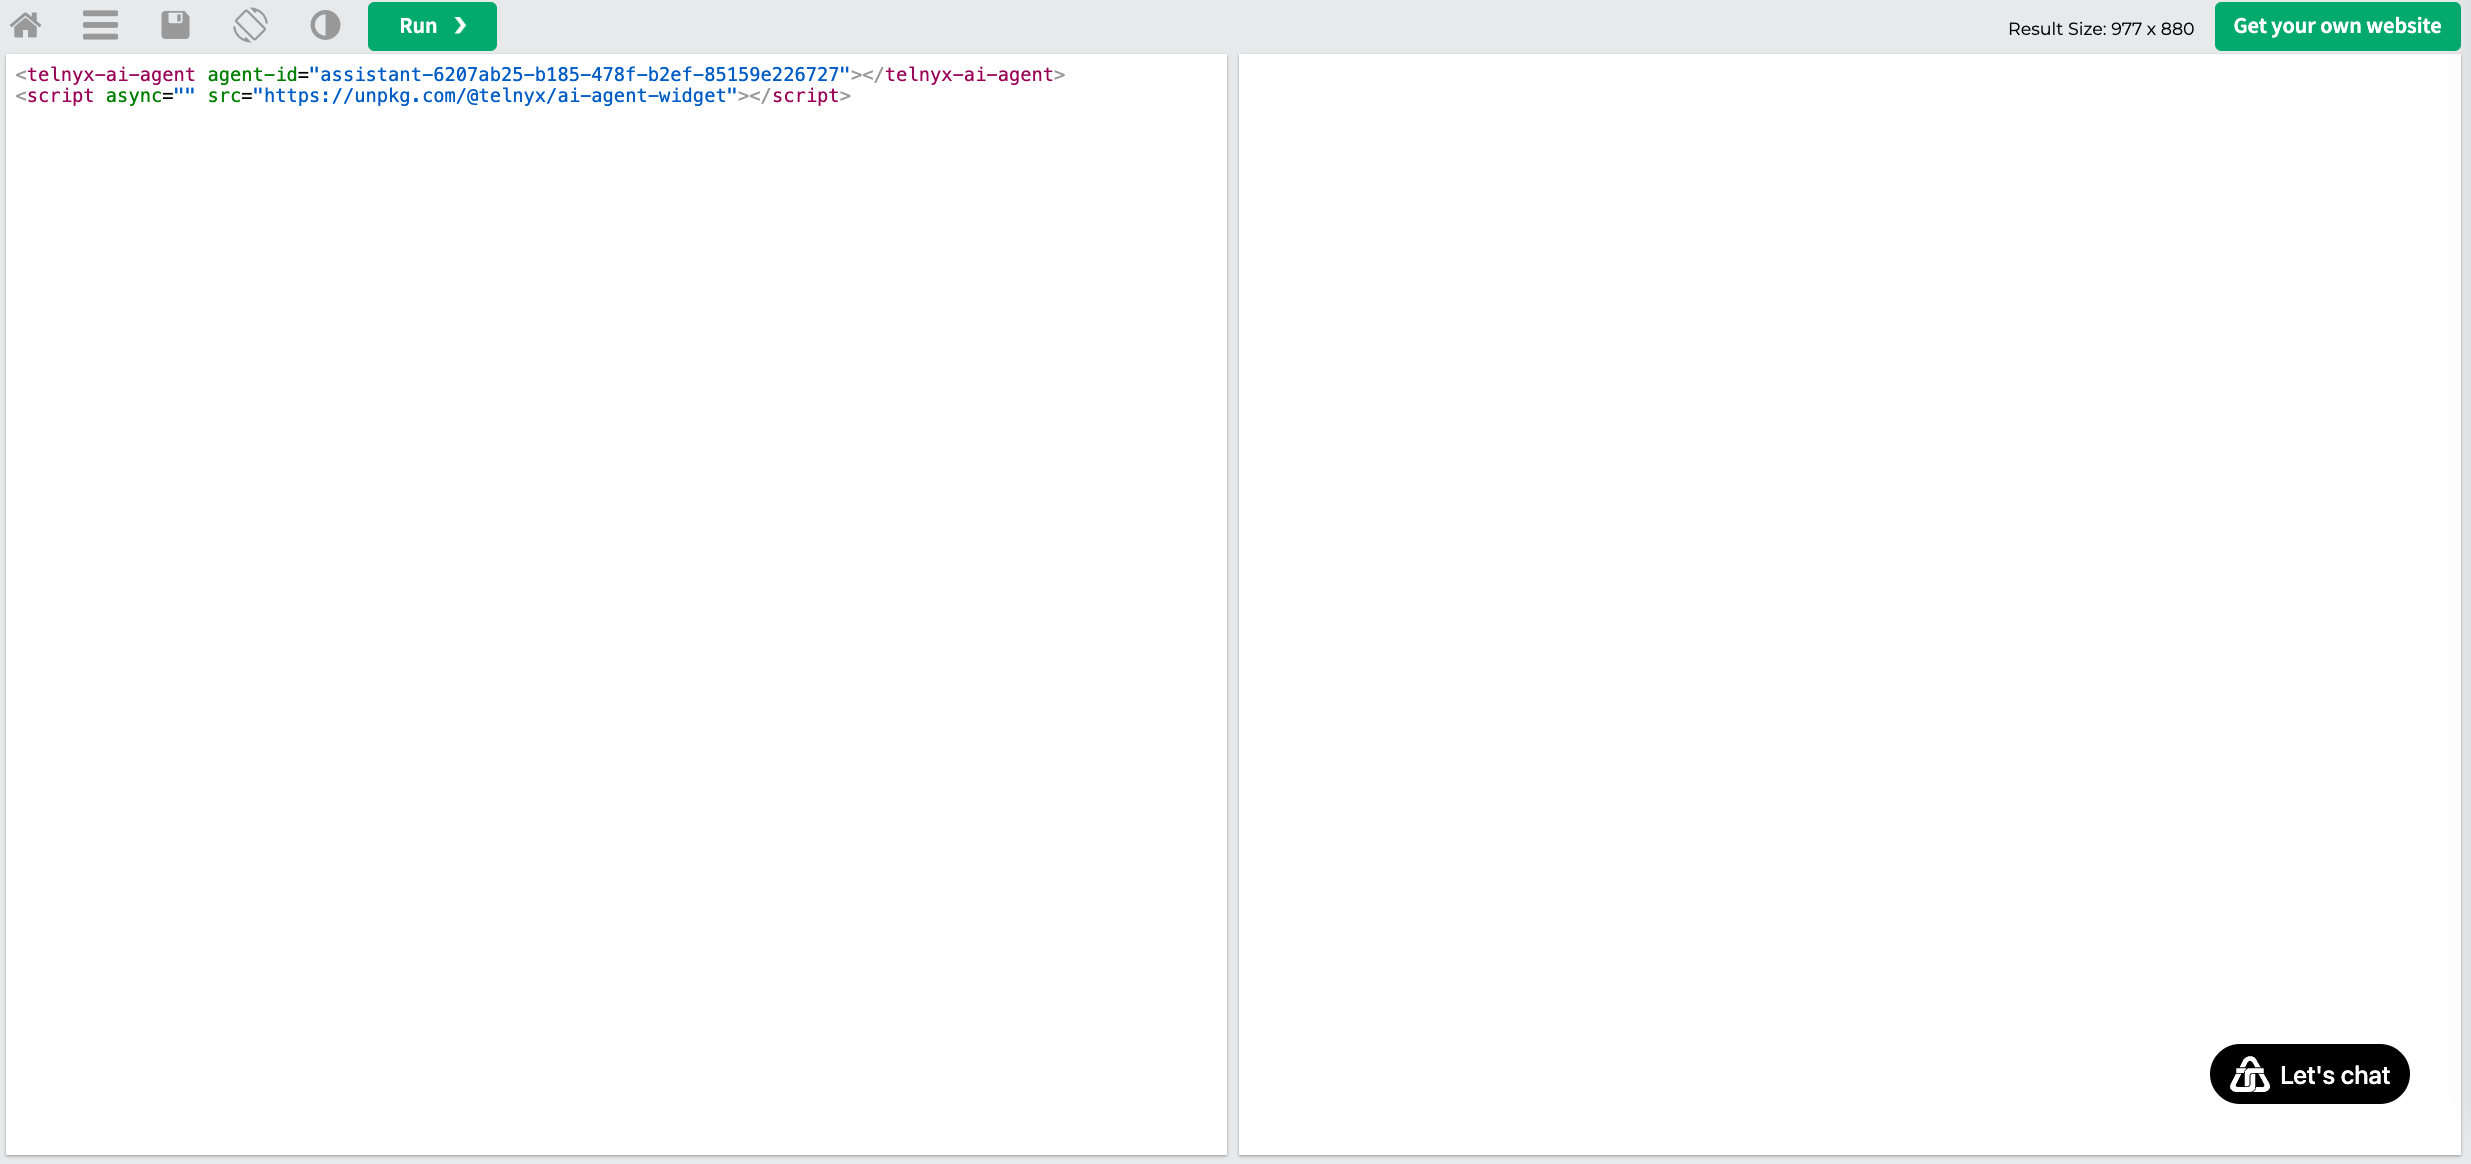
- Copy the widget embed code from your assistant settings
- Create a simple HTML test page in a W3Schools editor or similar tool
- Click run to see the widget change between light and dark theme about half the time
<telnyx-ai-agent agent-id="REPLACE WITH YOUR ASSISTANT ID"></telnyx-ai-agent>
<script async="" src="https://unpkg.com/@telnyx/ai-agent-widget"></script>
This real-world testing confirms your traffic distribution is working and users will experience both versions according to your specified percentages.