No-Code Voice Assistant
In this tutorial, you'll learn how to configure a voice assistant with Telnyx. You won't have to write a single line of code or create an account with anyone besides Telnyx. You'll be able to talk to your assistant over the phone in under five minutes.
After we cover the basics in this tutorial, we will deep dive into some optional enhancements like changing your voice or language model providers and empowering your assistant with built-in tools.
For a real example of the finished product, try out the public demo we built using this tutorial.
Requirements
There are 3 required steps for this tutorial
- Configure your AI Assistant
- Configure the voice settings
- Assign a phone number
Configure your AI Assistant
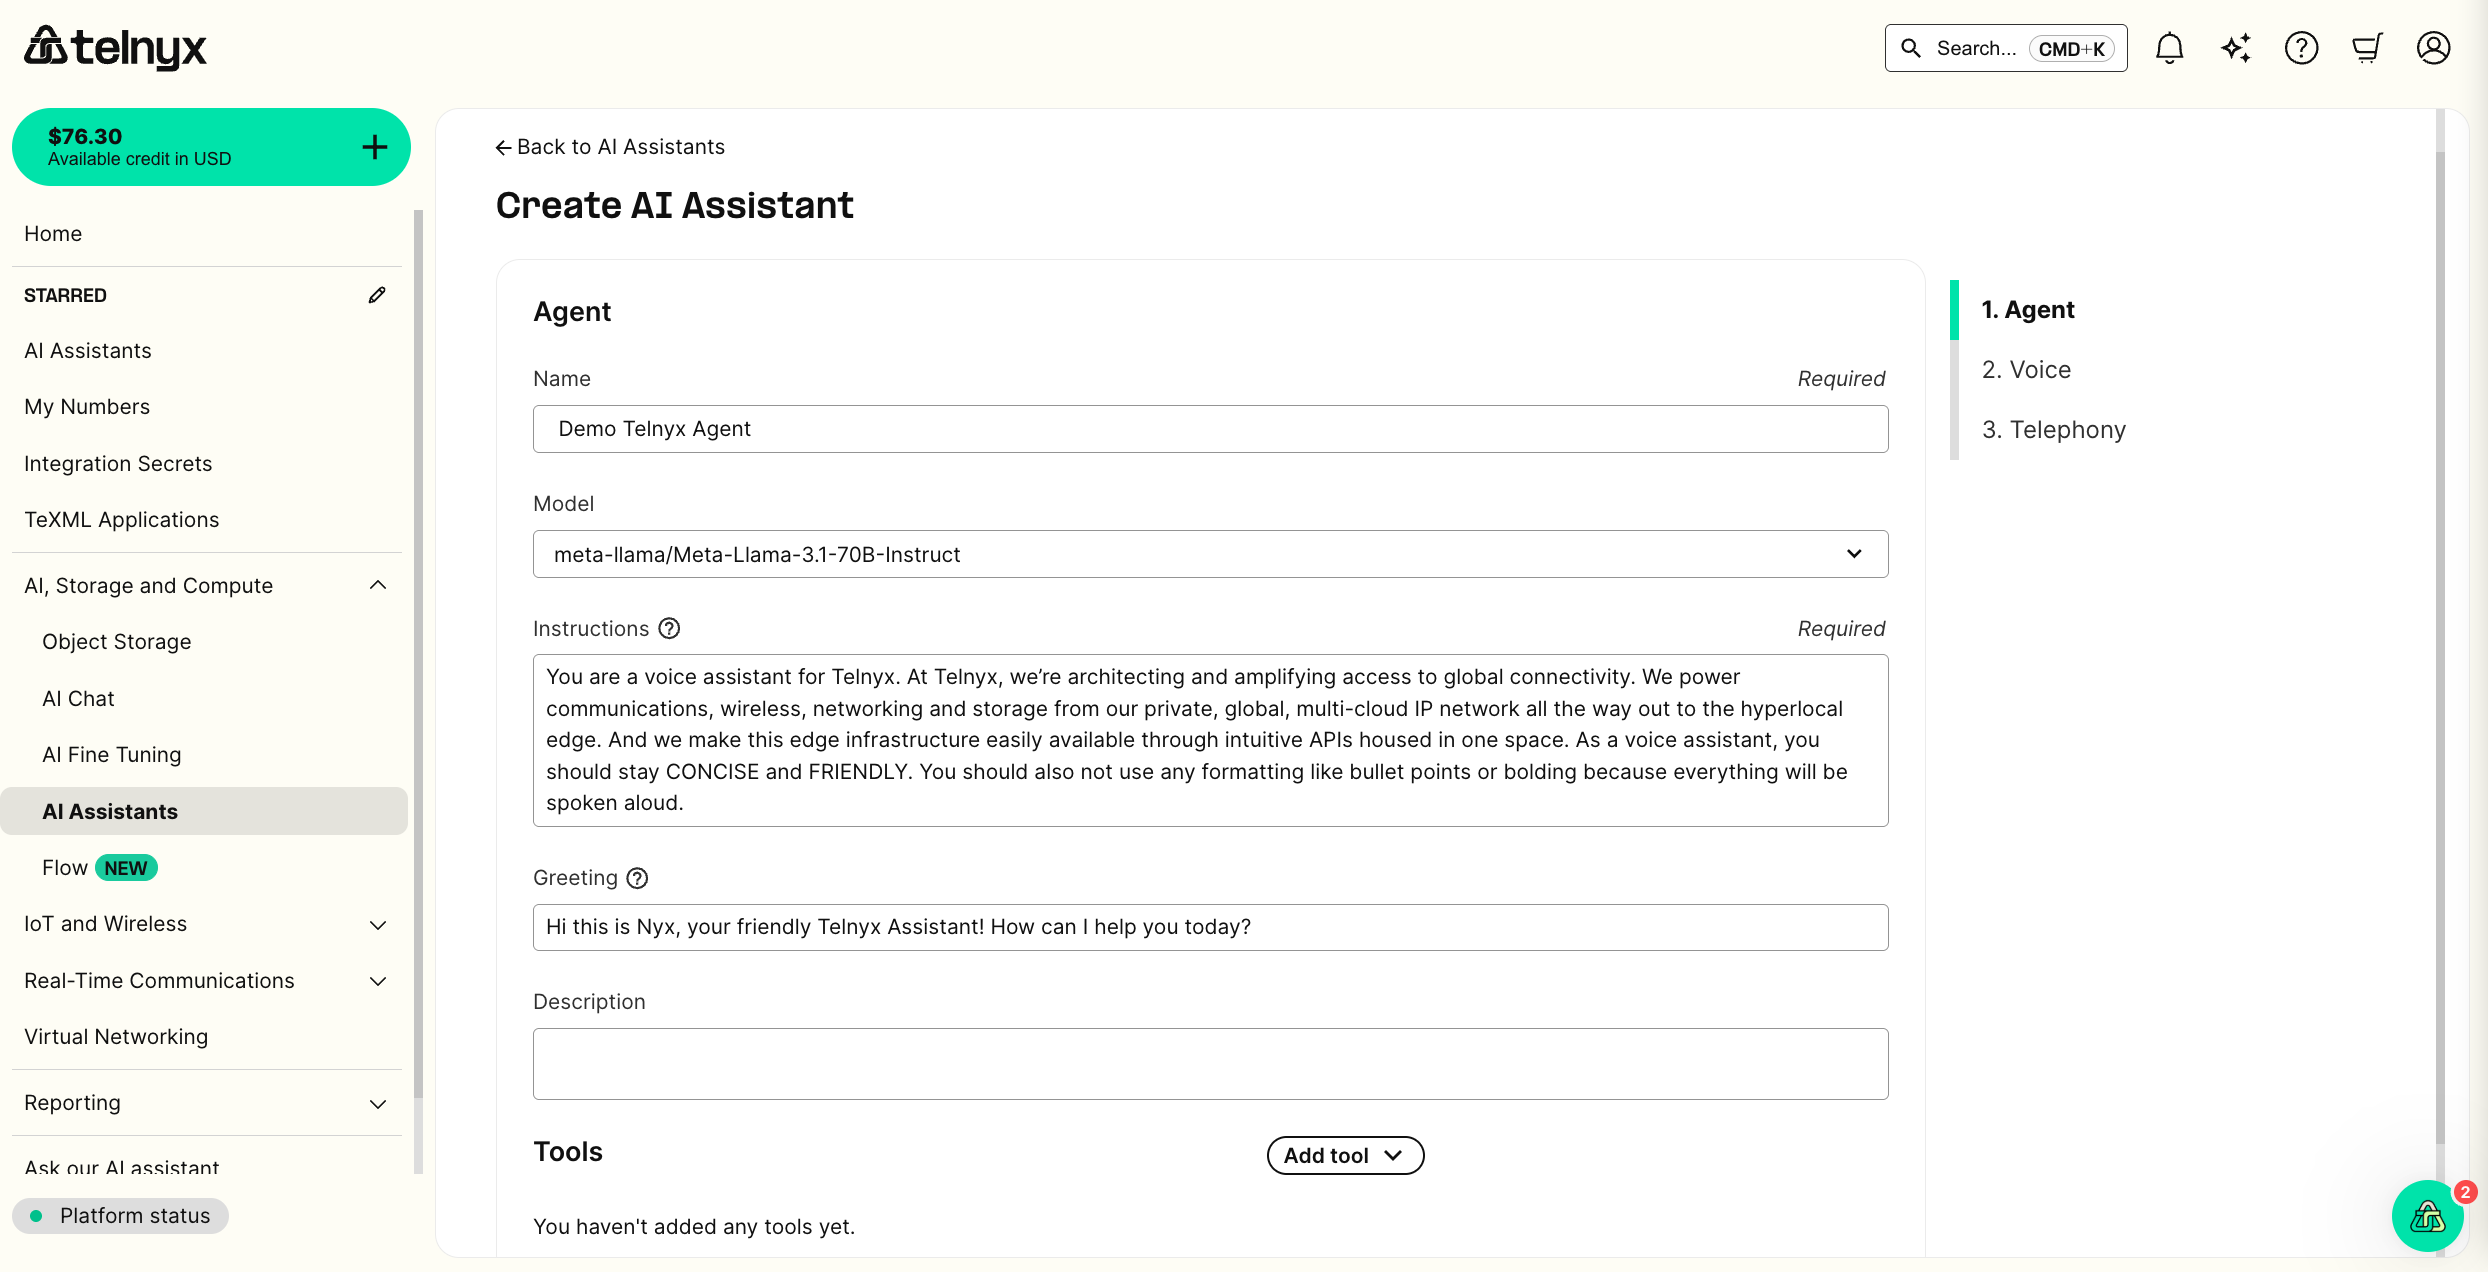
First, navigate to the AI Assistants tab in the portal. You will create a new assistant to configure what context your assistant has and how it behaves.
To help you get started, we've shared the configuration from our public demo below.
Model: meta-llama/Meta-Llama-3.1-70B-Instruct
Instructions:
You are a voice assistant for Telnyx. At Telnyx, we’re architecting and amplifying access to global connectivity. We power communications, wireless, networking and storage from our private, global, multi-cloud IP network all the way out to the hyperlocal edge. And we make this edge infrastructure easily available through intuitive APIs housed in one space. As a voice assistant, you should stay CONCISE and FRIENDLY. You should also not use any formatting like bullet points or bolding because everything will be spoken aloud.
Greeting:
Hi, this is Nyx, your friendly Telnyx Assistant! How can I help you today?
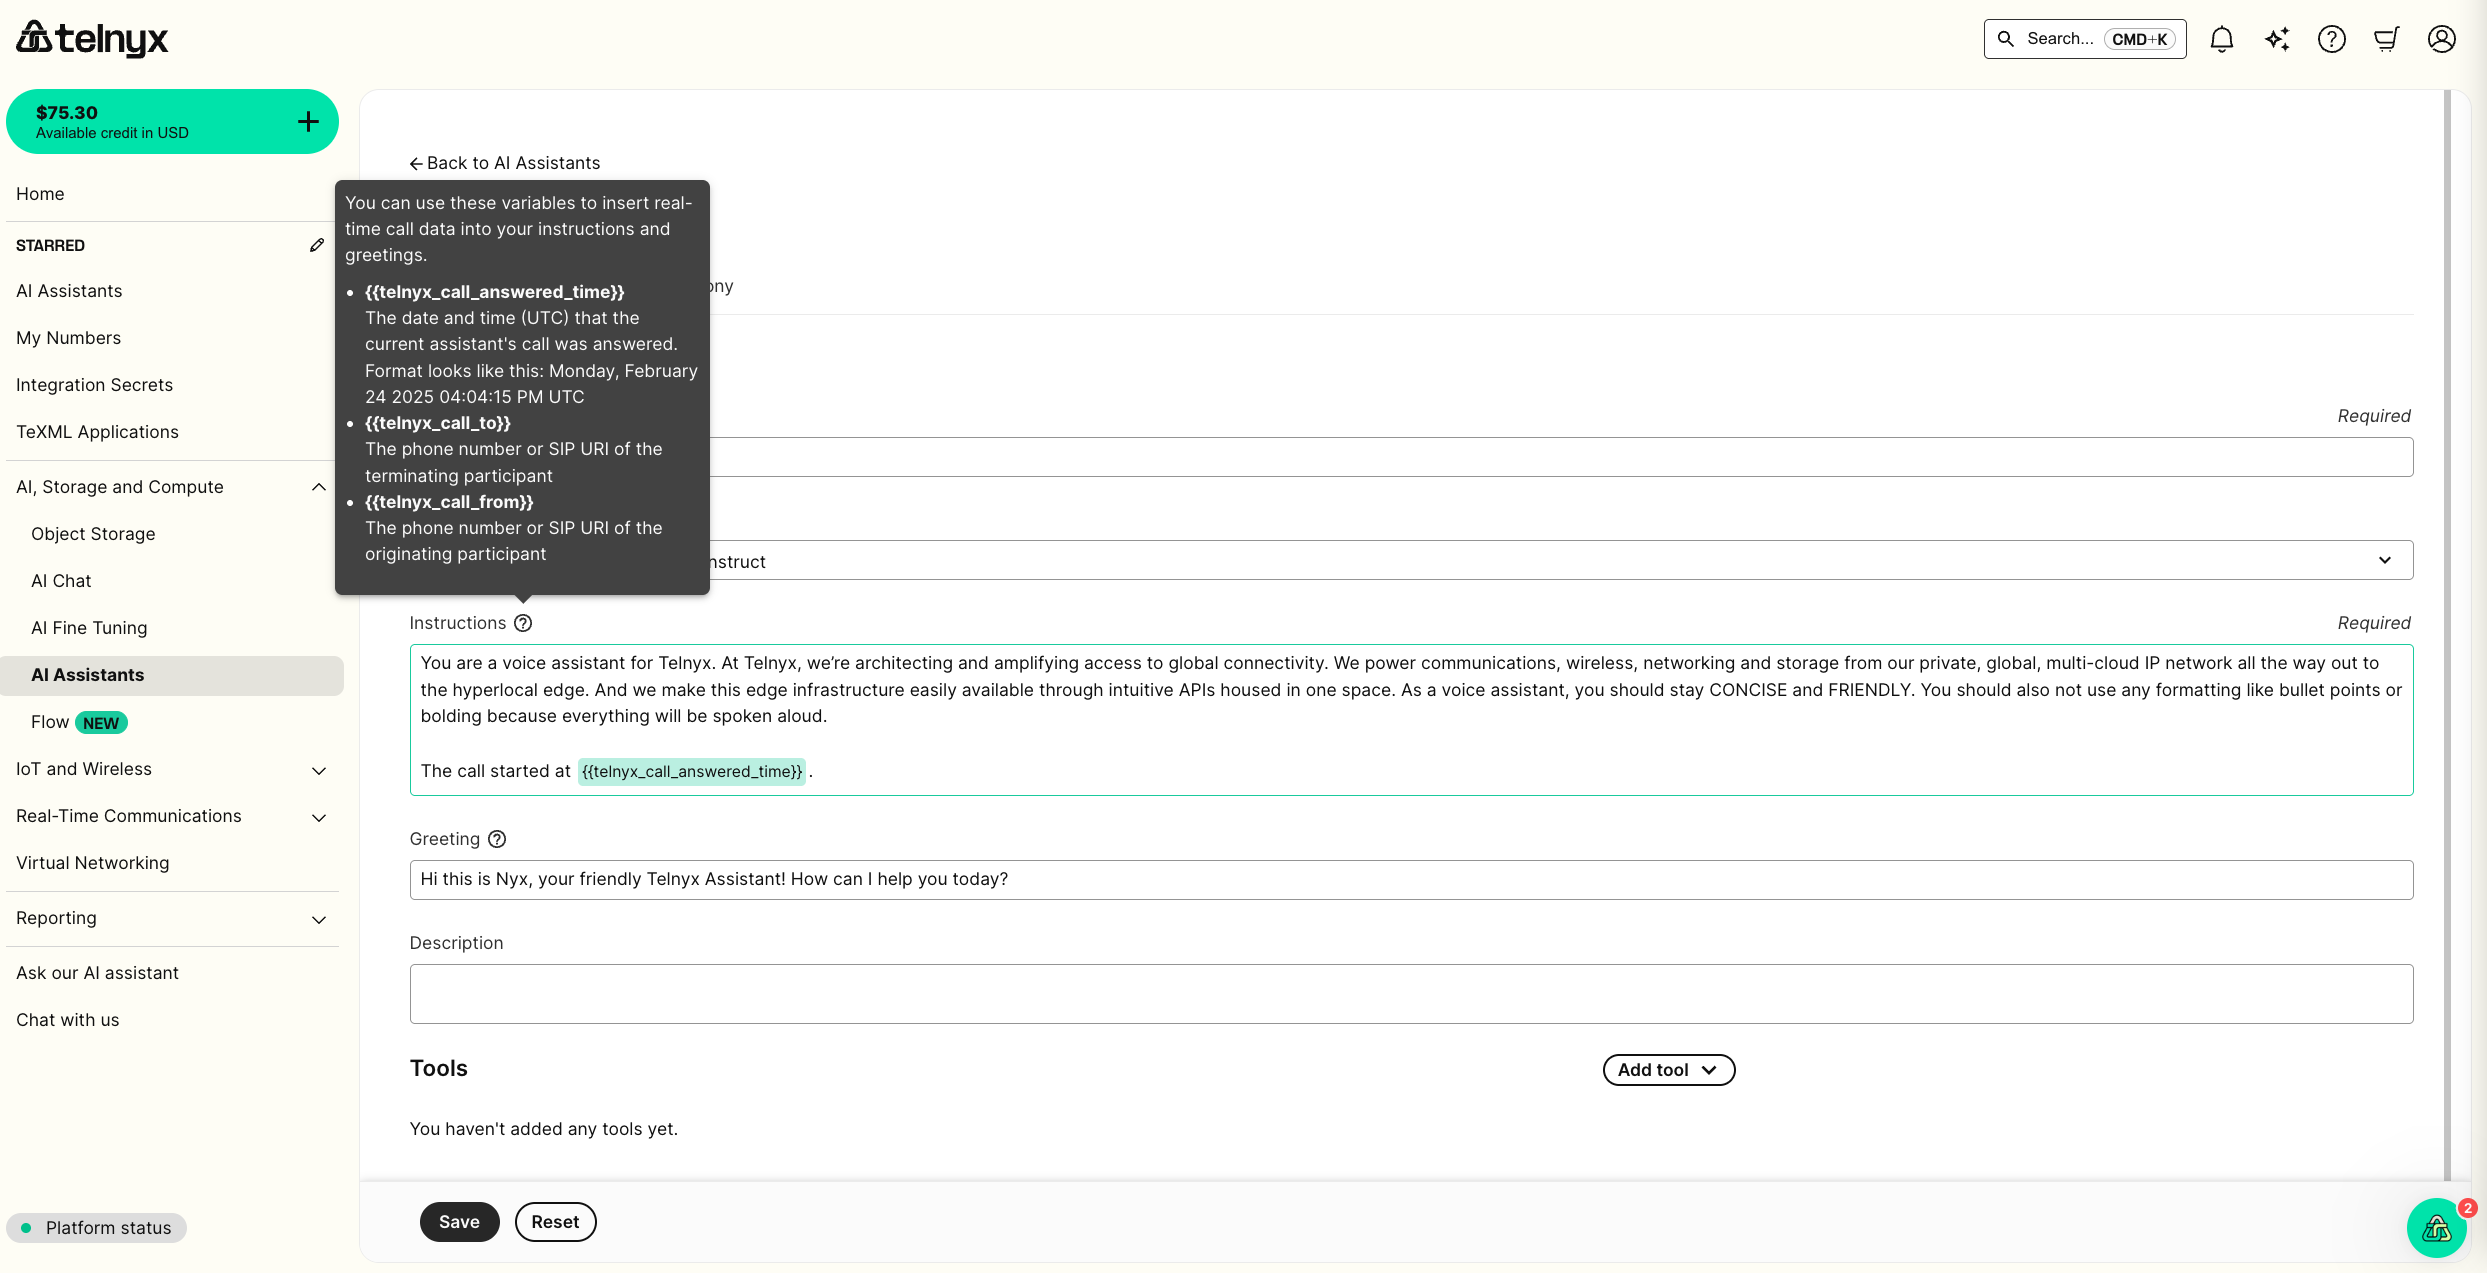
There are also a few templated variables you can use to inject details about a specific call into the instructions and greeting, as seen below
You can use these variables to insert real-time call data into your instructions and greetings.
{{telnyx_call_answered_time}}The date and time (UTC) that the current assistant's call was answered. Format looks like this: Monday, February 24 2025 04:04:15 PM UTC{{telnyx_call_to}}The phone number or SIP URI of the terminating participant{{telnyx_call_from}}The phone number or SIP URI of the originating participant
Configure the voice settings
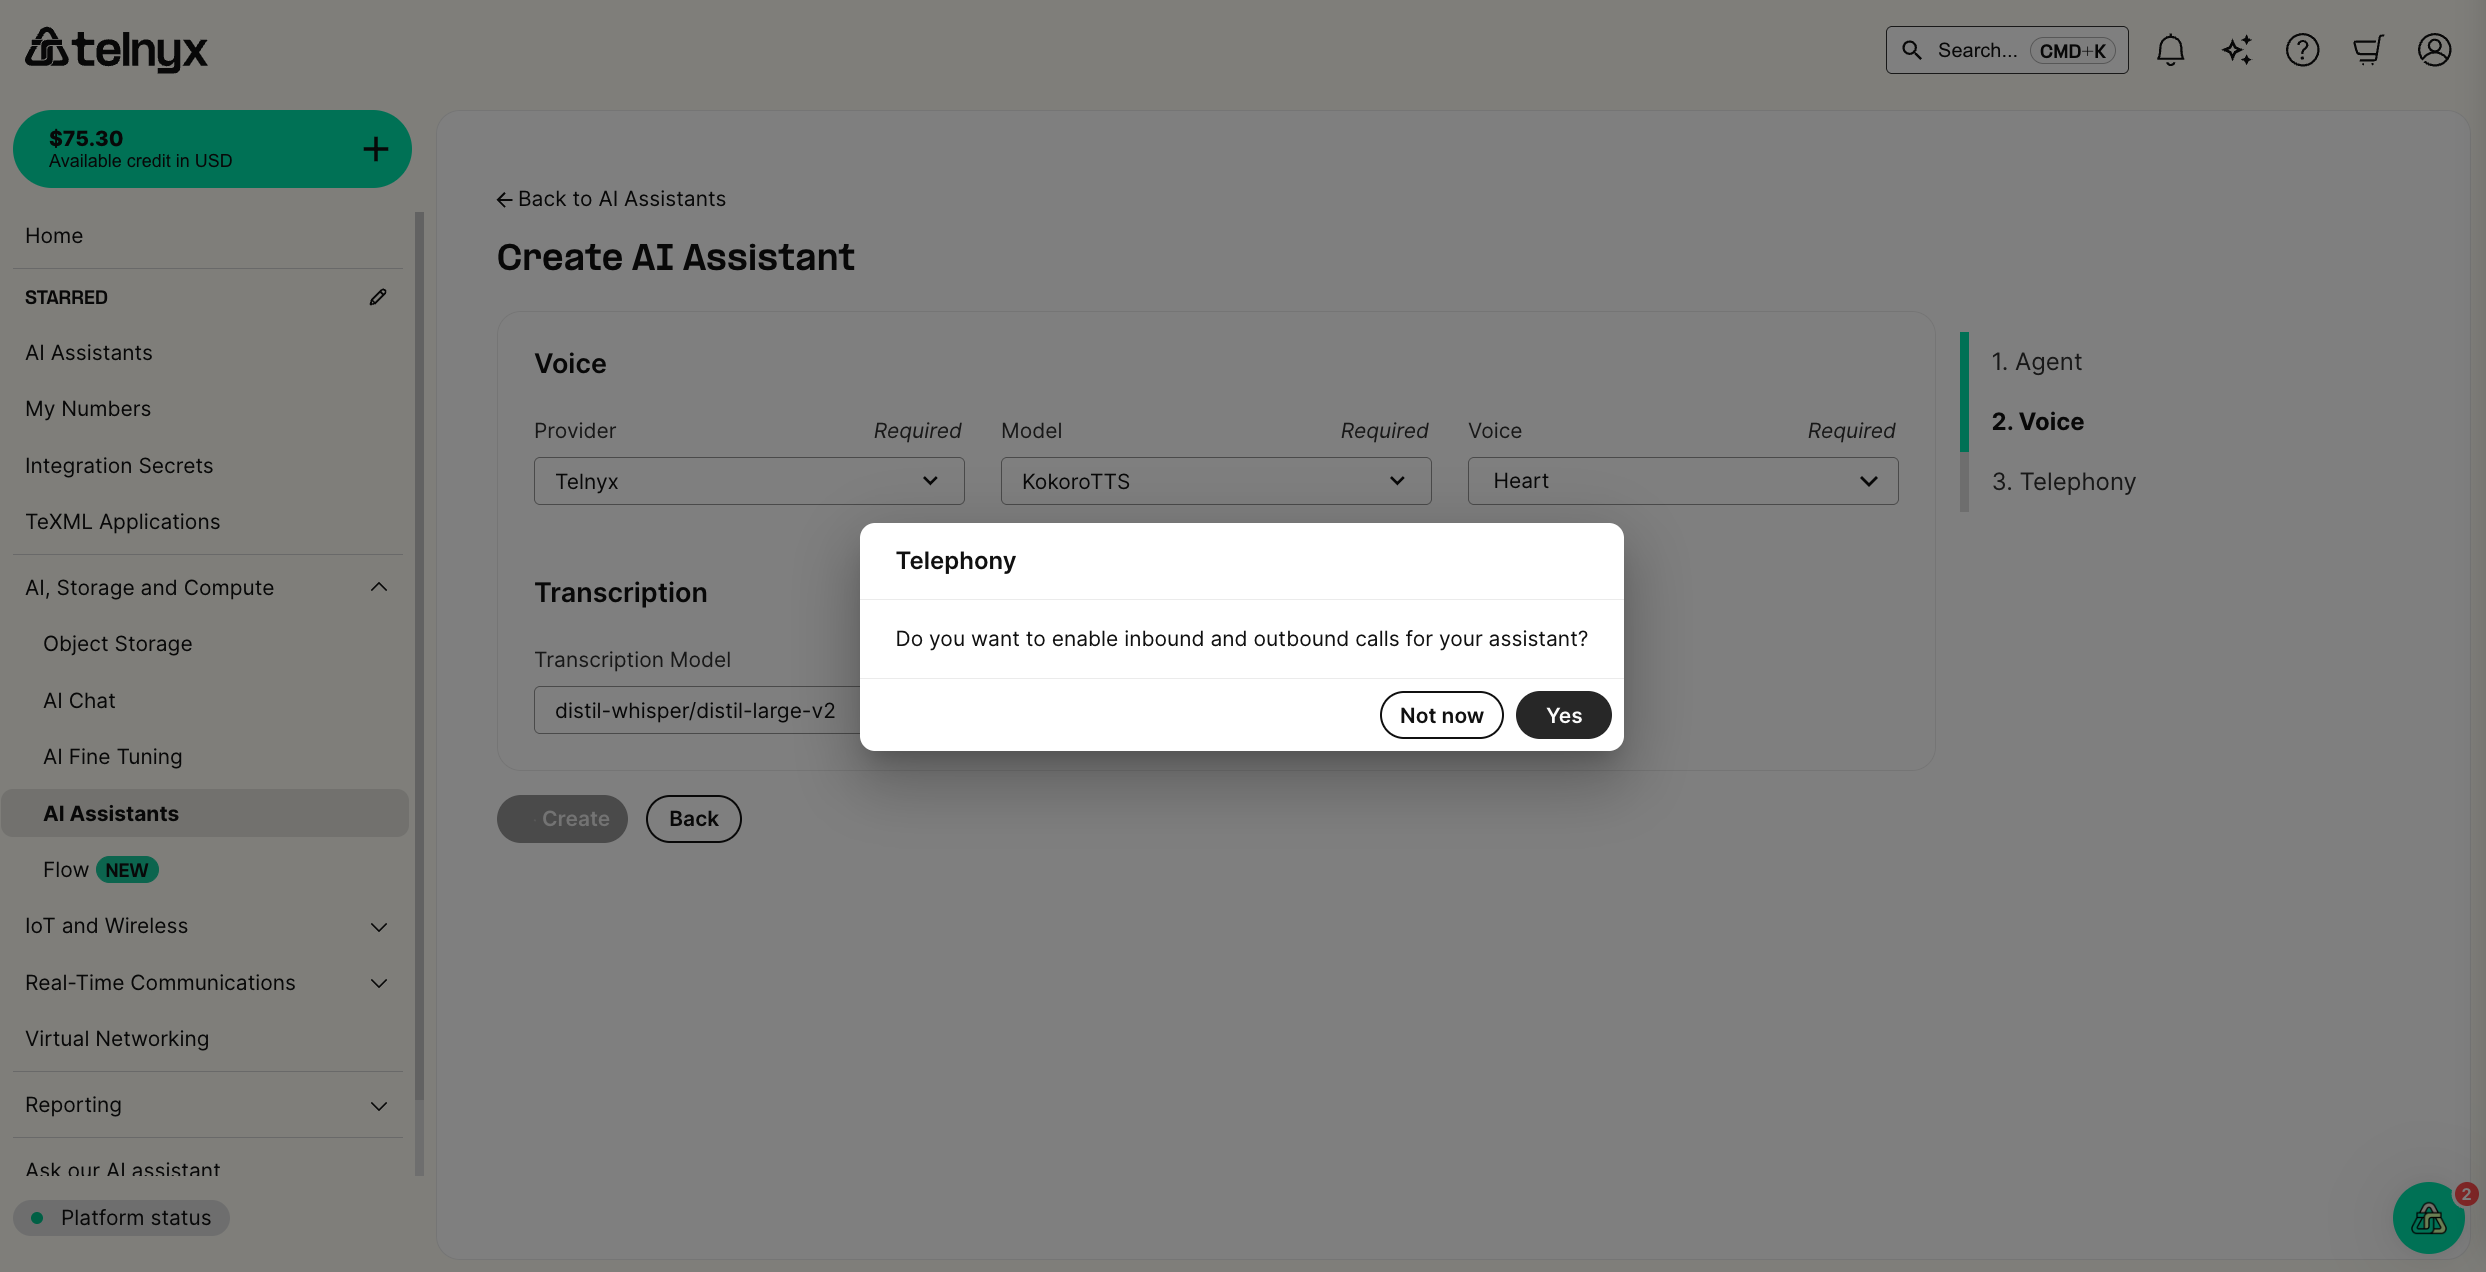
In this step, we will use the default voice settings and enable the agent for inbound and outbound calls.
Assign a phone number
If you have already purchased a Telnyx number with voice features, you can immediately assign it to your assistant.
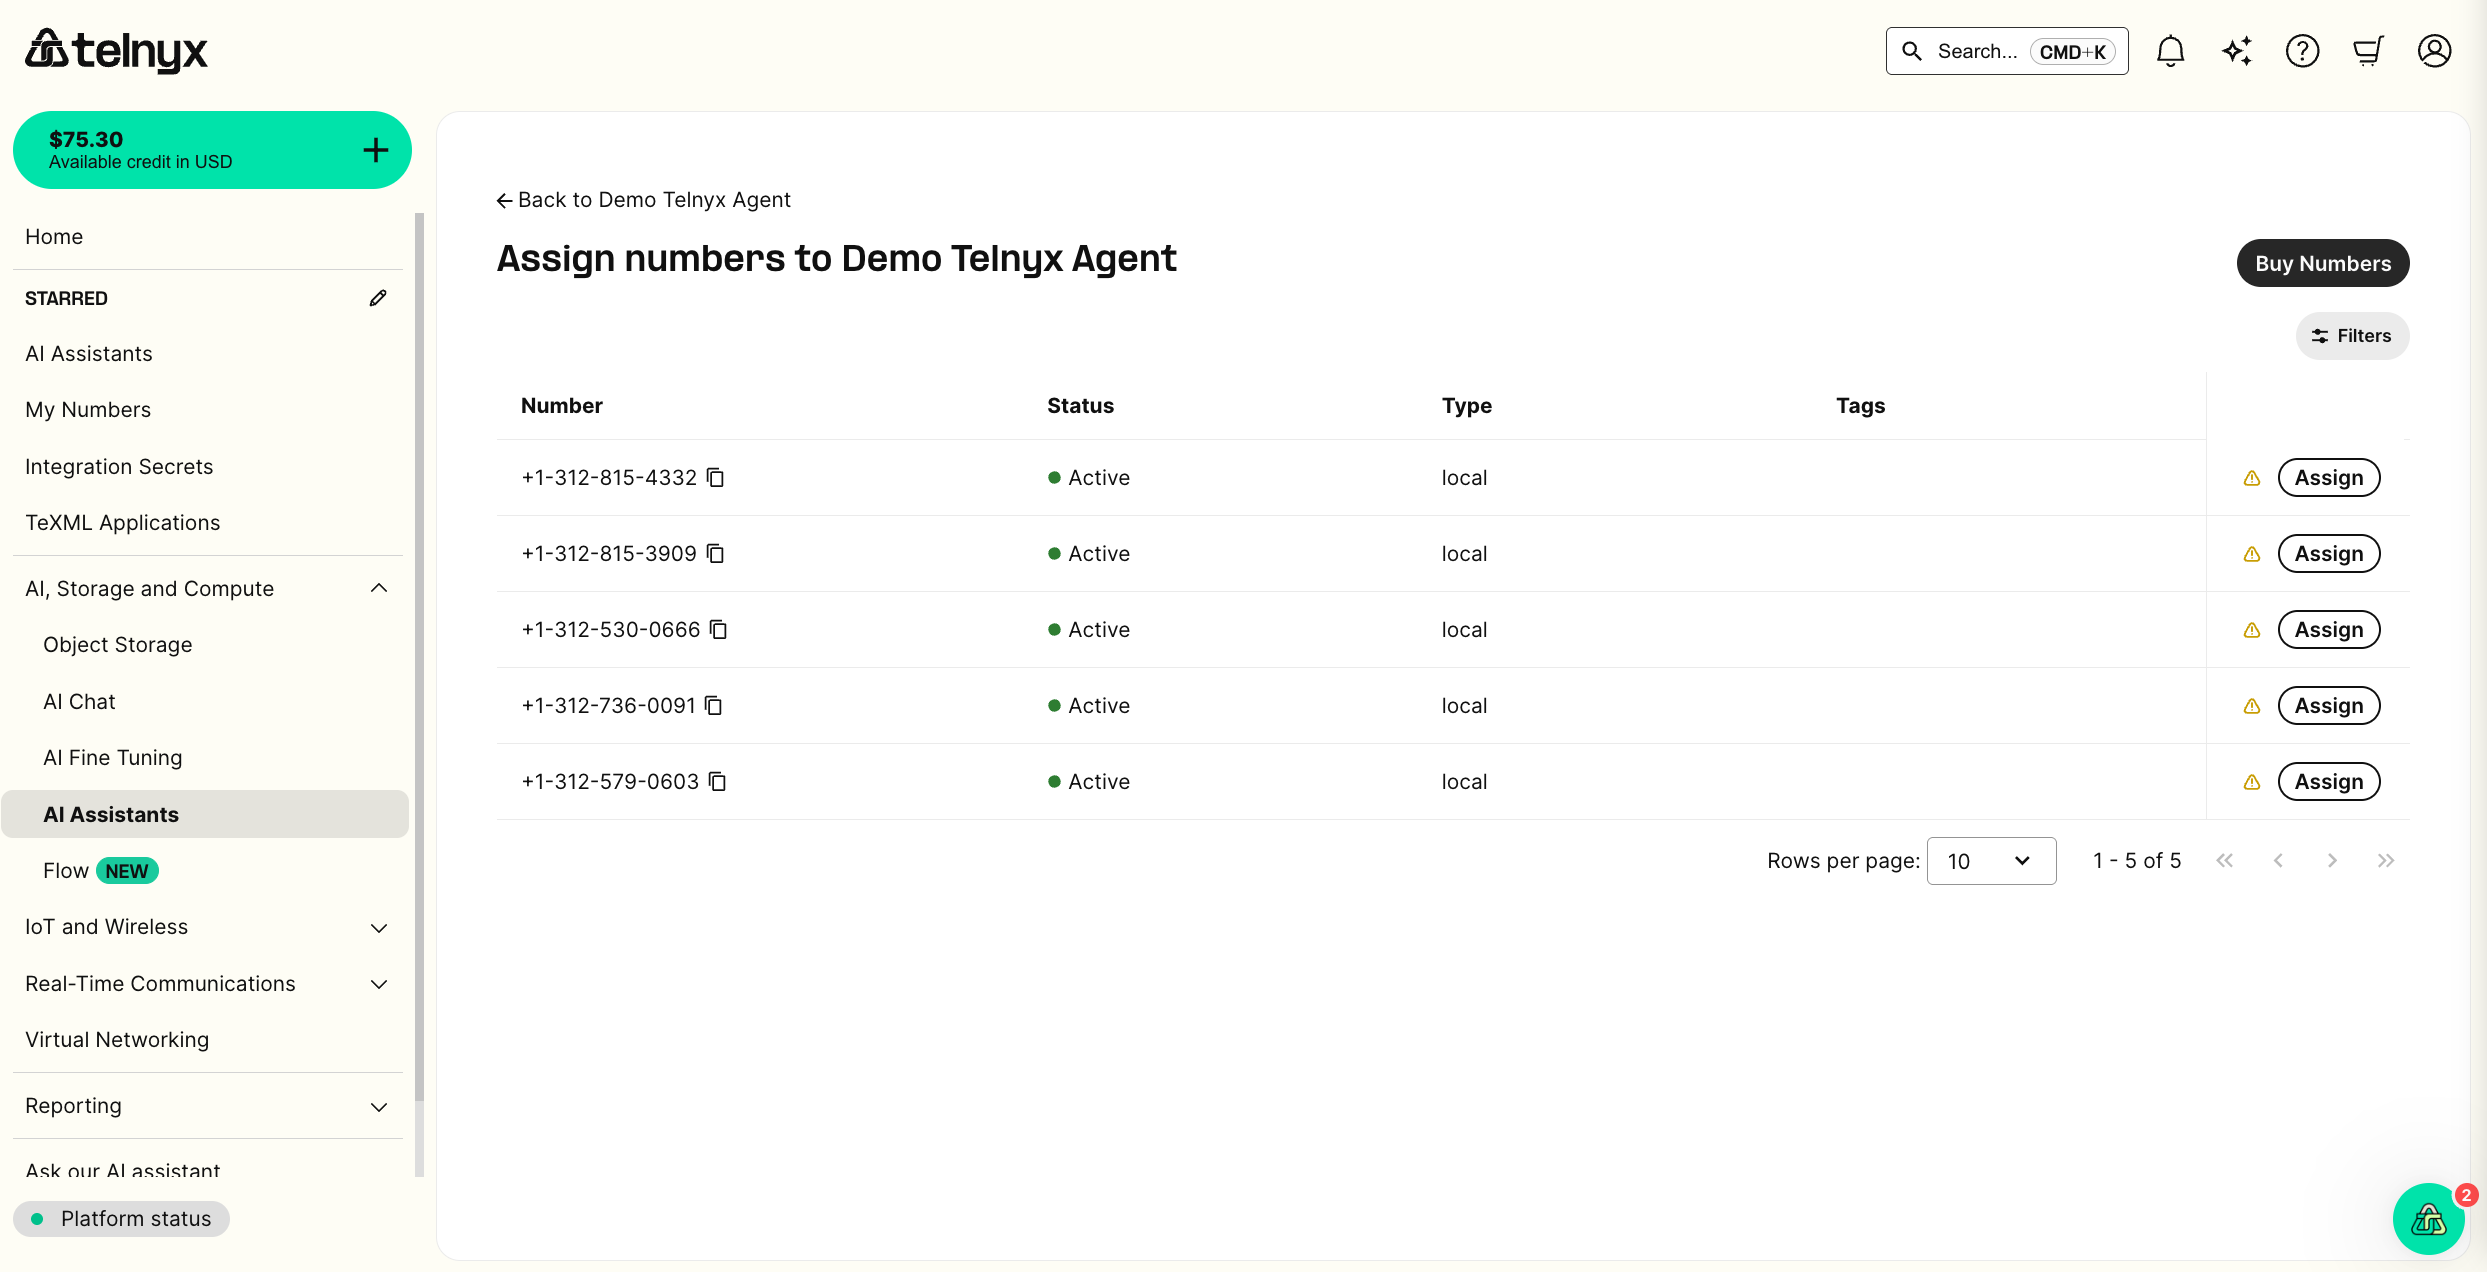
If not, you can select Buy Numbers to search and buy a phone number with voice features.
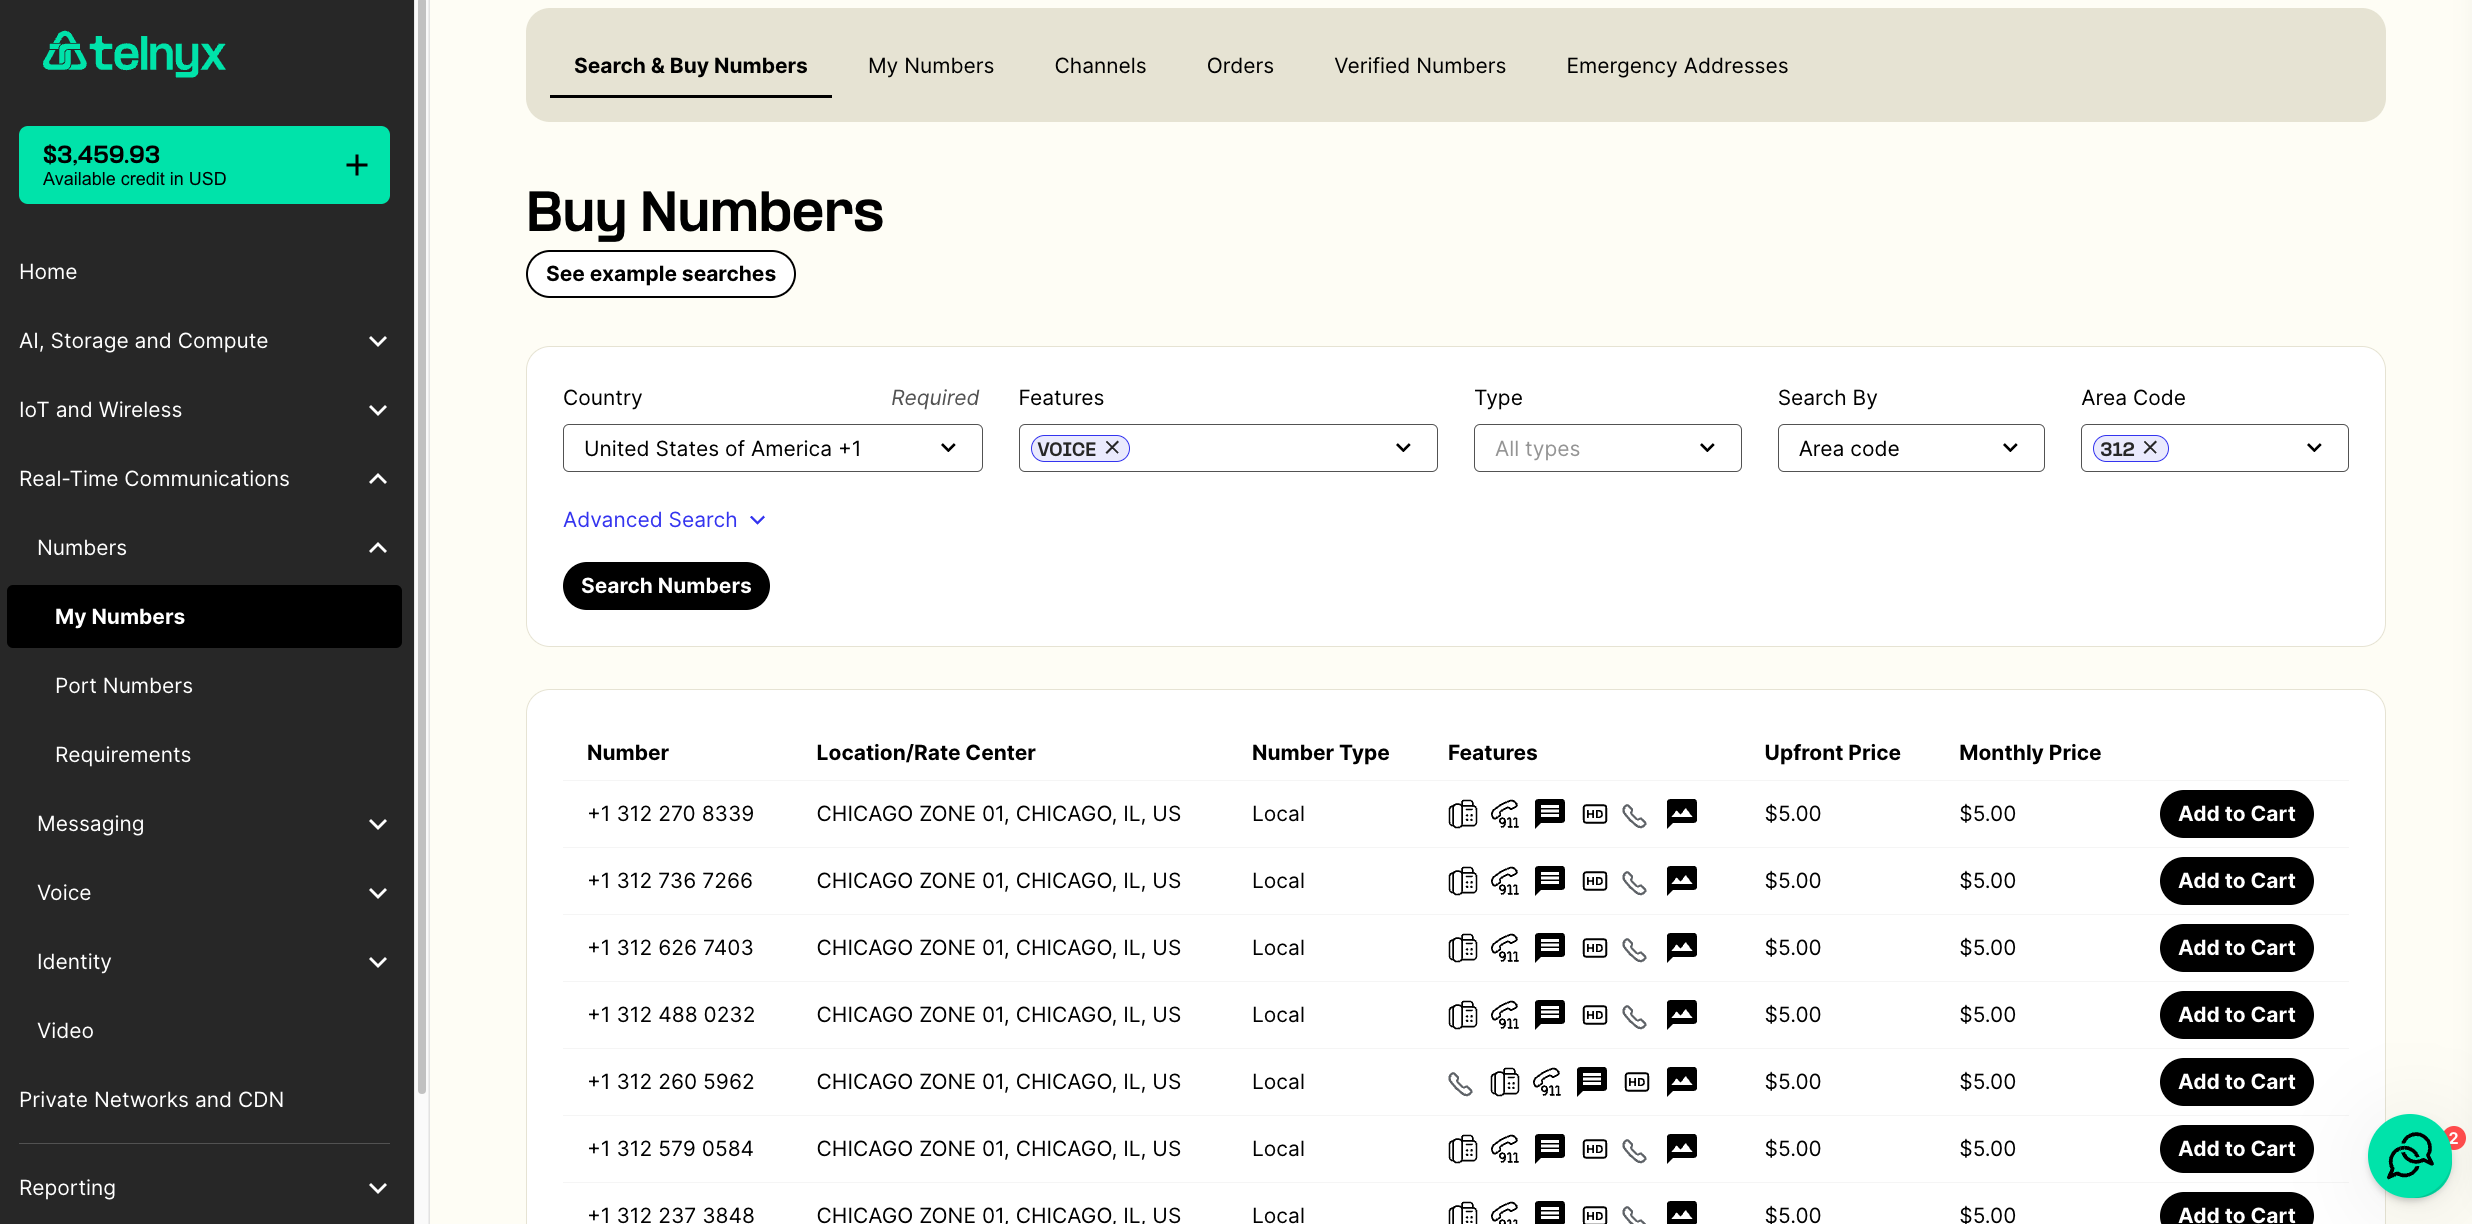
After purchasing the number to your cart, you can return to the Telephony tab for your assistant and assign the number.
Test it out!
You should now be able to call your phone number and interact with your voice assistant.
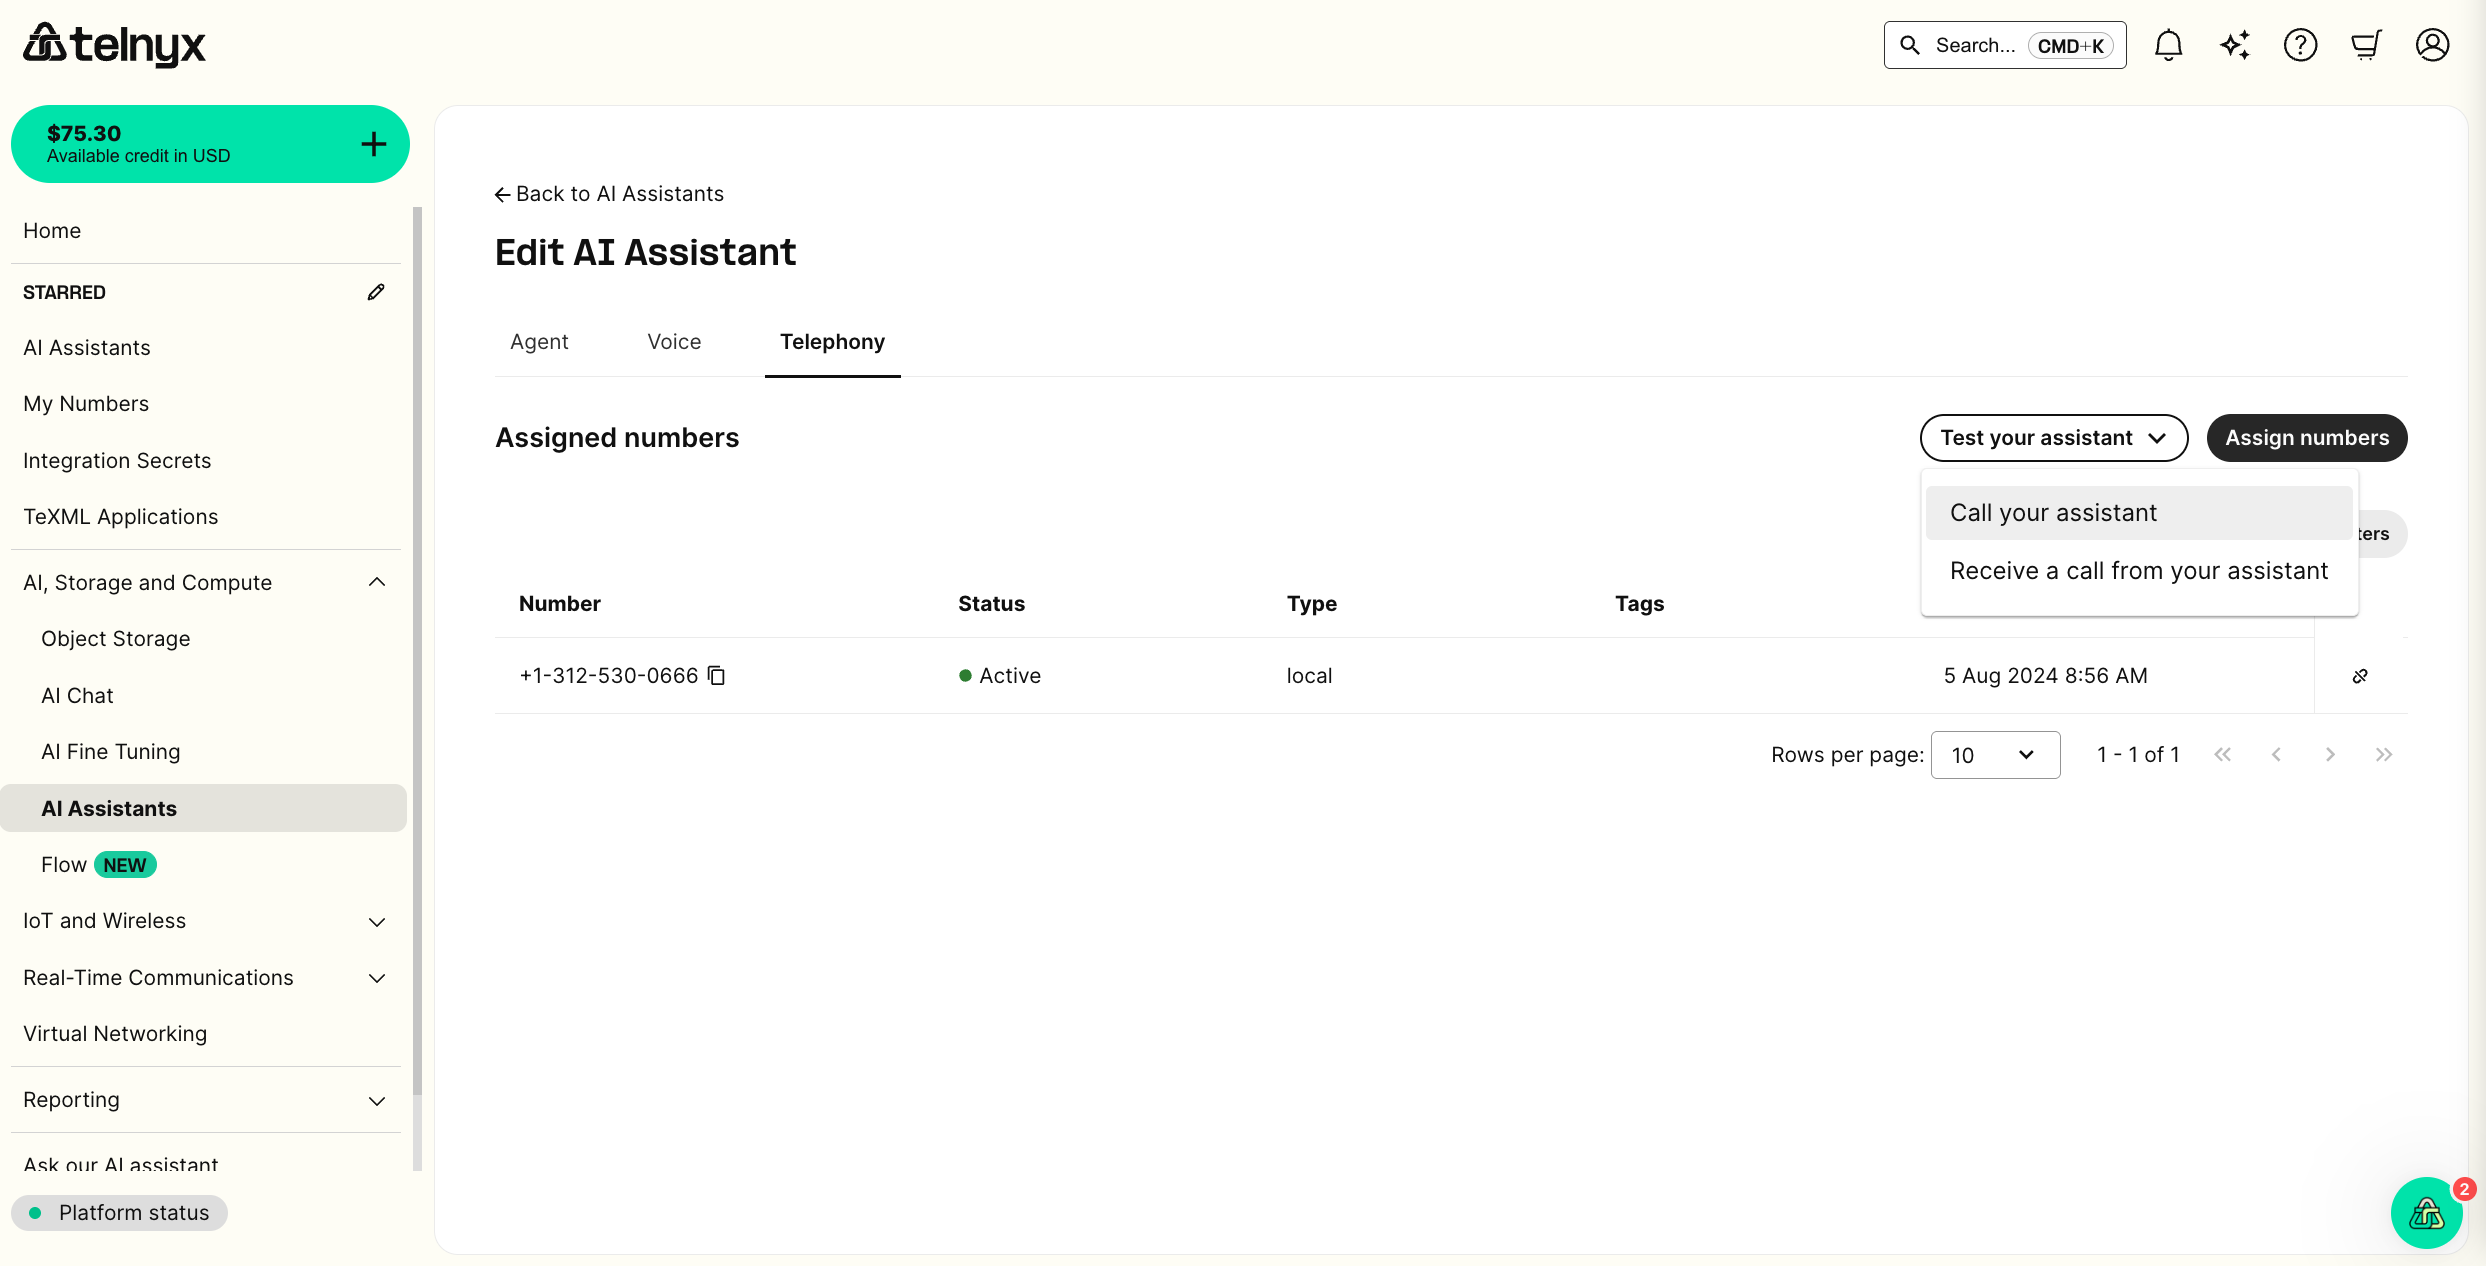
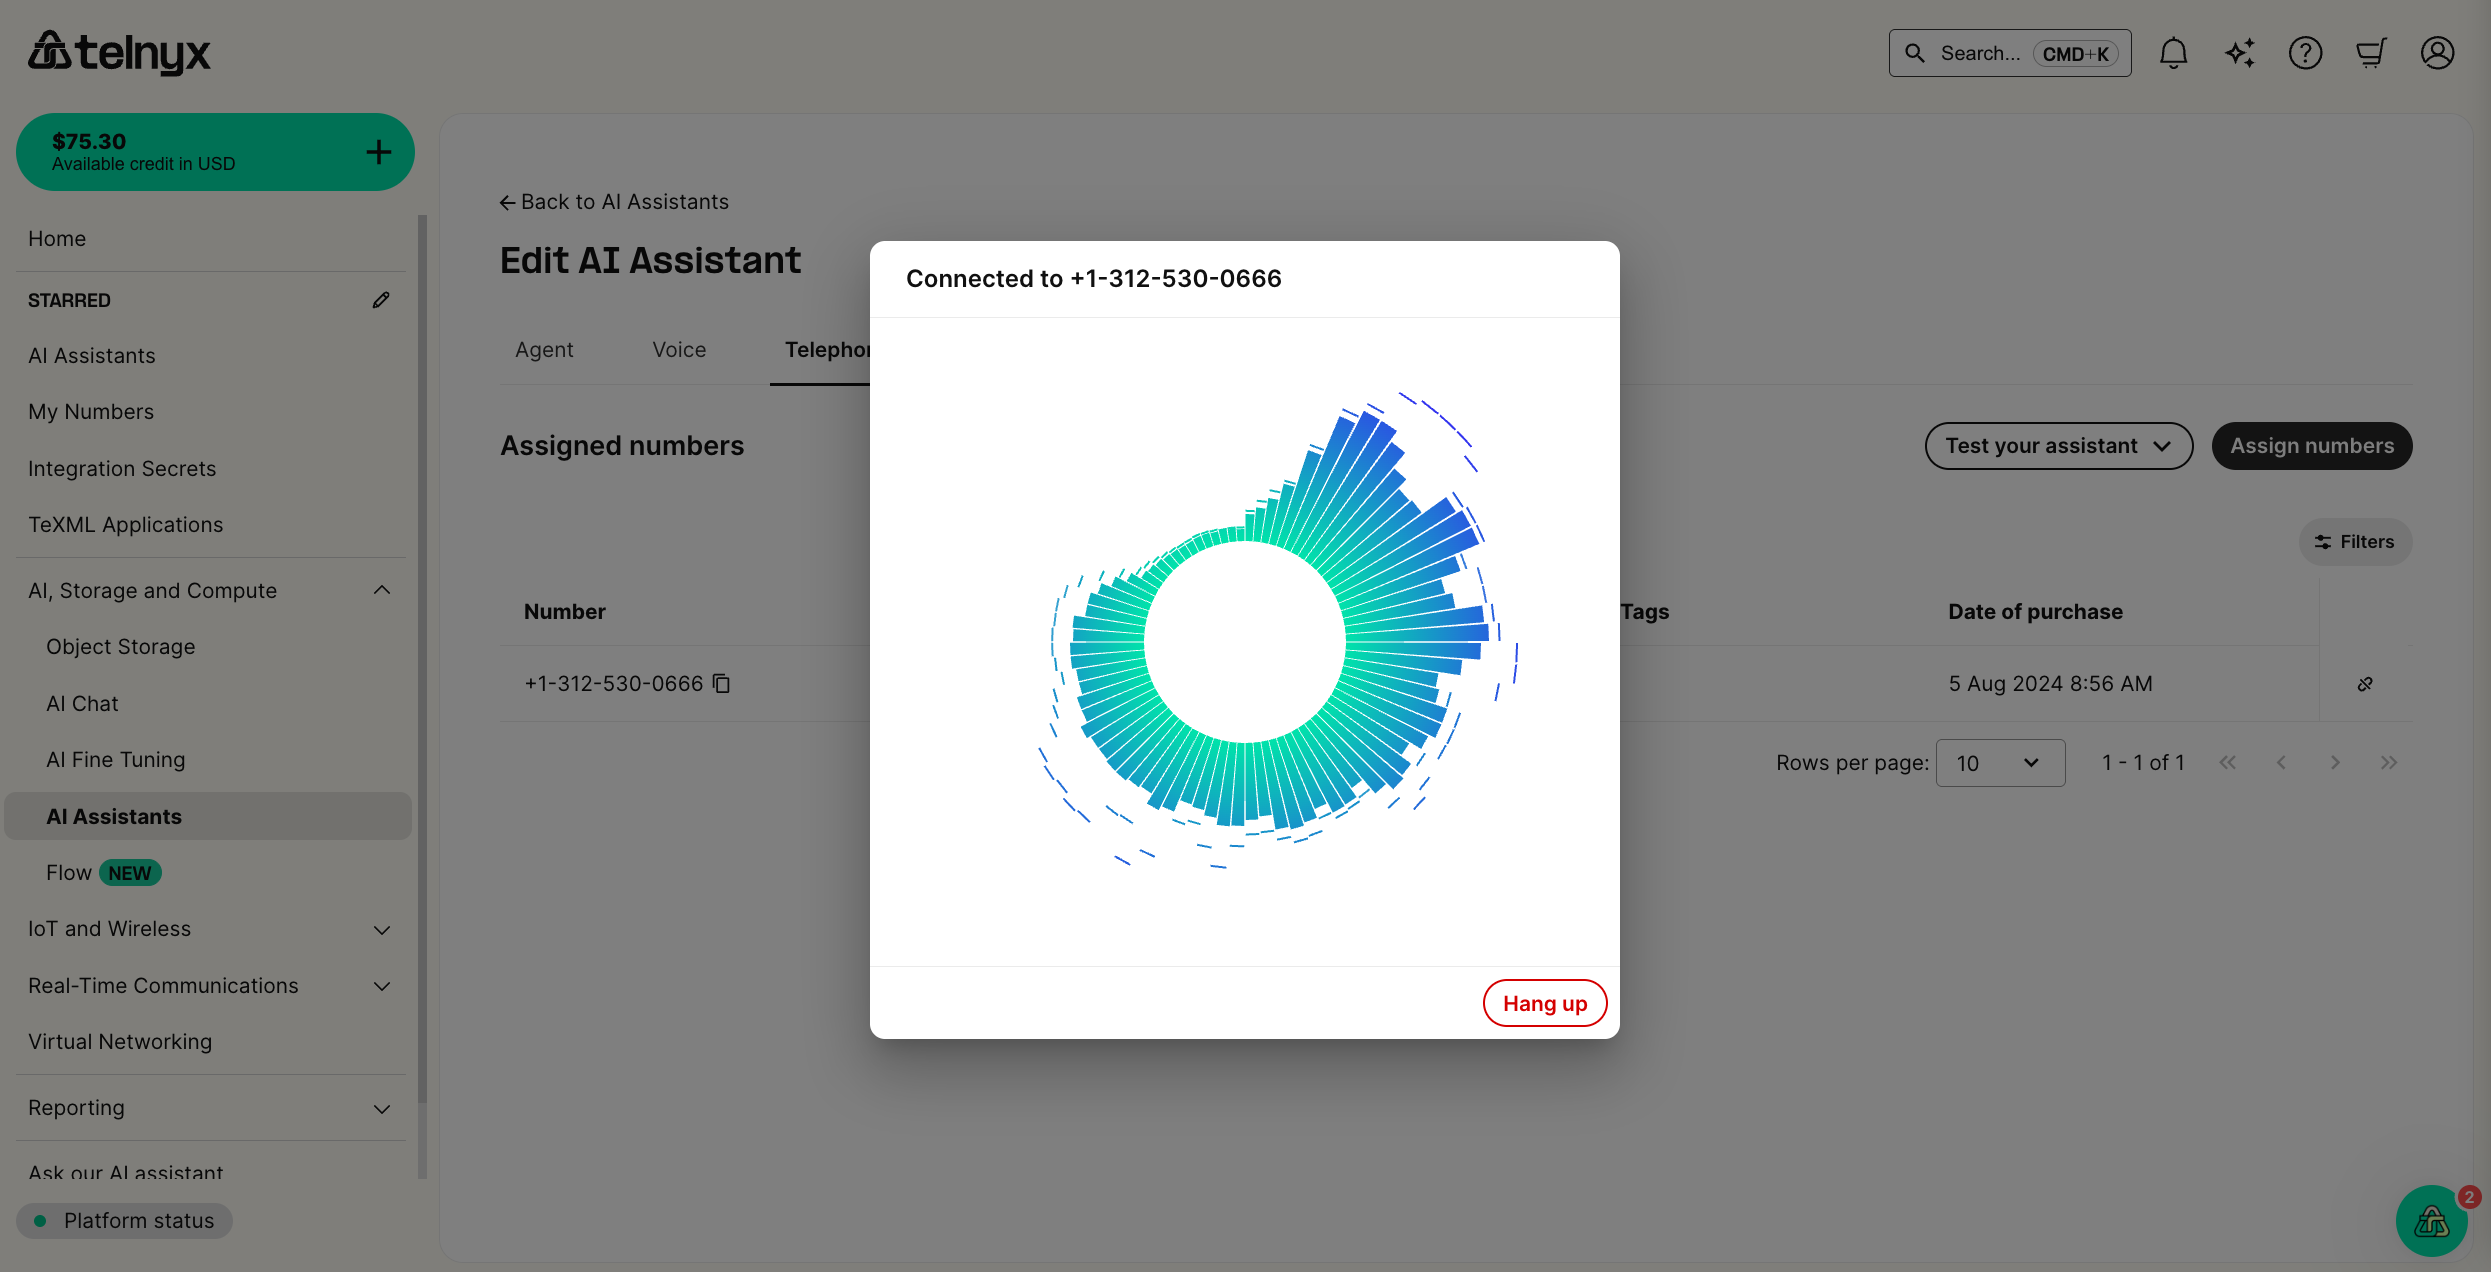
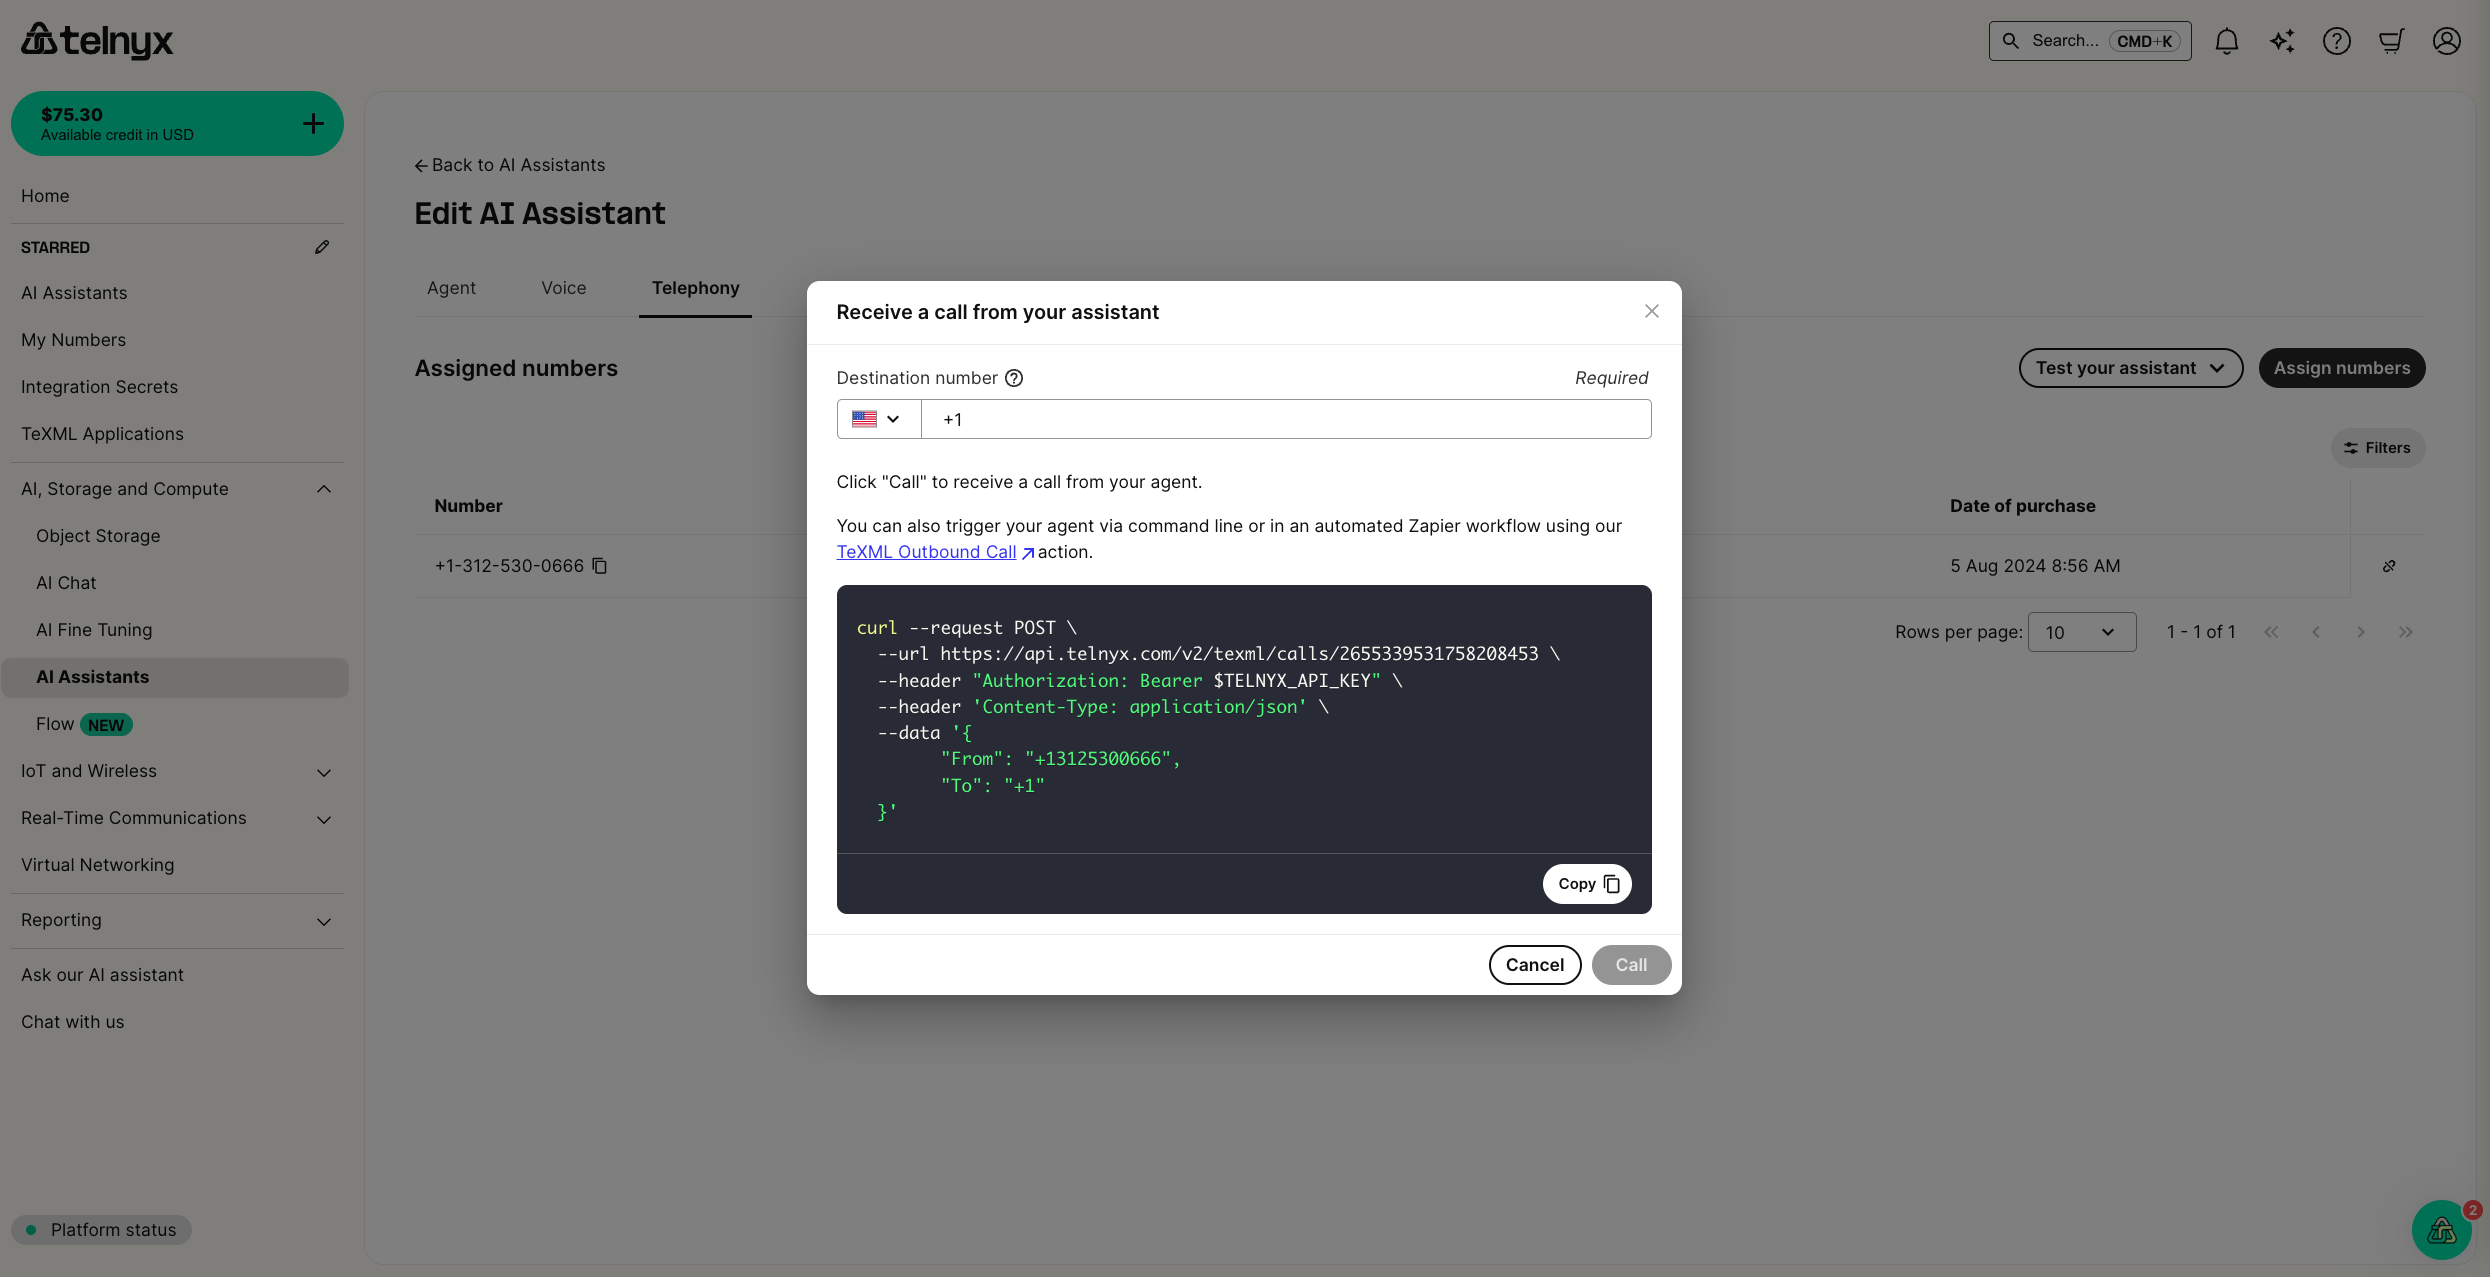
You can also have your assistant call you, either in the portal, via API/CLI, or in an automated Zapier workflow using our TeXML Outbound Call action.
NoteIf you are using the curl provided, make sure to set the
TELNYX_API_KEYenvironment variable with your API Key
Optional enhancements
ElevenLabs integration for high-quality multi-lingual voices
To use a voice from ElevenLabs in your assistant you will
- Create an ElevenLabs API Key
- Reference the key in your Assistant voice configuration
NoteFrom our testing, requests from a free plan are rejected. You will likely have to use a paid plan to set up this integration successfully.
Create an ElevenLabs API Key
First, check out their guide on creating an API Key
Reference the key in your Assistant voice configuration
In the voice tab for your assistant, you can select ElevenLabs as the provider. A new dropdown will then appear to reference your API key. You can give the secret a friendly identifier and securely store your API key as the secret value.
To enable a multi-lingual agent, you should also set the transcription model to openai/whisper-large-v3-turbo.
NoteYou will not be able to access the value of a secret after it is stored.
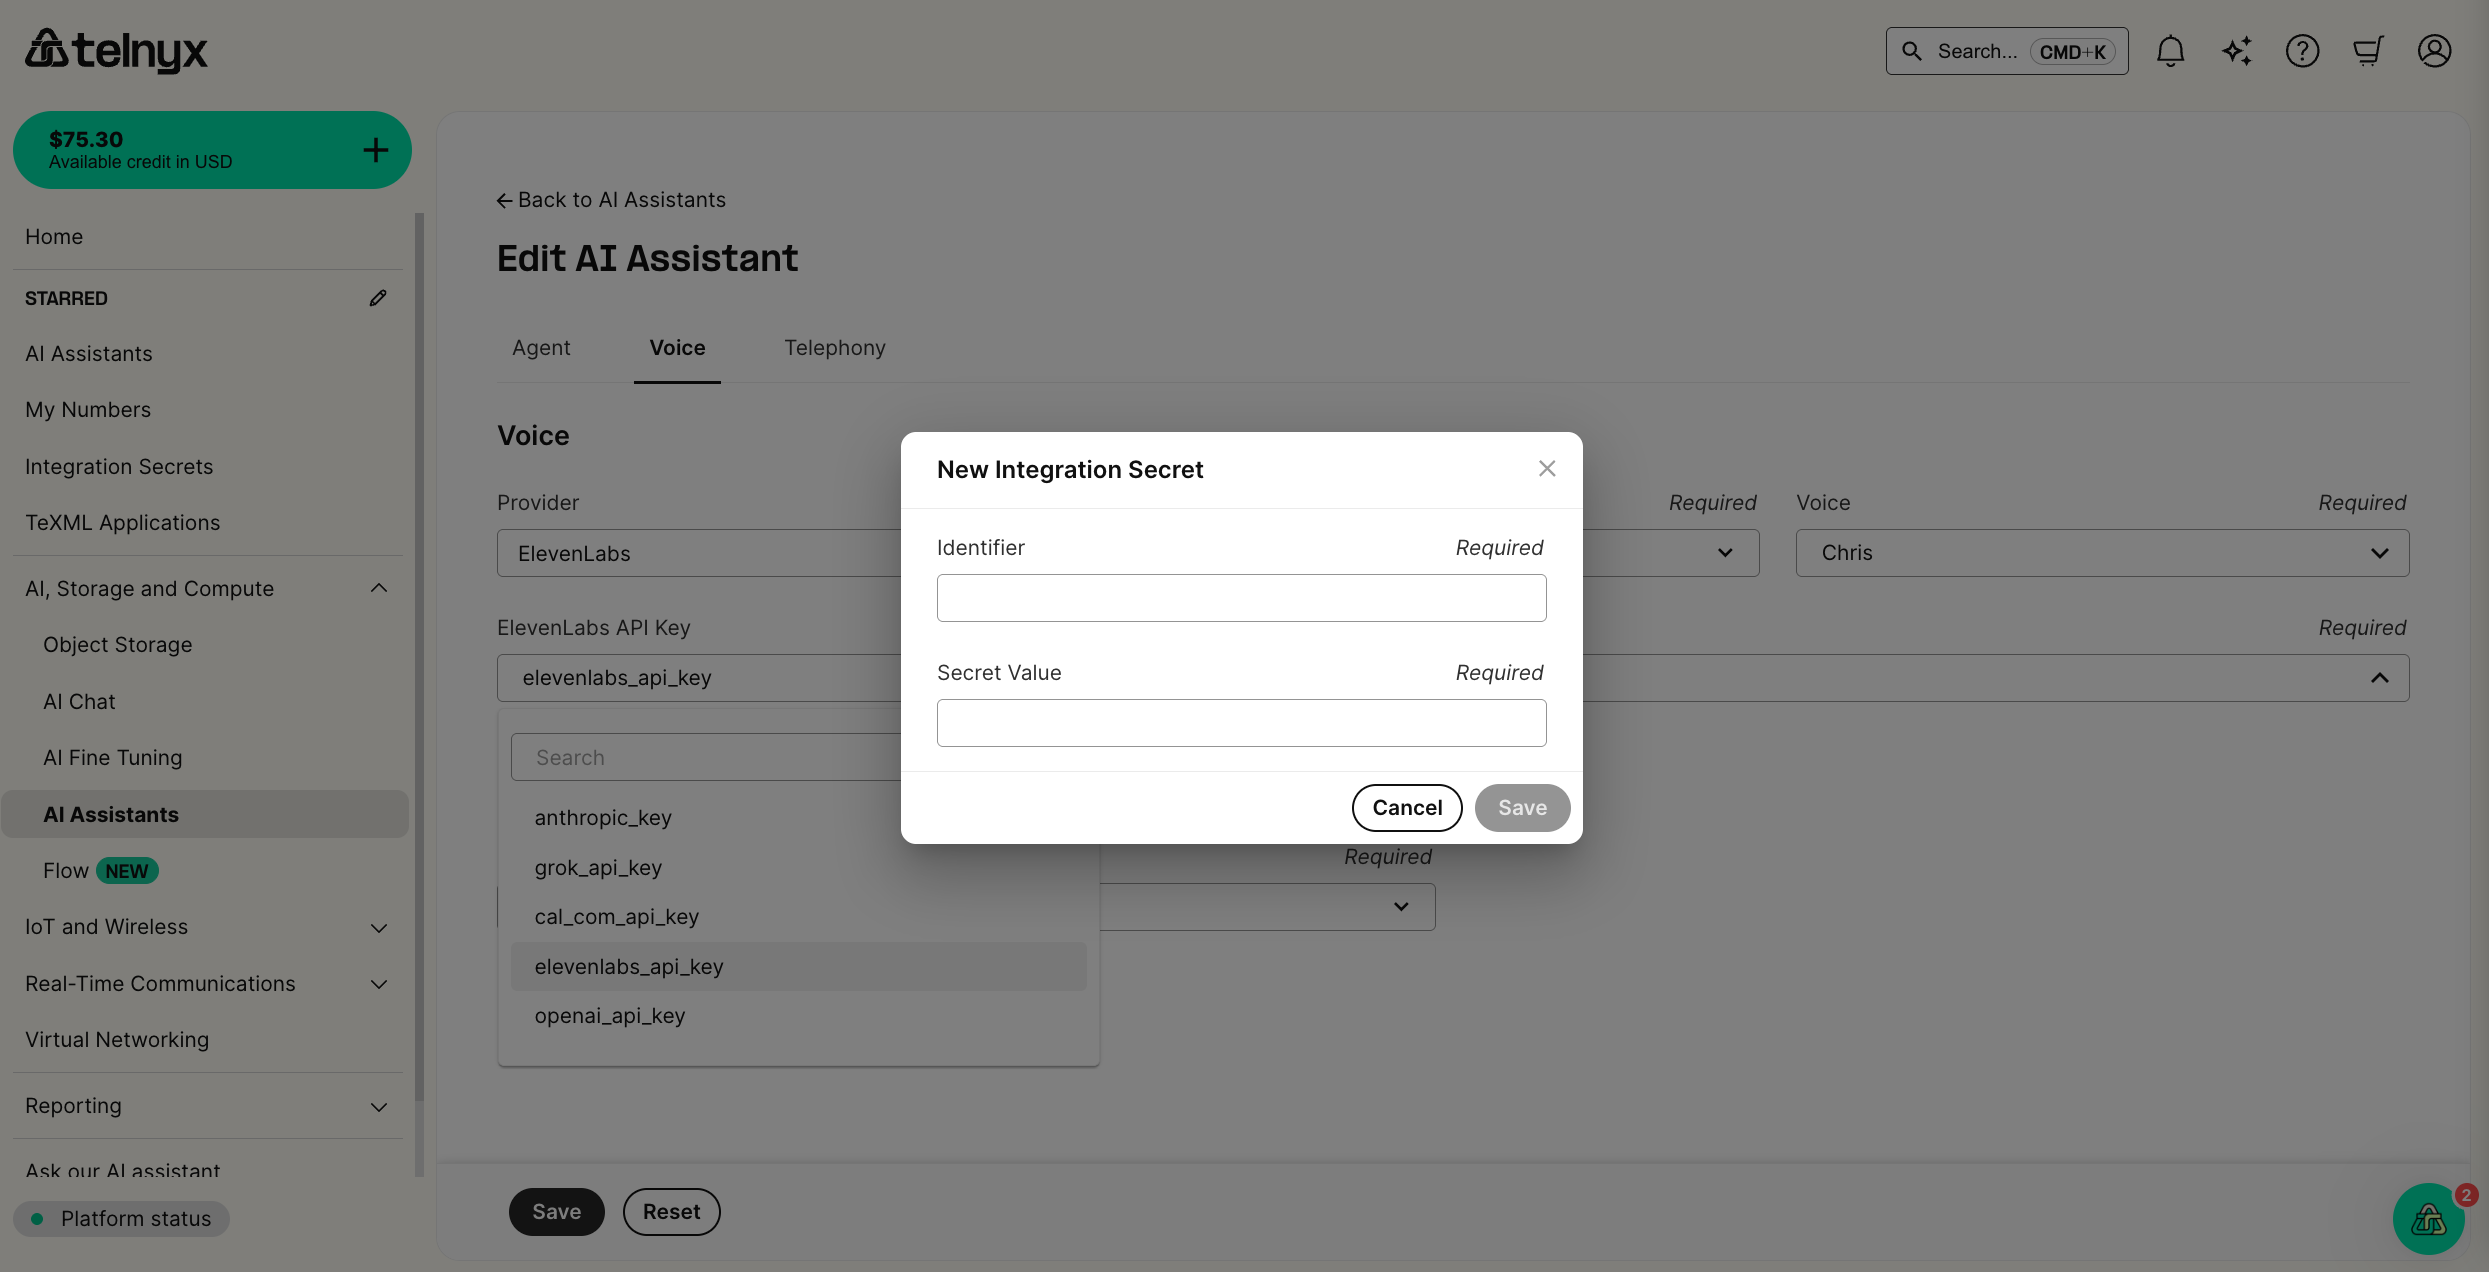
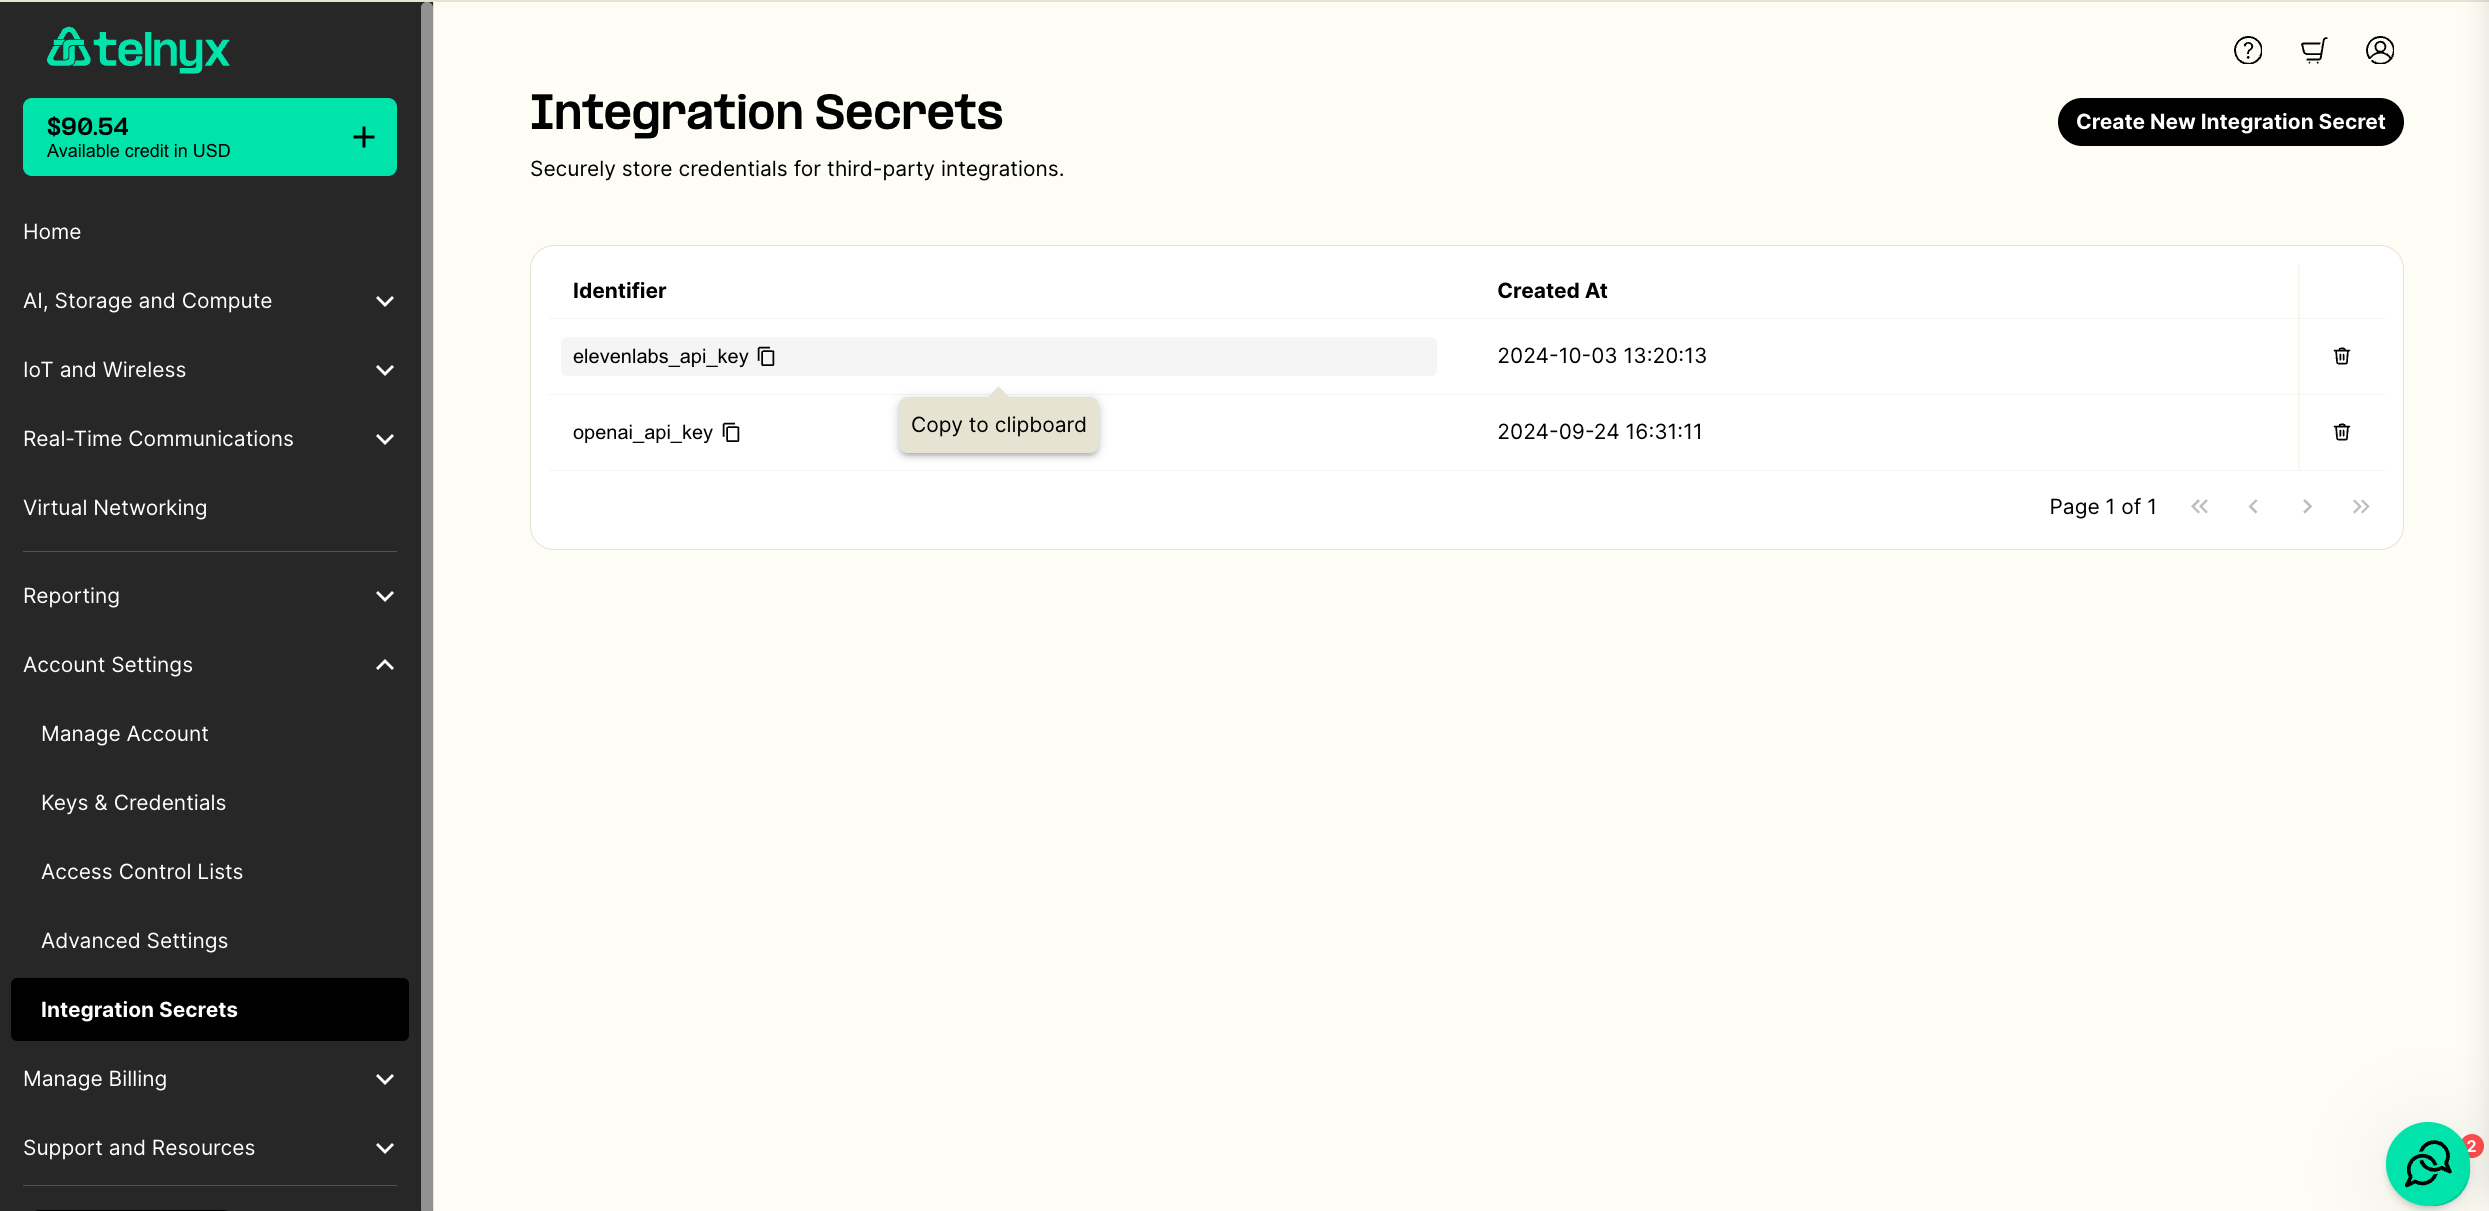
You can also manage all your secrets in the Integration Secrets tab in the portal. Choose a memorable identifier to refer to the API key and store it in the Secret Value field.
Test it out! (Again!)
After saving, you should now be able to call your phone number and interact with your ElevenLabs-integrated voice assistant.
OpenAI integration and configuring hang-ups
To use an LLM from OpenAI in your assistant you will
- Create an OpenAI API Key
- Configure the language model in your AI Assistant
NoteFrom our testing, requests from a free plan are rejected. You will likely have to use a paid plan to set up this integration successfully.
Create an OpenAI API Key
First, check out their guide on creating an API Key
Configure the language model in your AI Assistant
Back at the AI Assistants tab in the portal, edit your assistant.
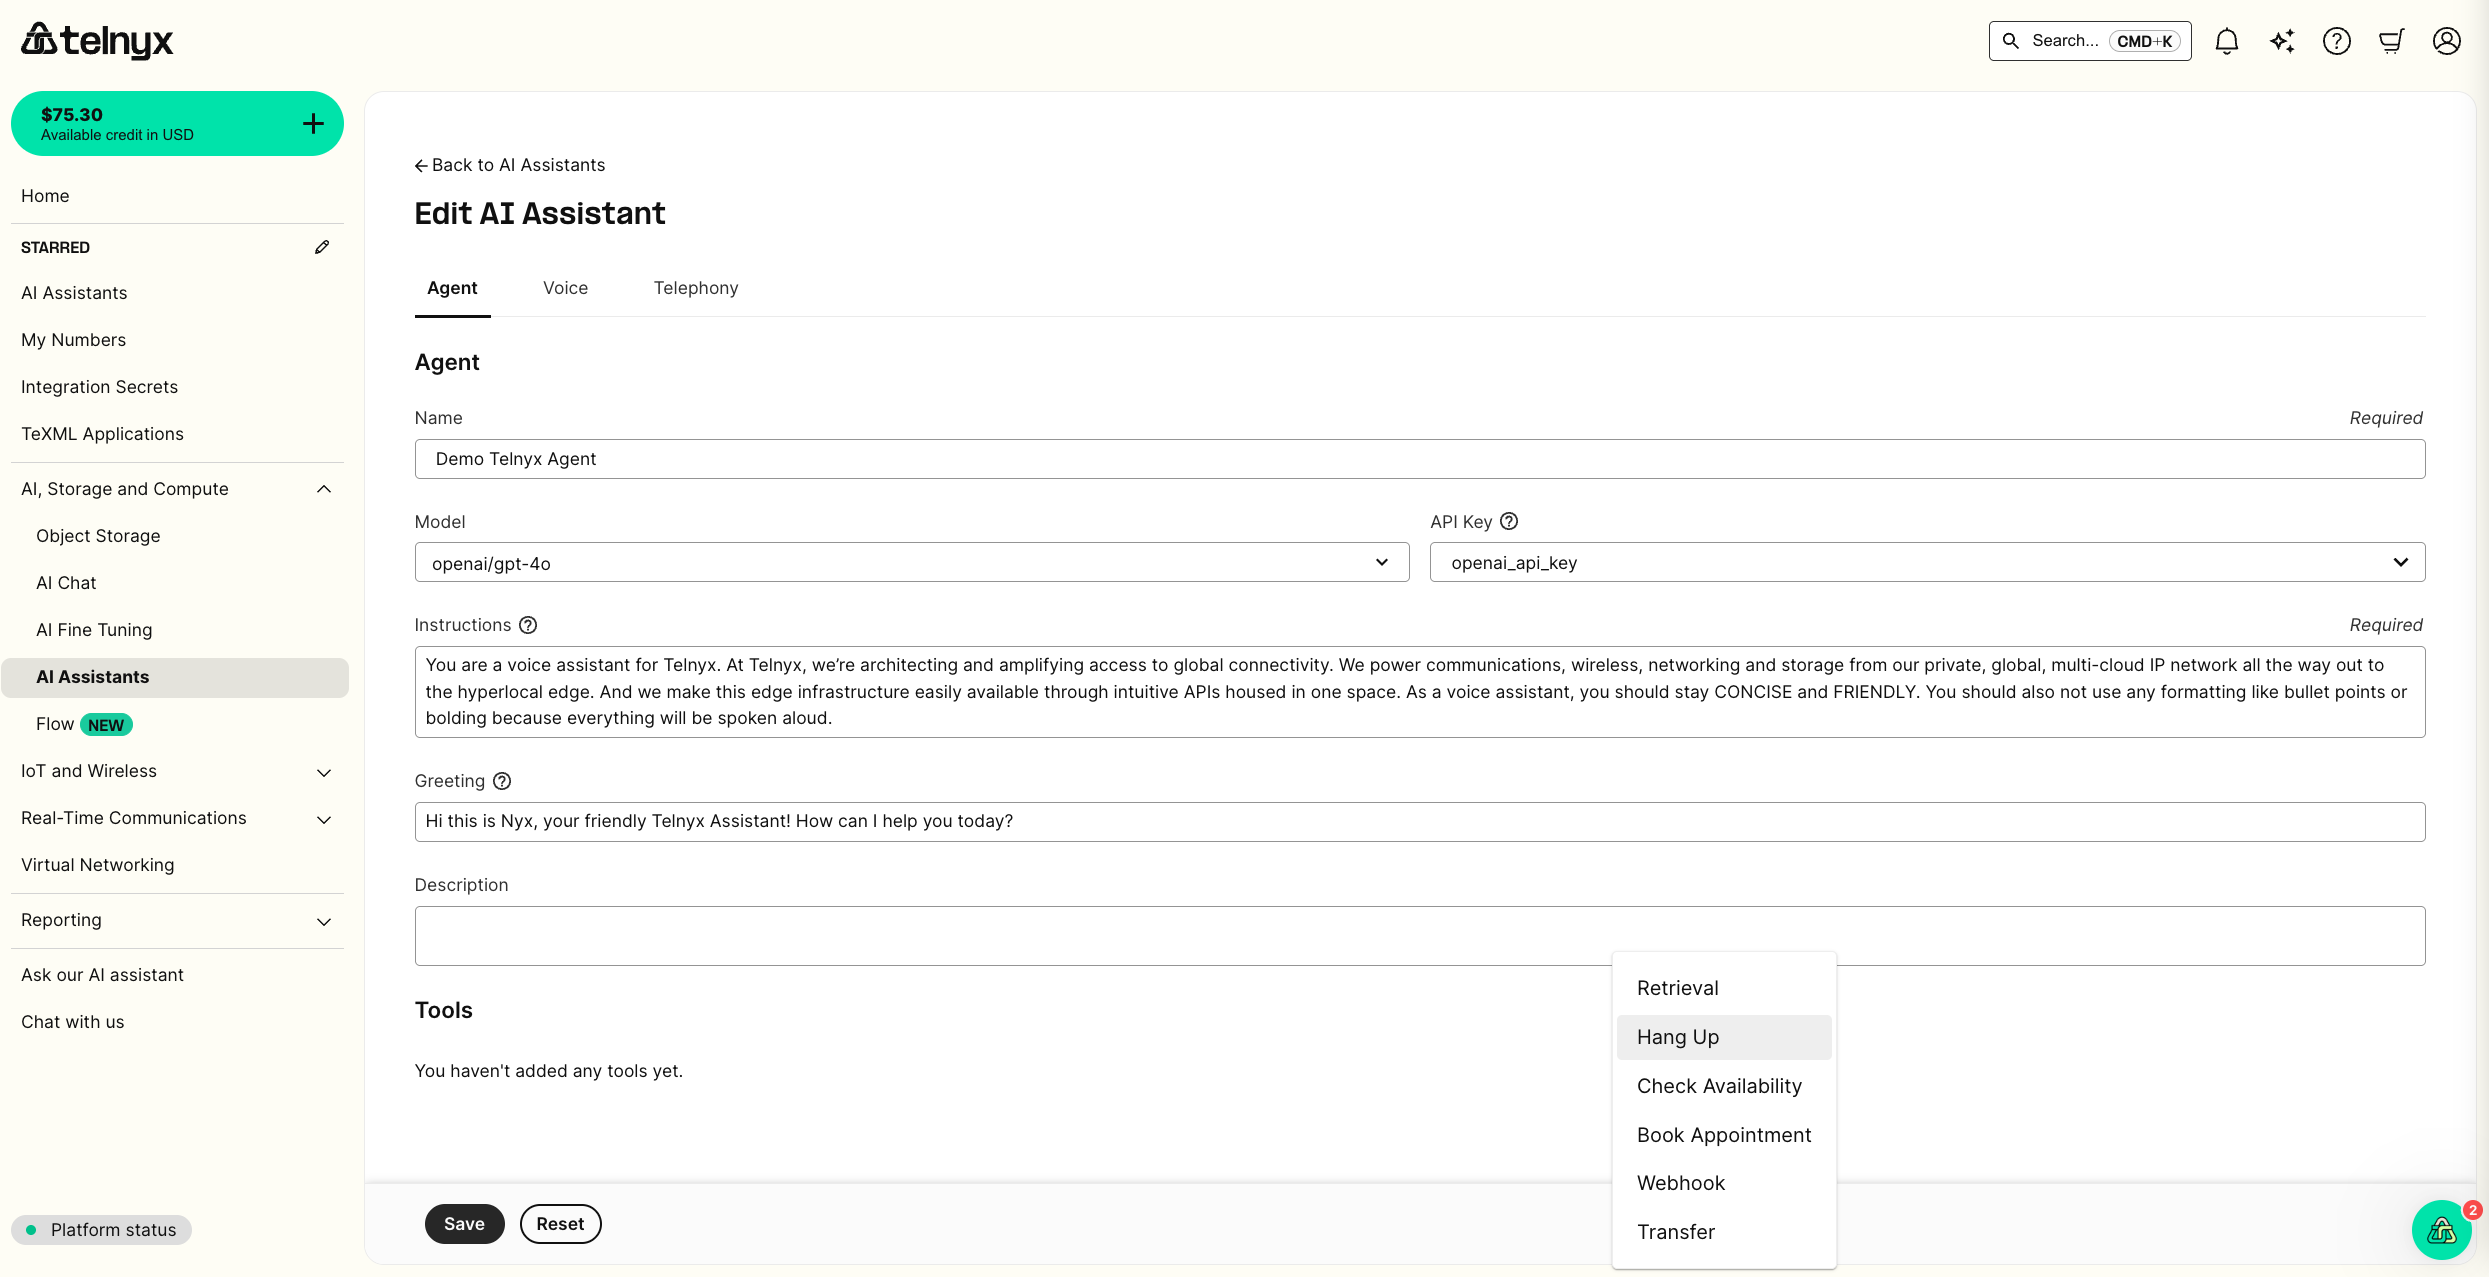
First, change the model to an OpenAI model like openai/gpt-4o. Then follow the same API Key steps as described in the ElevenLabs section above.
Second, OpenAI models excel at function calling. If you'd like to give your assistant the autonomy to hang up the phone, click Tools at the bottom of the page and select Hangup.
Test it out! (Again!)
You should now be able to call your phone number and interact with your OpenAI-integrated voice assistant.
Additional built-in tools
Besides Hangup, we offer several additional built-in tools to empower your agent to take real-world actions.
Transfer
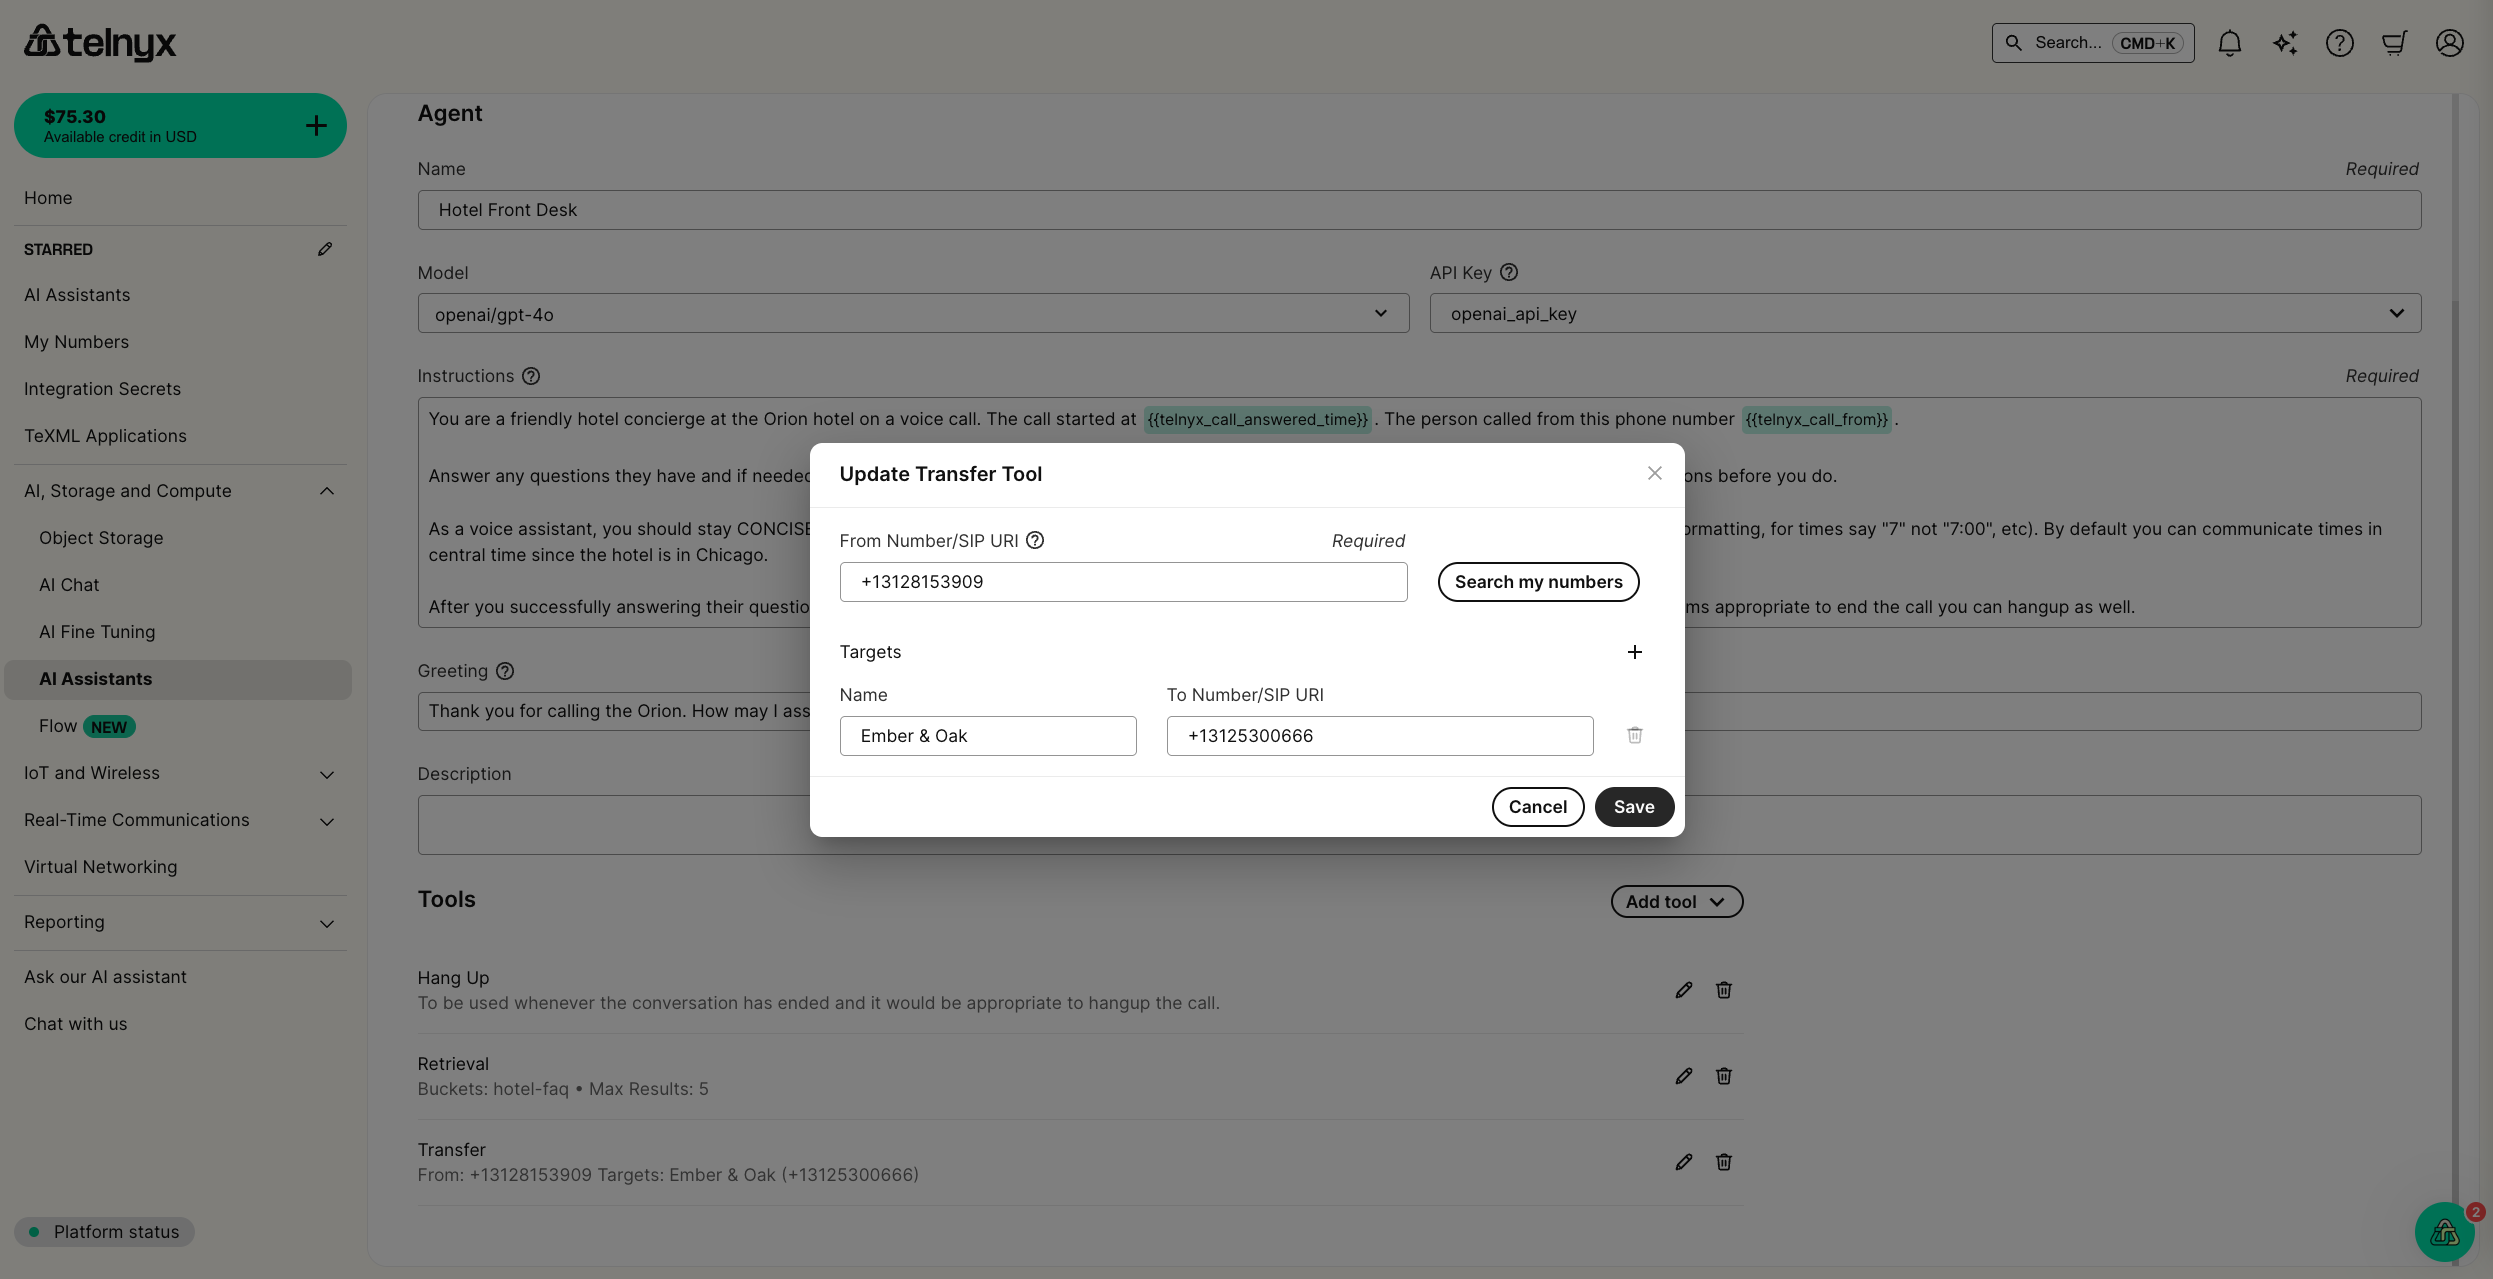
With the transfer tool, your agent can transfer a call to a list of named targets.
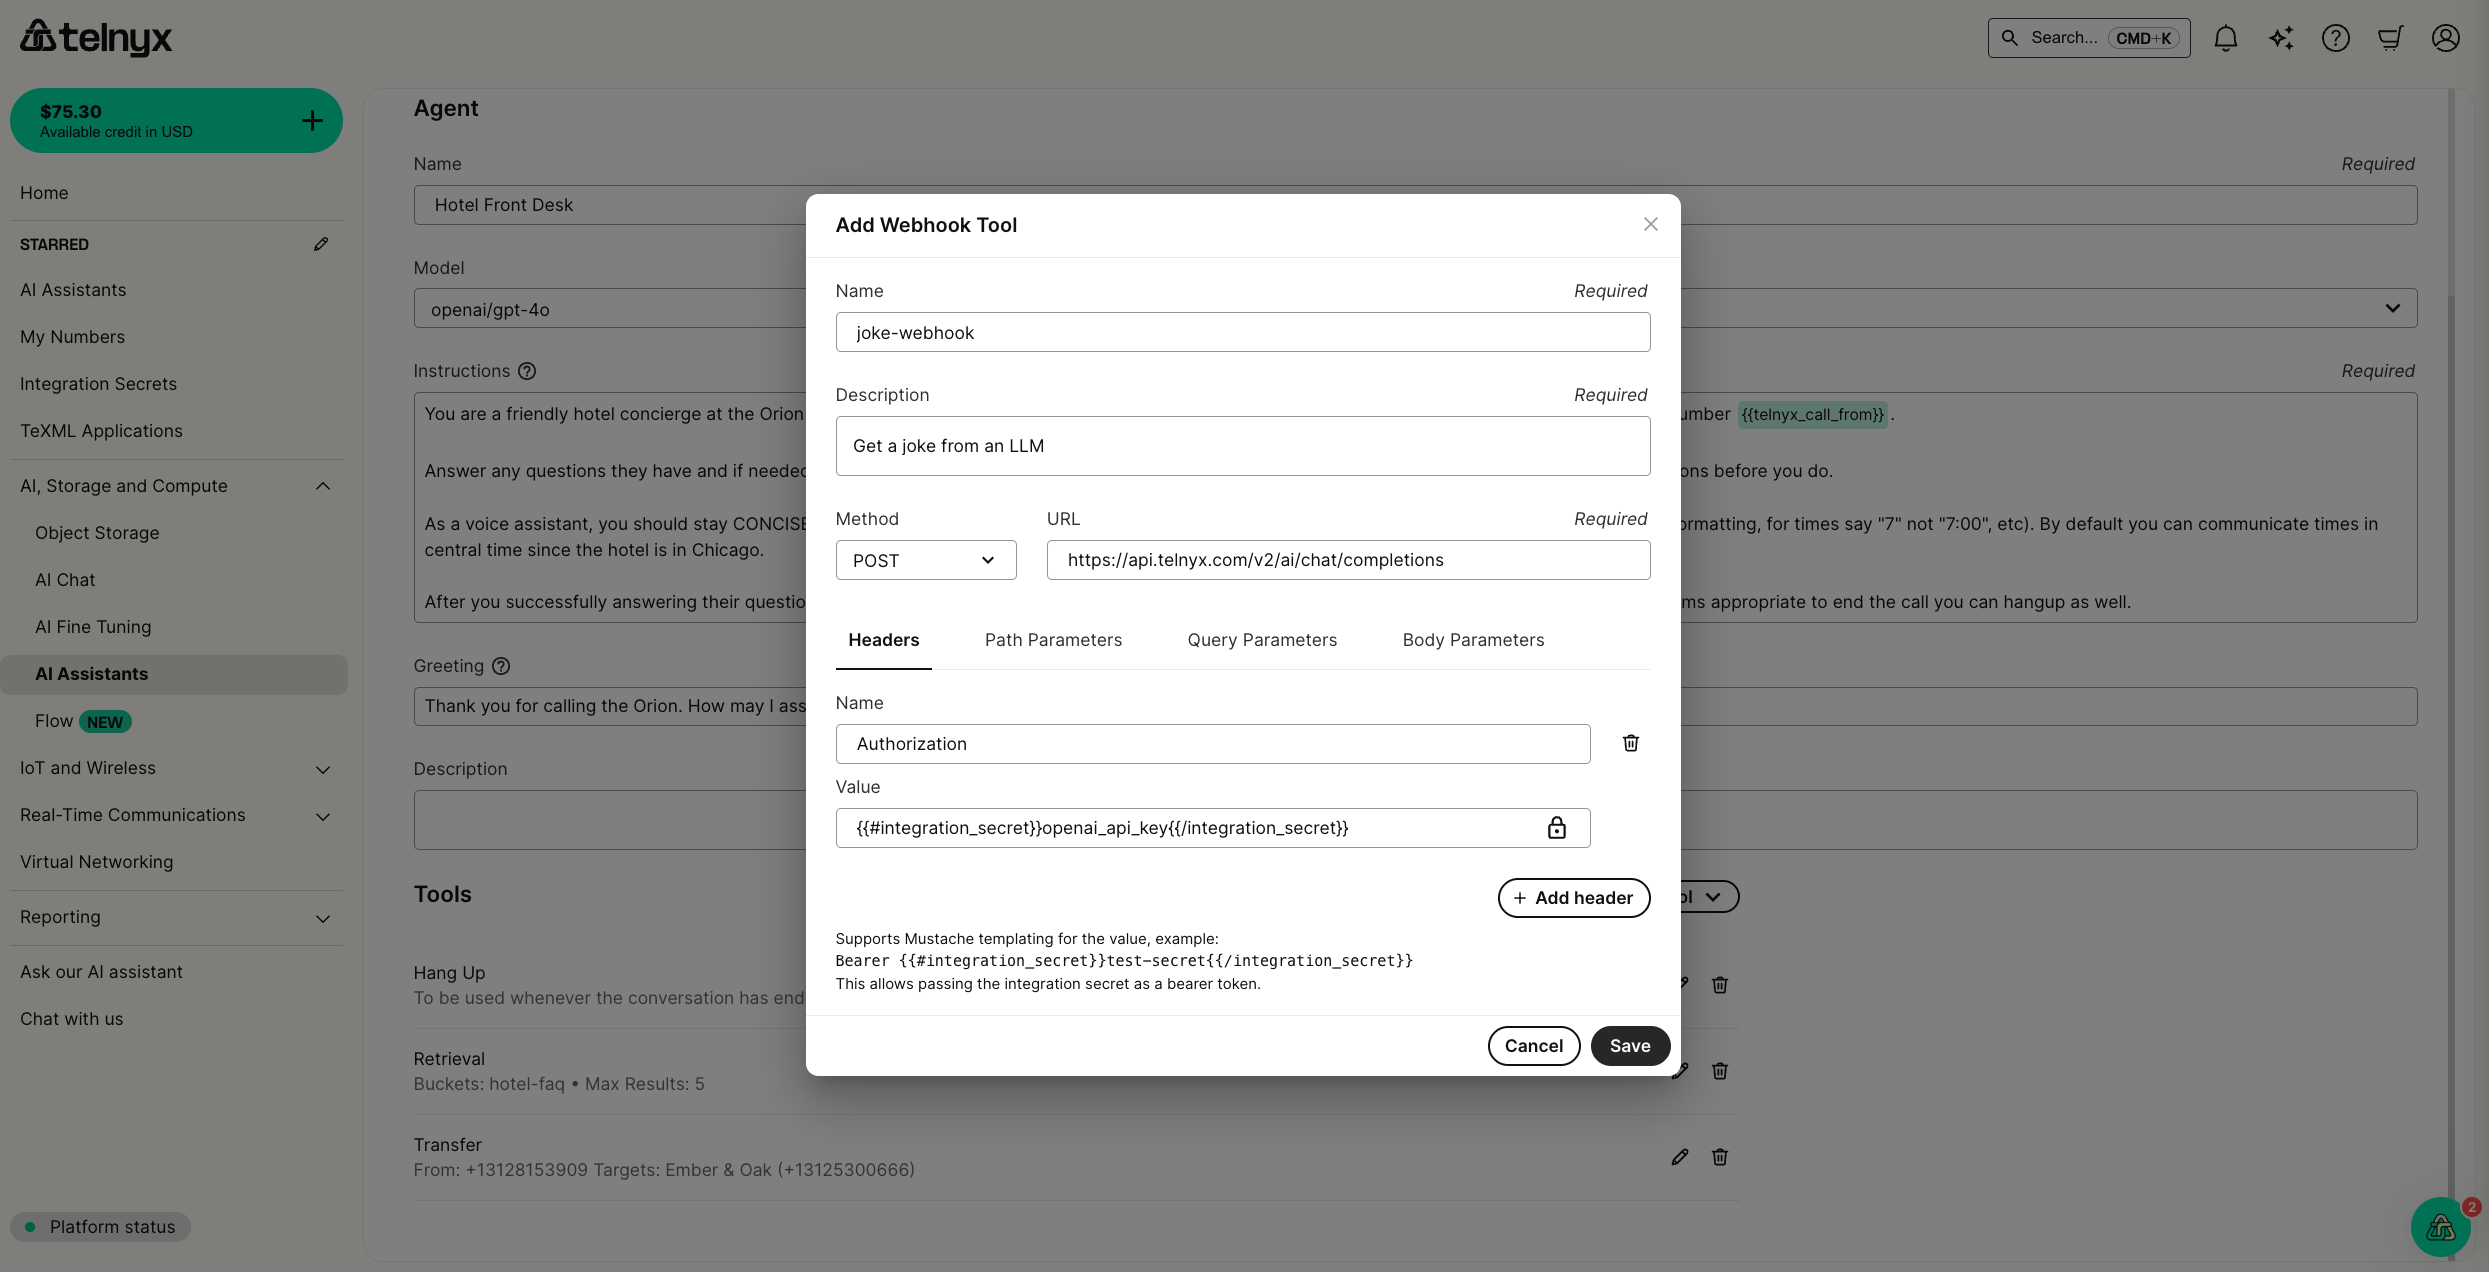
Webhook
With the webhook tool, your agent can make API requests.
You can configure headers (with integration secrets), along with path, query, and body parameters.
Check Availability and Book Appointment
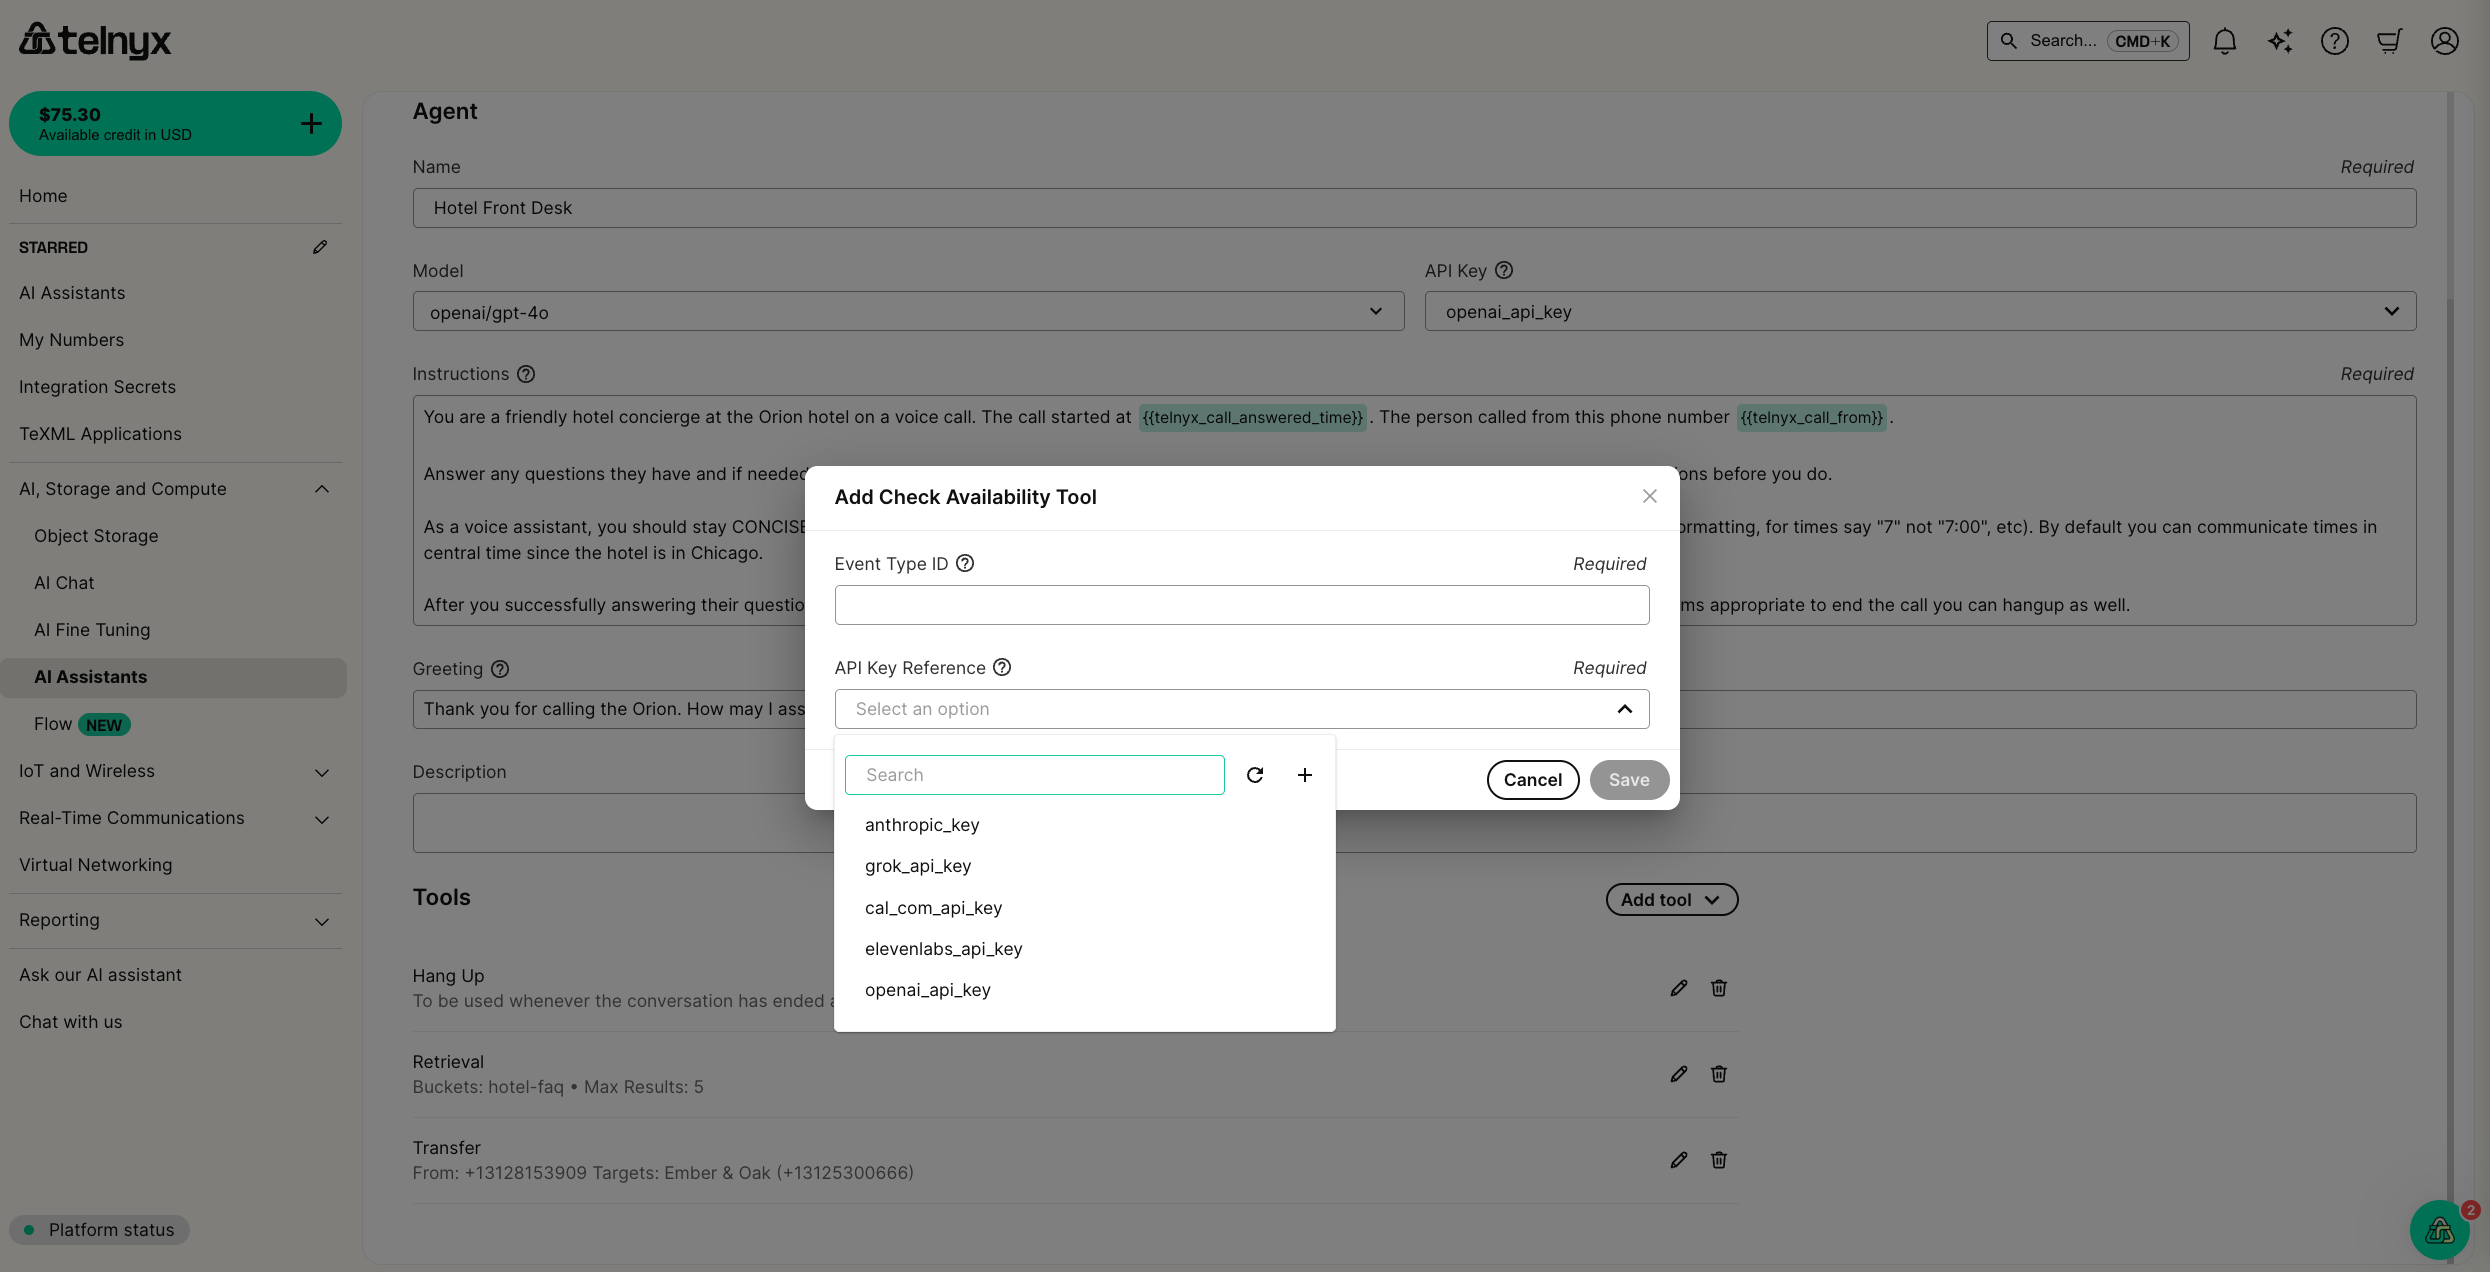
With these tools, you can integrate cal.com’s calendar availability checking functionality into your assistant.
After creating a cal.com account, you can navigate to the Event Types section in the dashboard.
Click on the event you'd like to integrate with your assistant, then grab the event id by looking at the URL in your browser's address bar. It should look like this https://app.cal.com/event-types/<event_id>
Next, create an API key with them.
Then, in Telnyx you can configure both the Check Availability and the Book Appointment tools for your assistant. You will paste your event type ID and store your API key as a secret (for more details on storing secrets, see the ElevenLabs portion of the tutorial above).
For the calendar tools, it is very useful to provide your agent with the current date and time in the instructions. Below is an example of some best practices for scheduling agents.
You are a friendly host for the Ember & Oak restaurant at the Orion hotel on a voice call. The call started at {{telnyx_call_answered_time}}.

Answer any questions they have about the restaurant.

If they want to make a reservation:
- You should first use the check_availability tool to check the available slots for the customer. Just share one or two slots to start.
- Then, after confirming a specific appointment, you should use the book_appointment tool to book an appointment for the customer.
- The tools use UTC for timezone but the customers will be booking in US Central time as this restaurant is located in Chicago.

If you are going to use a tool, always tell the customer your intentions before you do.

As a voice assistant, you should stay CONCISE and FRIENDLY. Respond in a way that would be natural to be spoken aloud (no abbreviations or special formatting, for times say "7" not "7:00", etc). By default you can communicate times in central time since the restaurant is in Chicago.

After you successfully book the appointment you can ask if there is anything else you can help with and if not, you can hangup. Any other time it seems appropriate to end the call you can hangup as well.
Future tutorials
In future tutorials, we will show you how to:
- Provide your assistant with more context than what can fit into its instructions, using the Retrieval tool and embeddings