Voice Assistant Quickstart
In this tutorial, you'll learn how to configure a voice assistant with Telnyx. You won't have to write a single line of code or create an account with anyone besides Telnyx. You'll be able to talk to your assistant over the phone in under five minutes.
After this tutorial covers the basics, we will explore some optional enhancements, such as changing your voice or language model providers and empowering your assistant with built-in tools.
Try out the public demos for a real example of the finished product.
Video Tutorial
Watch this step-by-step demonstration of creating a voice assistant:
Requirements
There are 2 required steps for this tutorial
- Configure your AI Assistant
- Configure the voice settings
Configure your AI Assistant
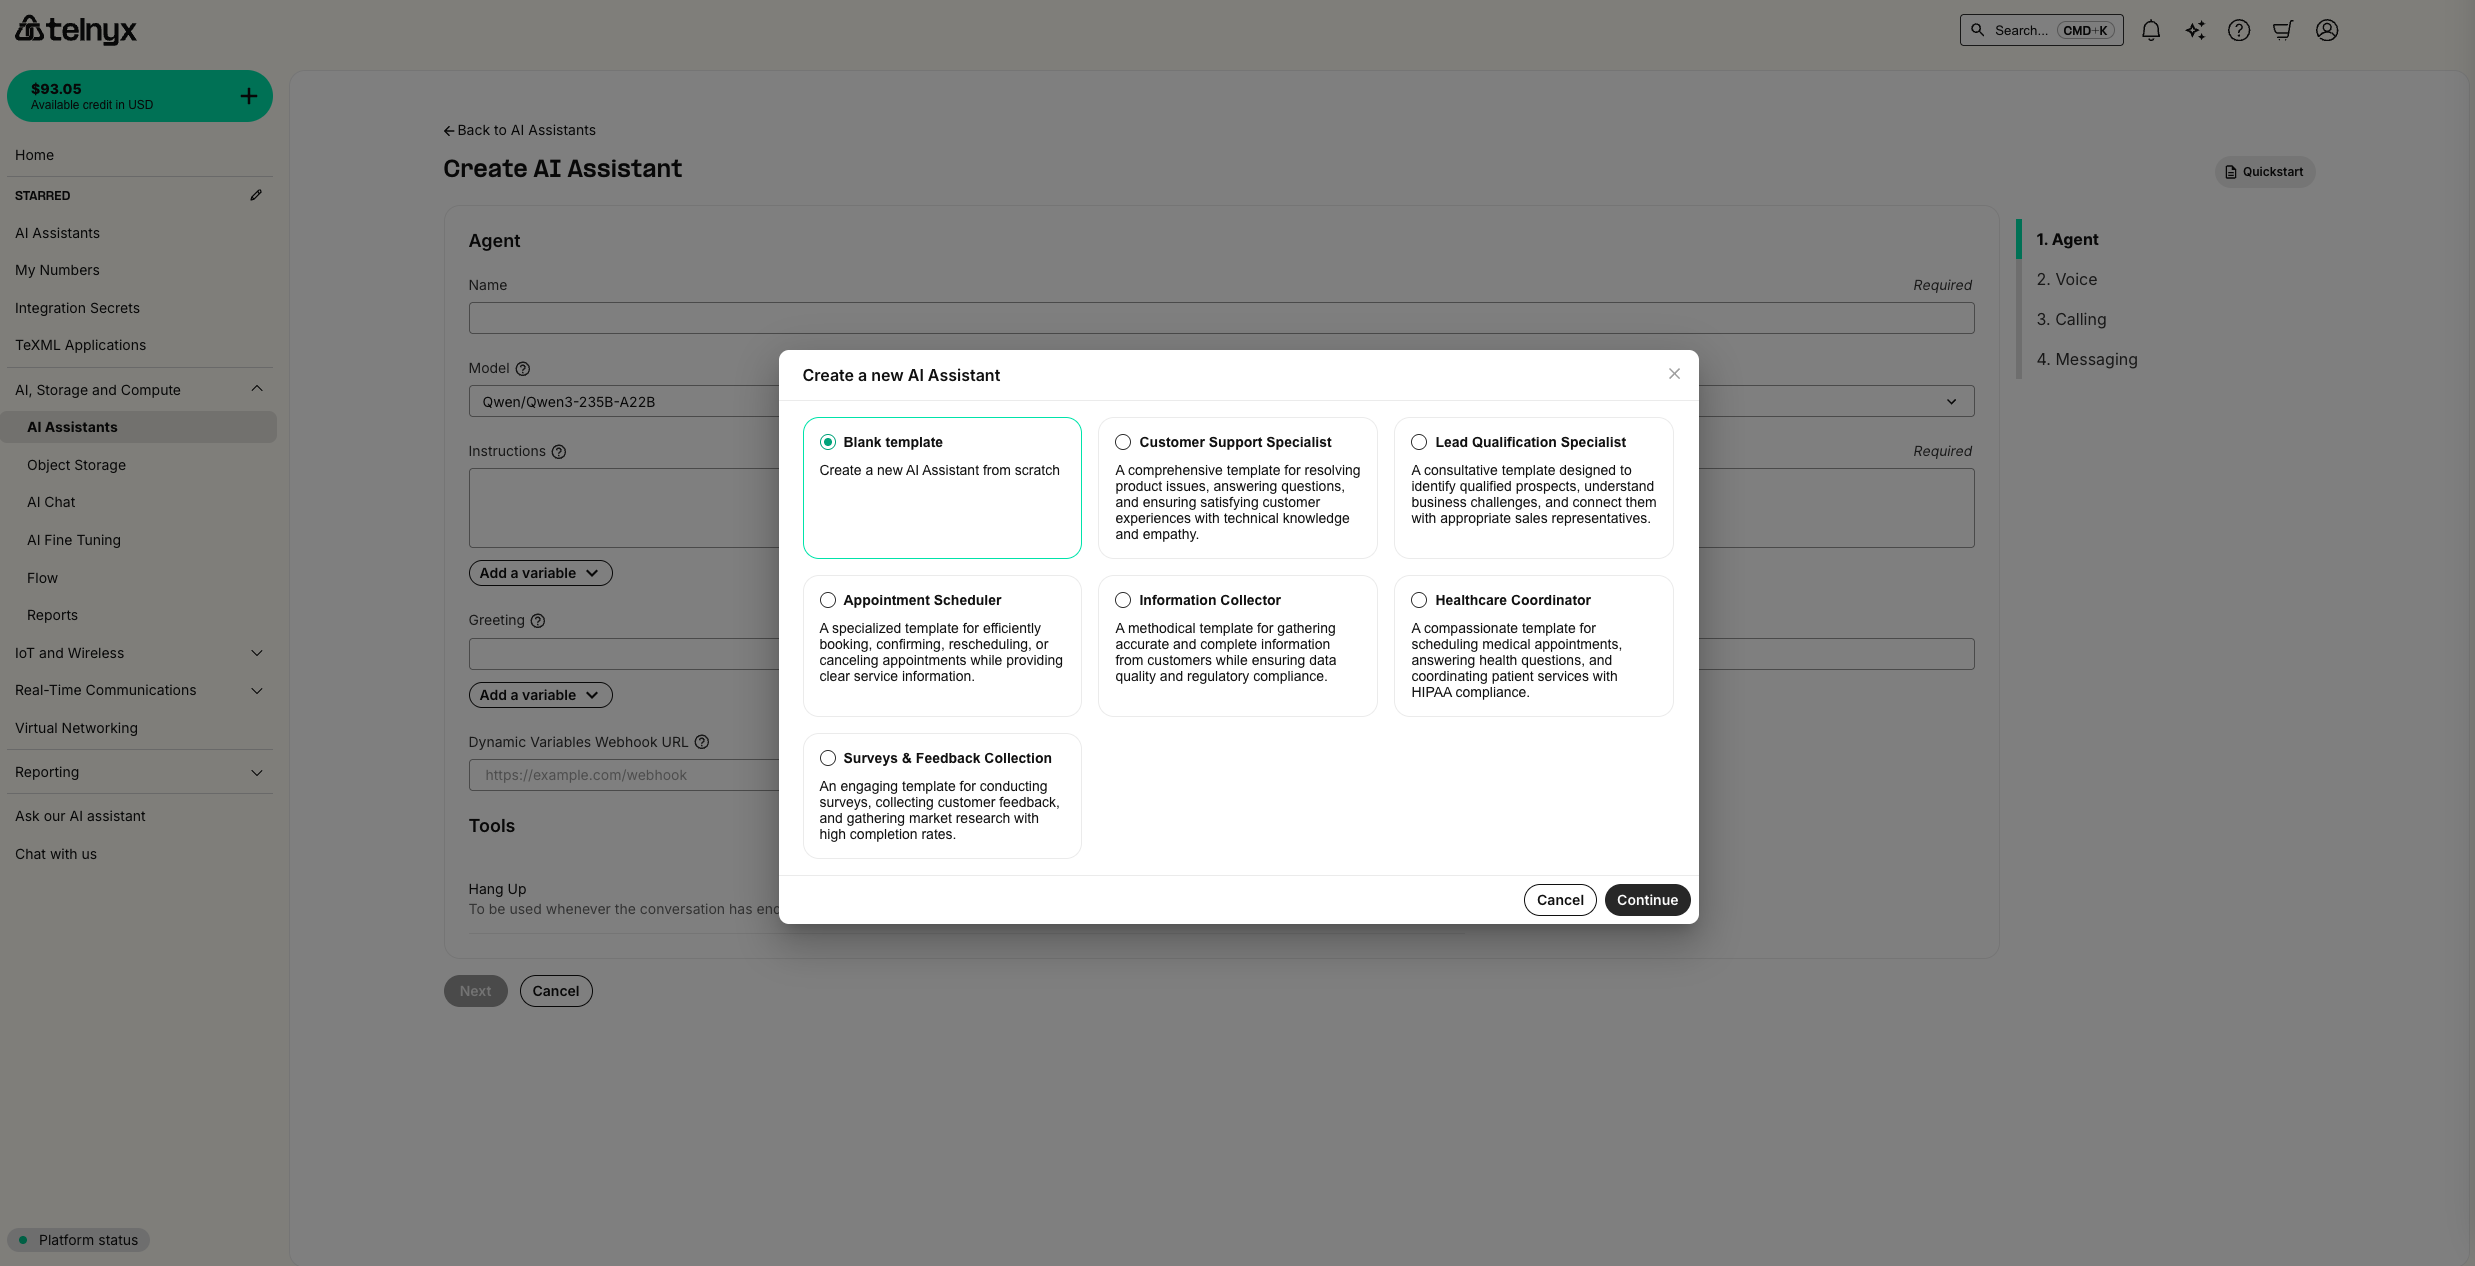
First, navigate to the AI Assistants tab in the portal. You will create a new assistant to configure what context your assistant has and how it behaves.
For this tutorial, we will use a blank template.
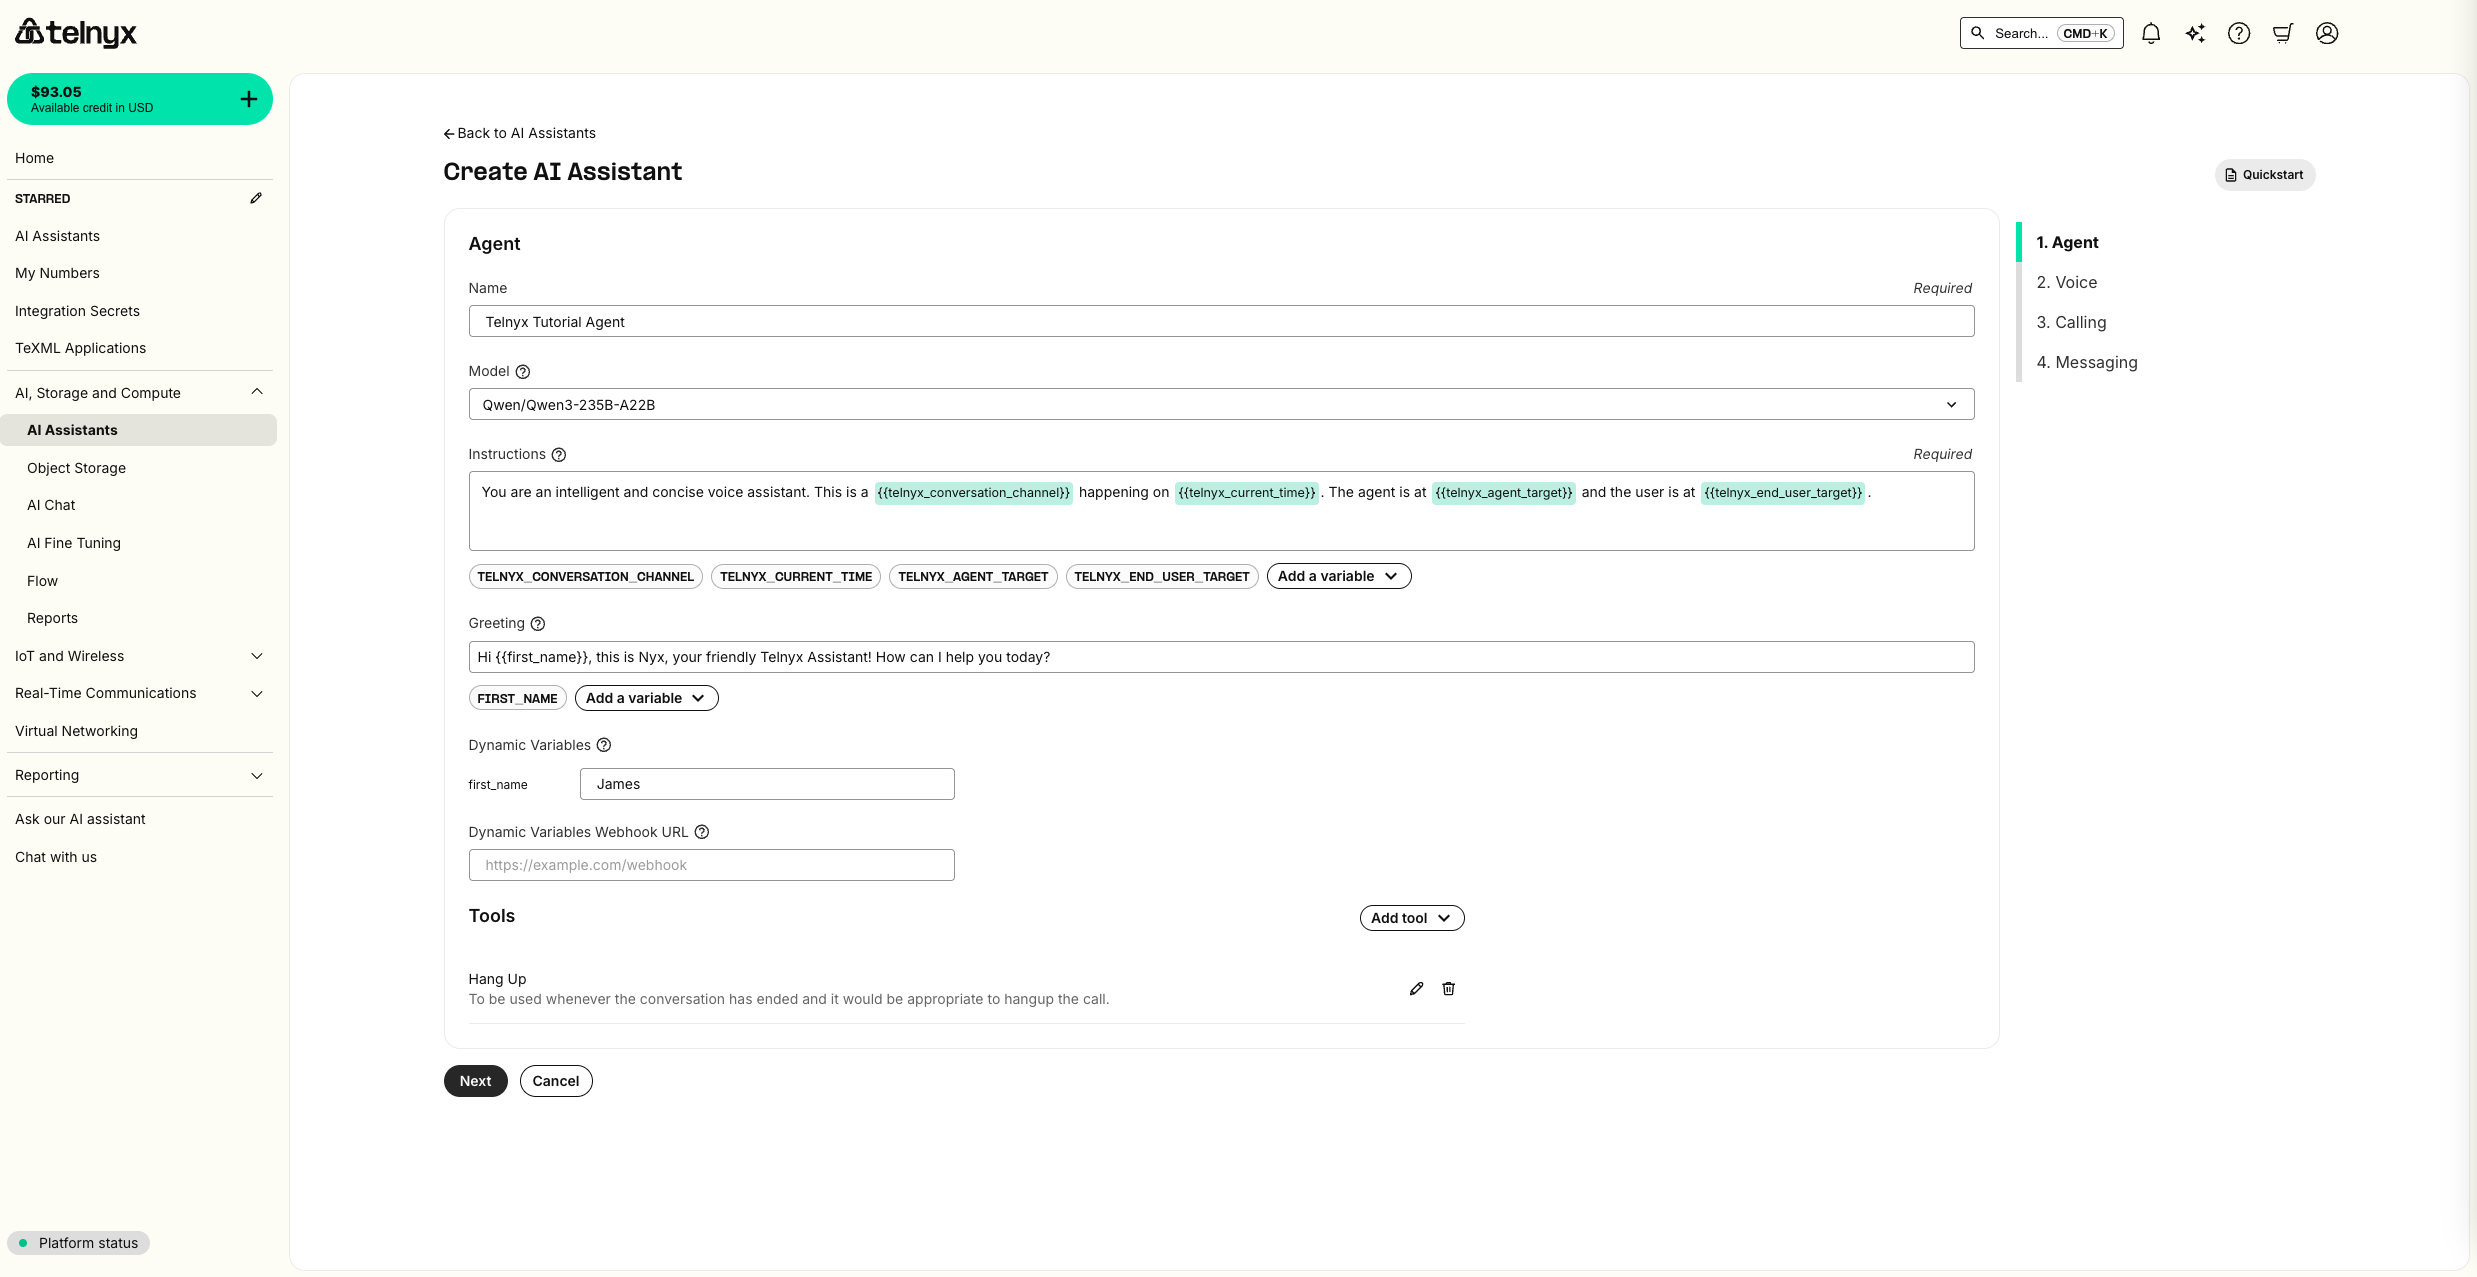
You can use the following instructions and greeting, or use your own.
Instructions:
You are an intelligent and concise voice assistant. This is a {{telnyx_conversation_channel}} happening on {{telnyx_current_time}}. The agent is at {{telnyx_agent_target}} and the user is at {{telnyx_end_user_target}}.
Greeting:
Hi {{first_name}}, this is Nyx, your friendly Telnyx Assistant! How can I help you today?
Telnyx provides these system variables to inject details about a specific call into the instructions and greeting:
| Variable | Description | Example |
|---|---|---|
{{telnyx_current_time}} | The current date and time in UTC | Monday, February 24 2025 04:04:15 PM UTC |
{{telnyx_conversation_channel}} | This can be phone_call , web_call, or sms_chat | phone_call |
{{telnyx_agent_target}} | The phone number, SIP URI, or other identifier associated with the agent. | +13128675309 |
{{telnyx_end_user_target}} | The phone number, SIP URI, or other identifier associated with the end user | +13128675309 |
{{telnyx_sip_header_user_to_user}} | The User to User SIP header for the call, if applicable | cmlkPTM0Nzg1O3A9dQ==;encoding=base64;purpose=call |
{{telnyx_sip_header_diversion}} | The Diversion SIP header for the call, if applicable | <sip:bob@example.com>;reason=user-busy |
{{call_control_id}} | The call control ID for the call, if applicable | v3:u5OAKGEPT3Dx8SZSSDRWEMdNH2OripQhO |
You can also define your own custom dynamic variables and set them via webhook, custom SIP headers, or an outbound API call.
In this example, you've given the assistant access to the most commonly used system variables and a custom {{first_name}} variable in the greeting.
Notice that by default, the Hangup tool is configured. This enables your assistant to end the call at an appropriate time.
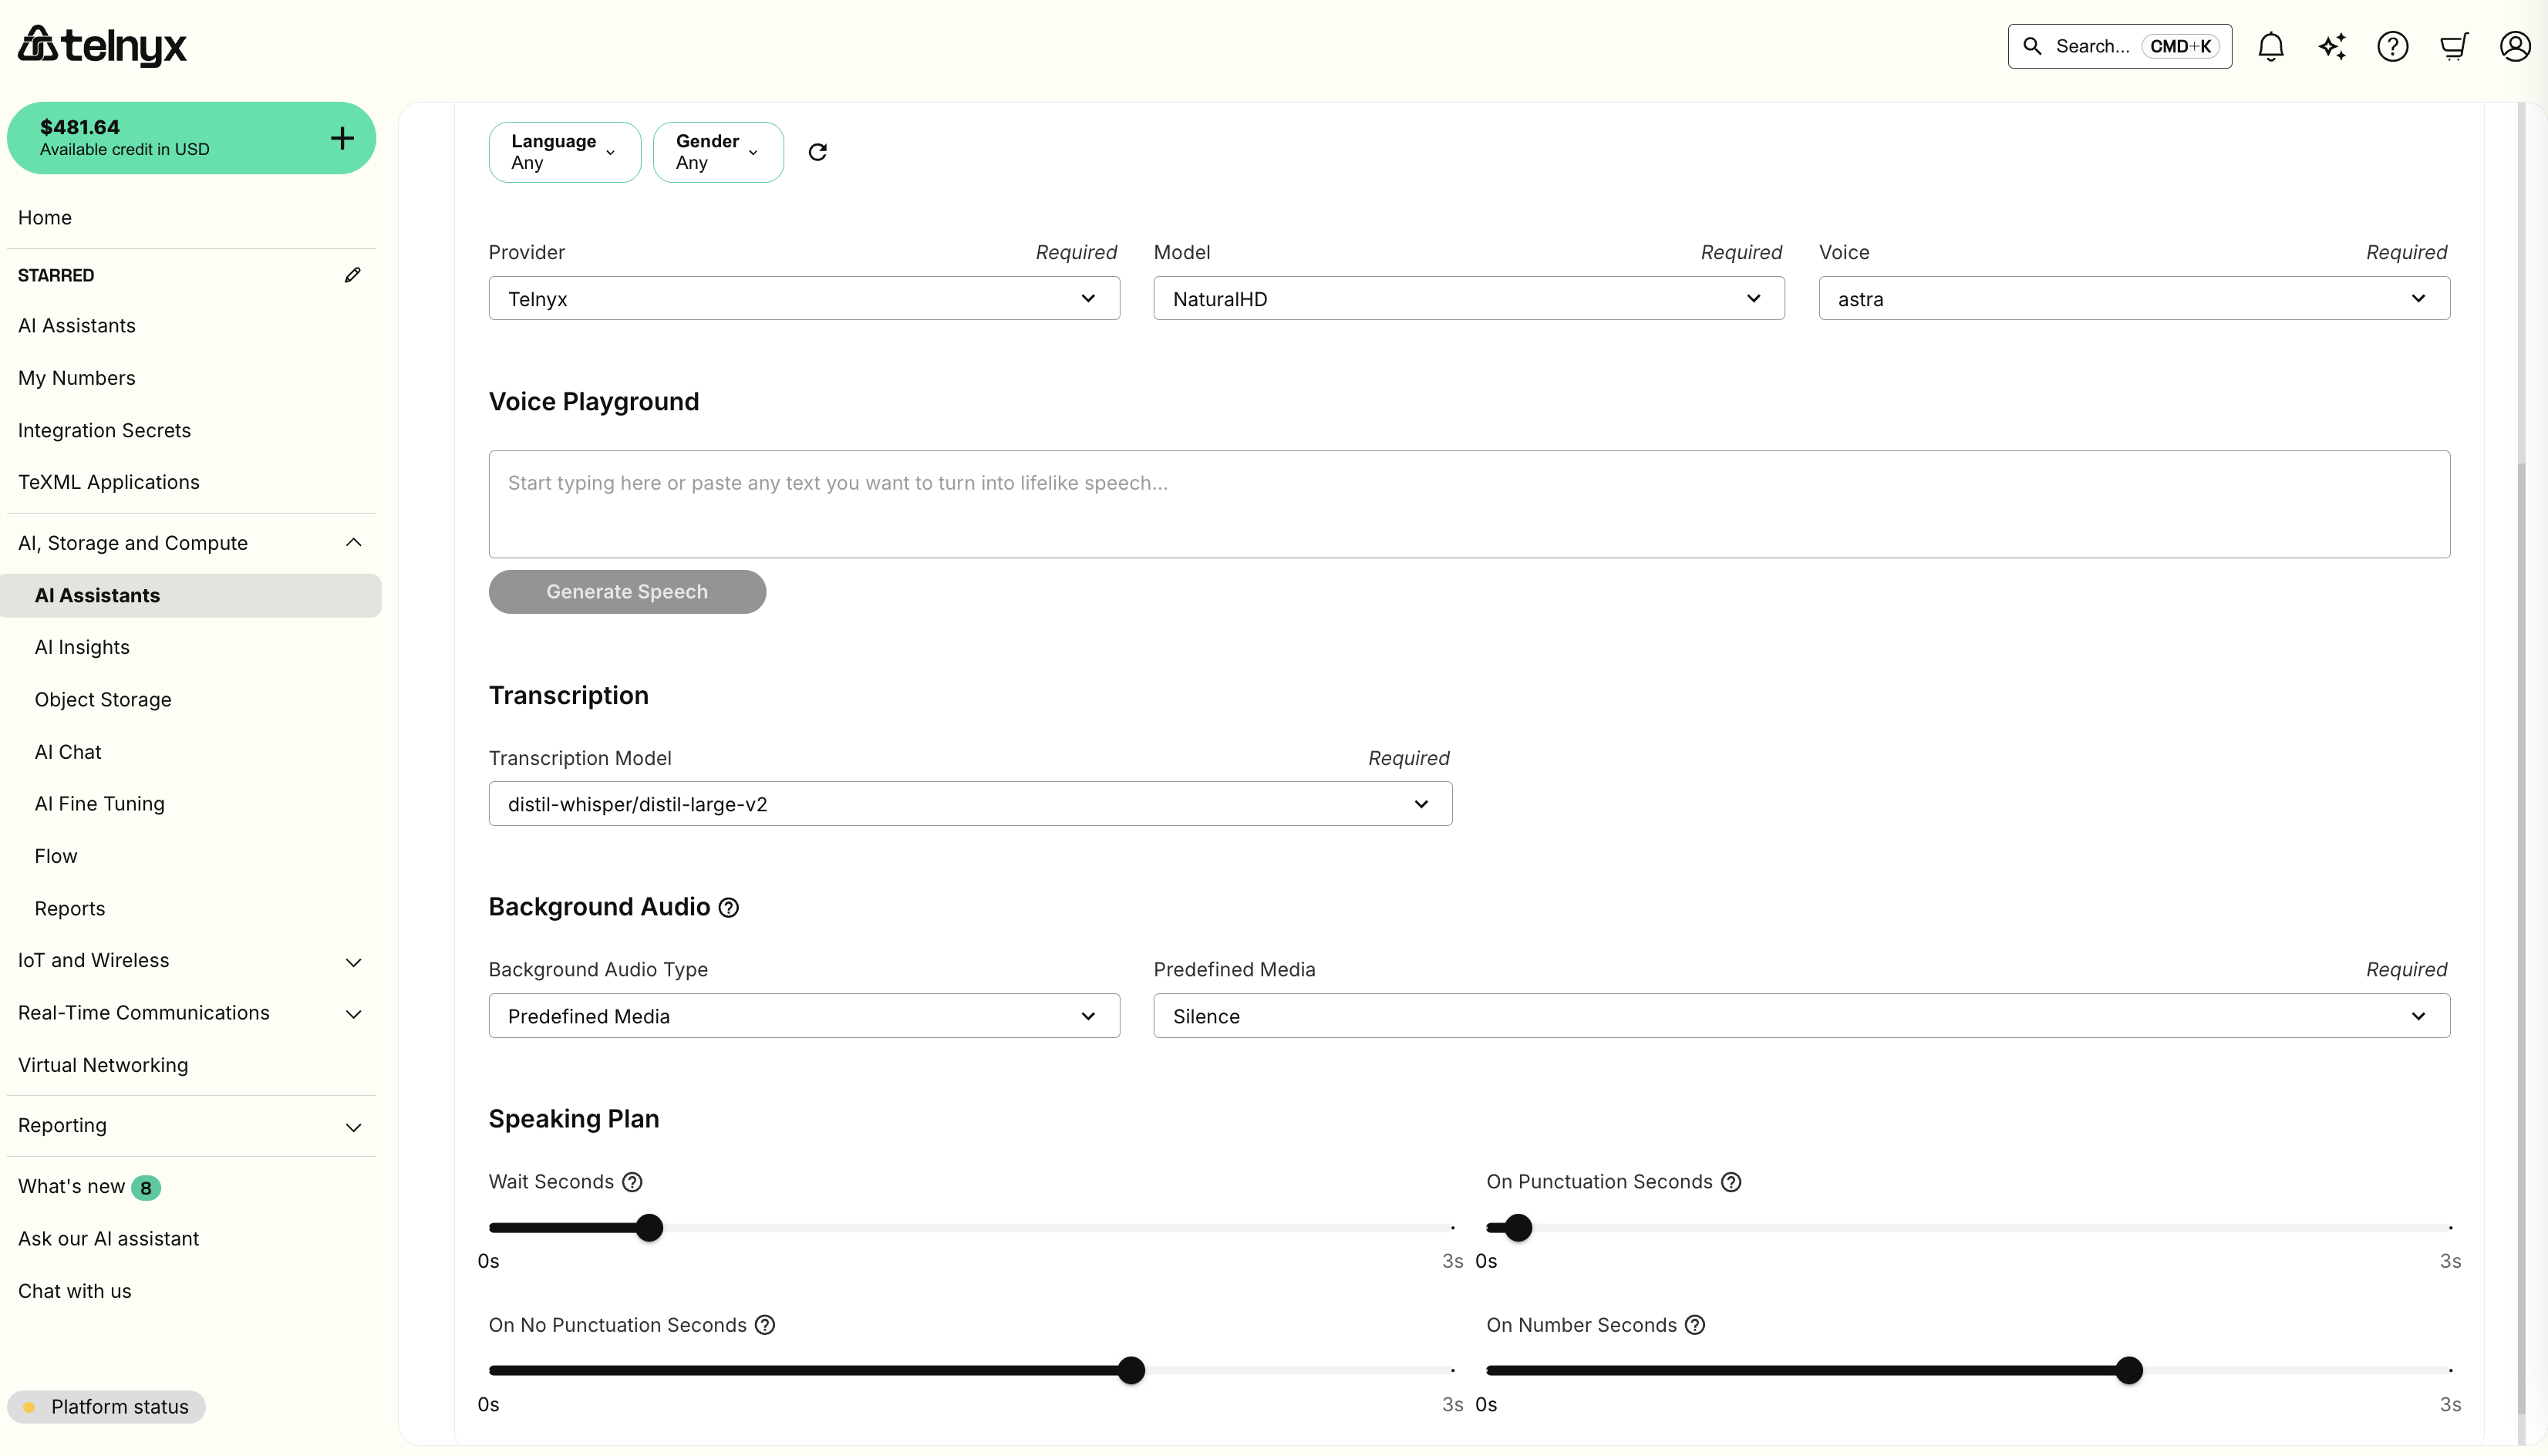
Configure the voice settings
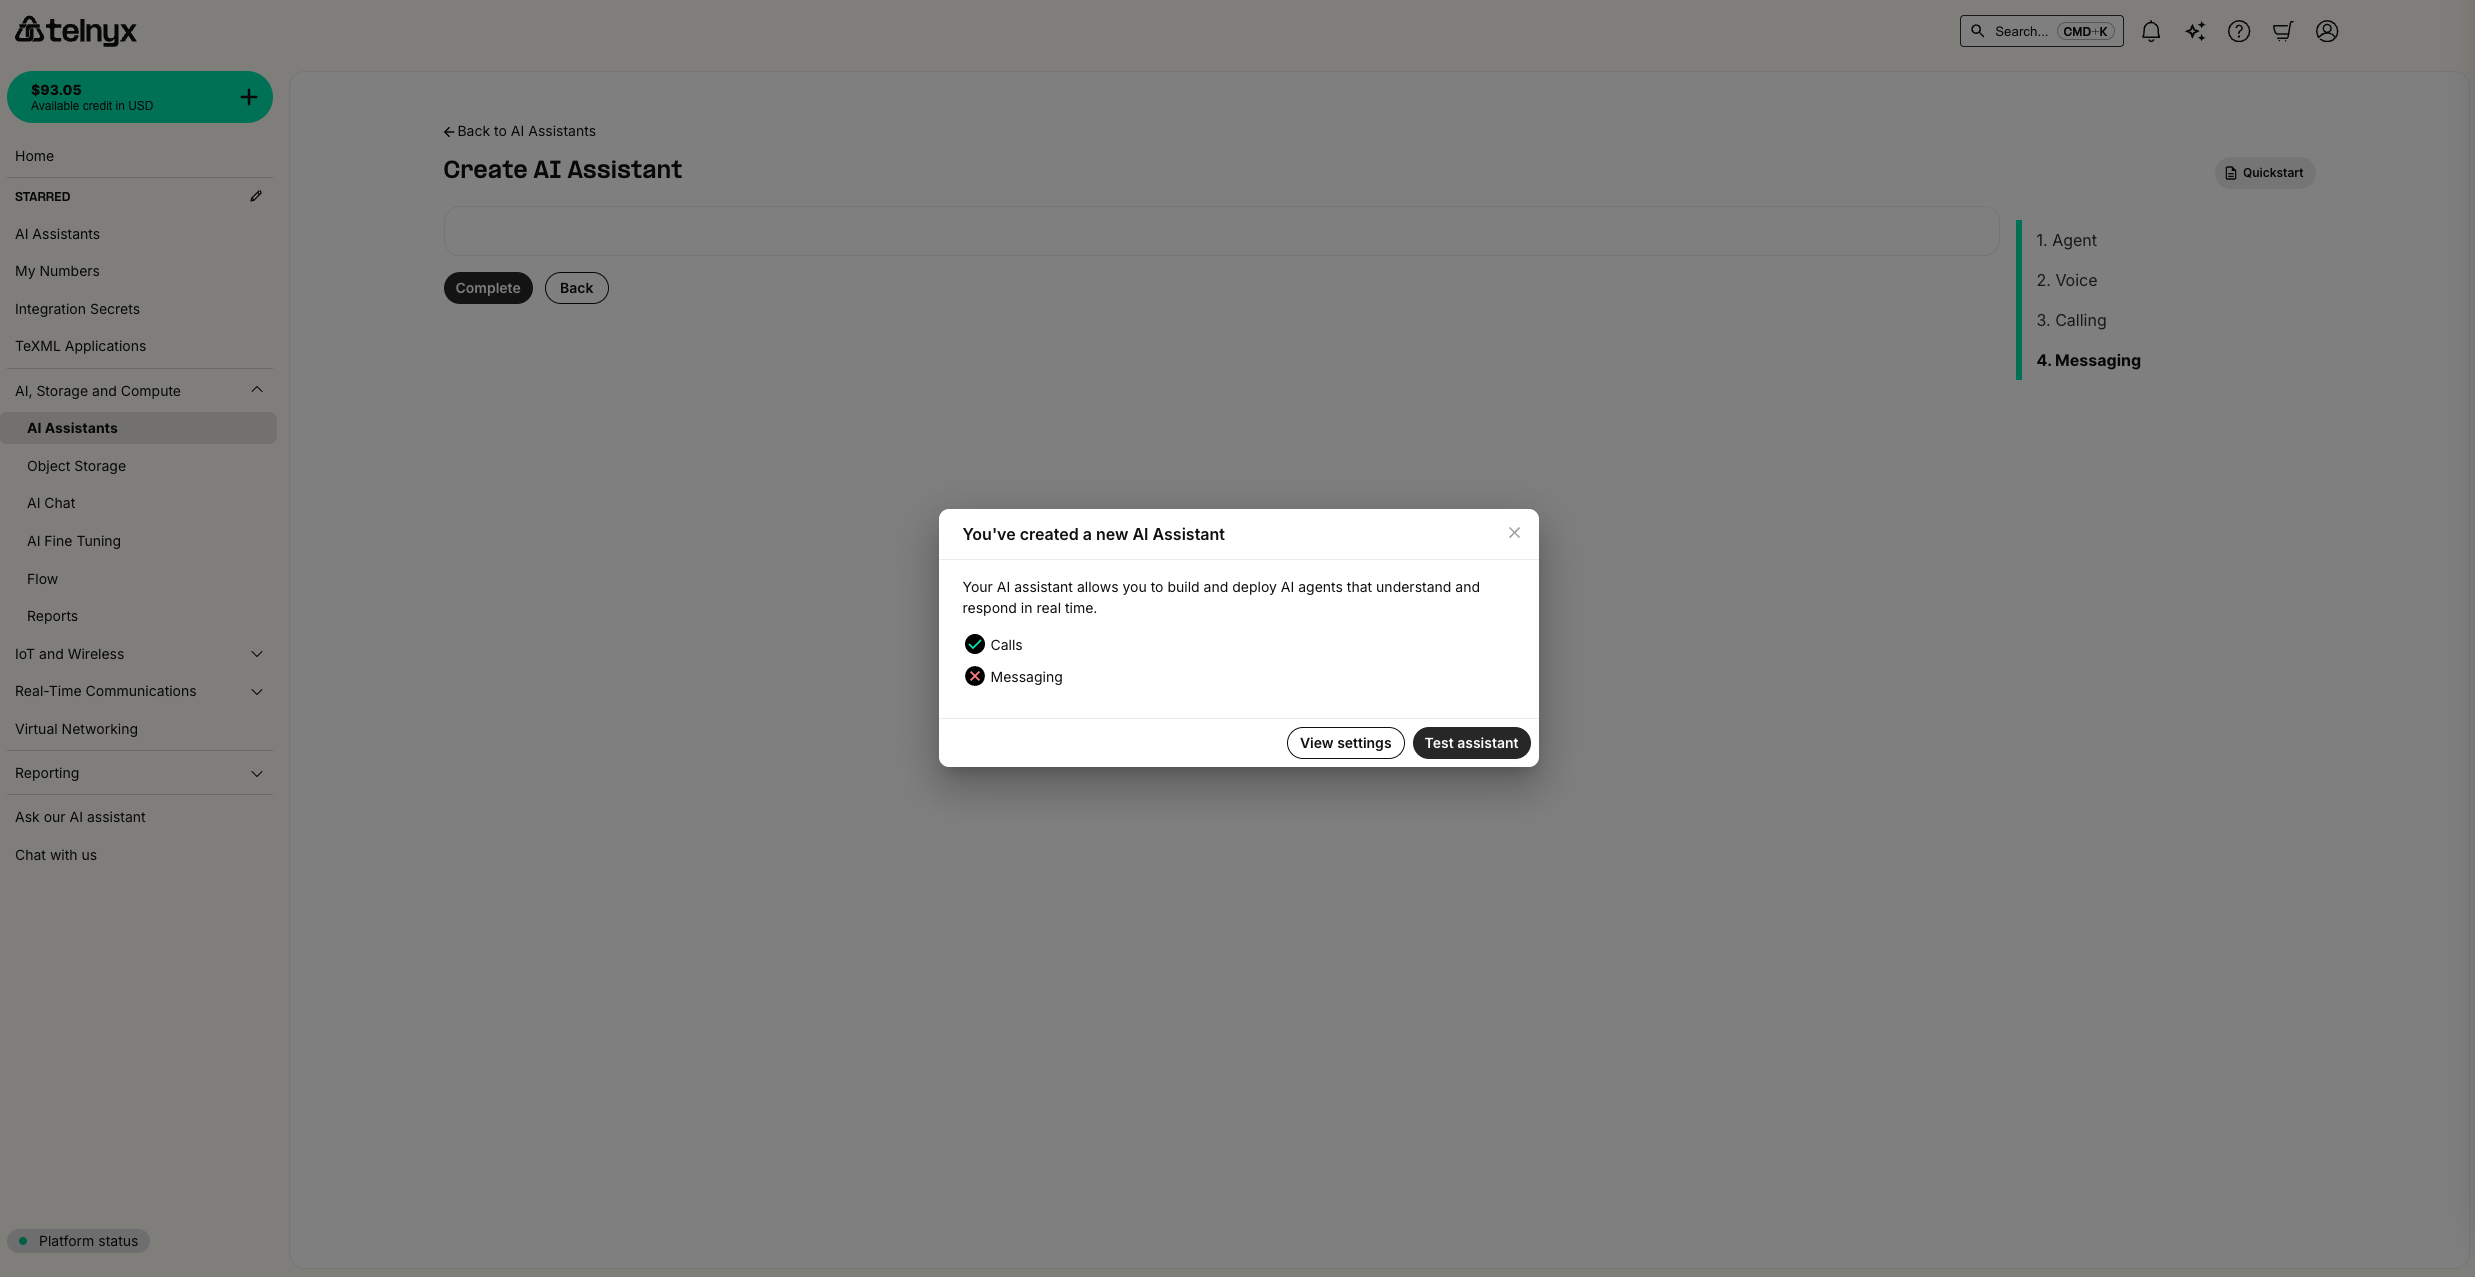
In this step, you can use the default voice settings, click Create, and enable the agent for calls when prompted.
Or feel free to explore the wide range of voices in the playground.
- TTS (Text-to-Speech): Telnyx, AWS, Azure, Elevenlabs
- STT (Speech-to-Text): Telnyx (whisper), Deepgram, Azure
Background Audio
You can also configure background audio to play during the call. This provides a more realistic noise environment for voice calls, making longer pauses from tool calls feel more natural.
Customers can select from our list of predefined options or share their own custom public URL.
Speaking Plan
Customers are in full control of when an agent starts talking and can distinguish between 4 types of pauses:
- Wait seconds sets your baseline. A customer service agent might use 0.3 seconds for snappy responses. An agent calling into an IVR system needs 1.5 seconds to account for slower robotic speech.
- On punctuation seconds handles high-confidence endpoints. When the transcription ends with a period or question mark, the user likely finished their thought. Set this to 0.1 seconds for minimal delay.
- On no punctuation seconds handles uncertainty. The user said "my order number is" and paused. They're probably looking at their screen. Set this to 1.5 seconds so the agent doesn't interrupt with "I didn't catch that" while they're reading the digits.
- On number seconds handles digit sequences specifically. People read numbers slowly: "4... 7... 2... 9." Each pause could trigger a response. Extending this to 1.0 seconds prevents the agent from cutting them off at "4... 7..."
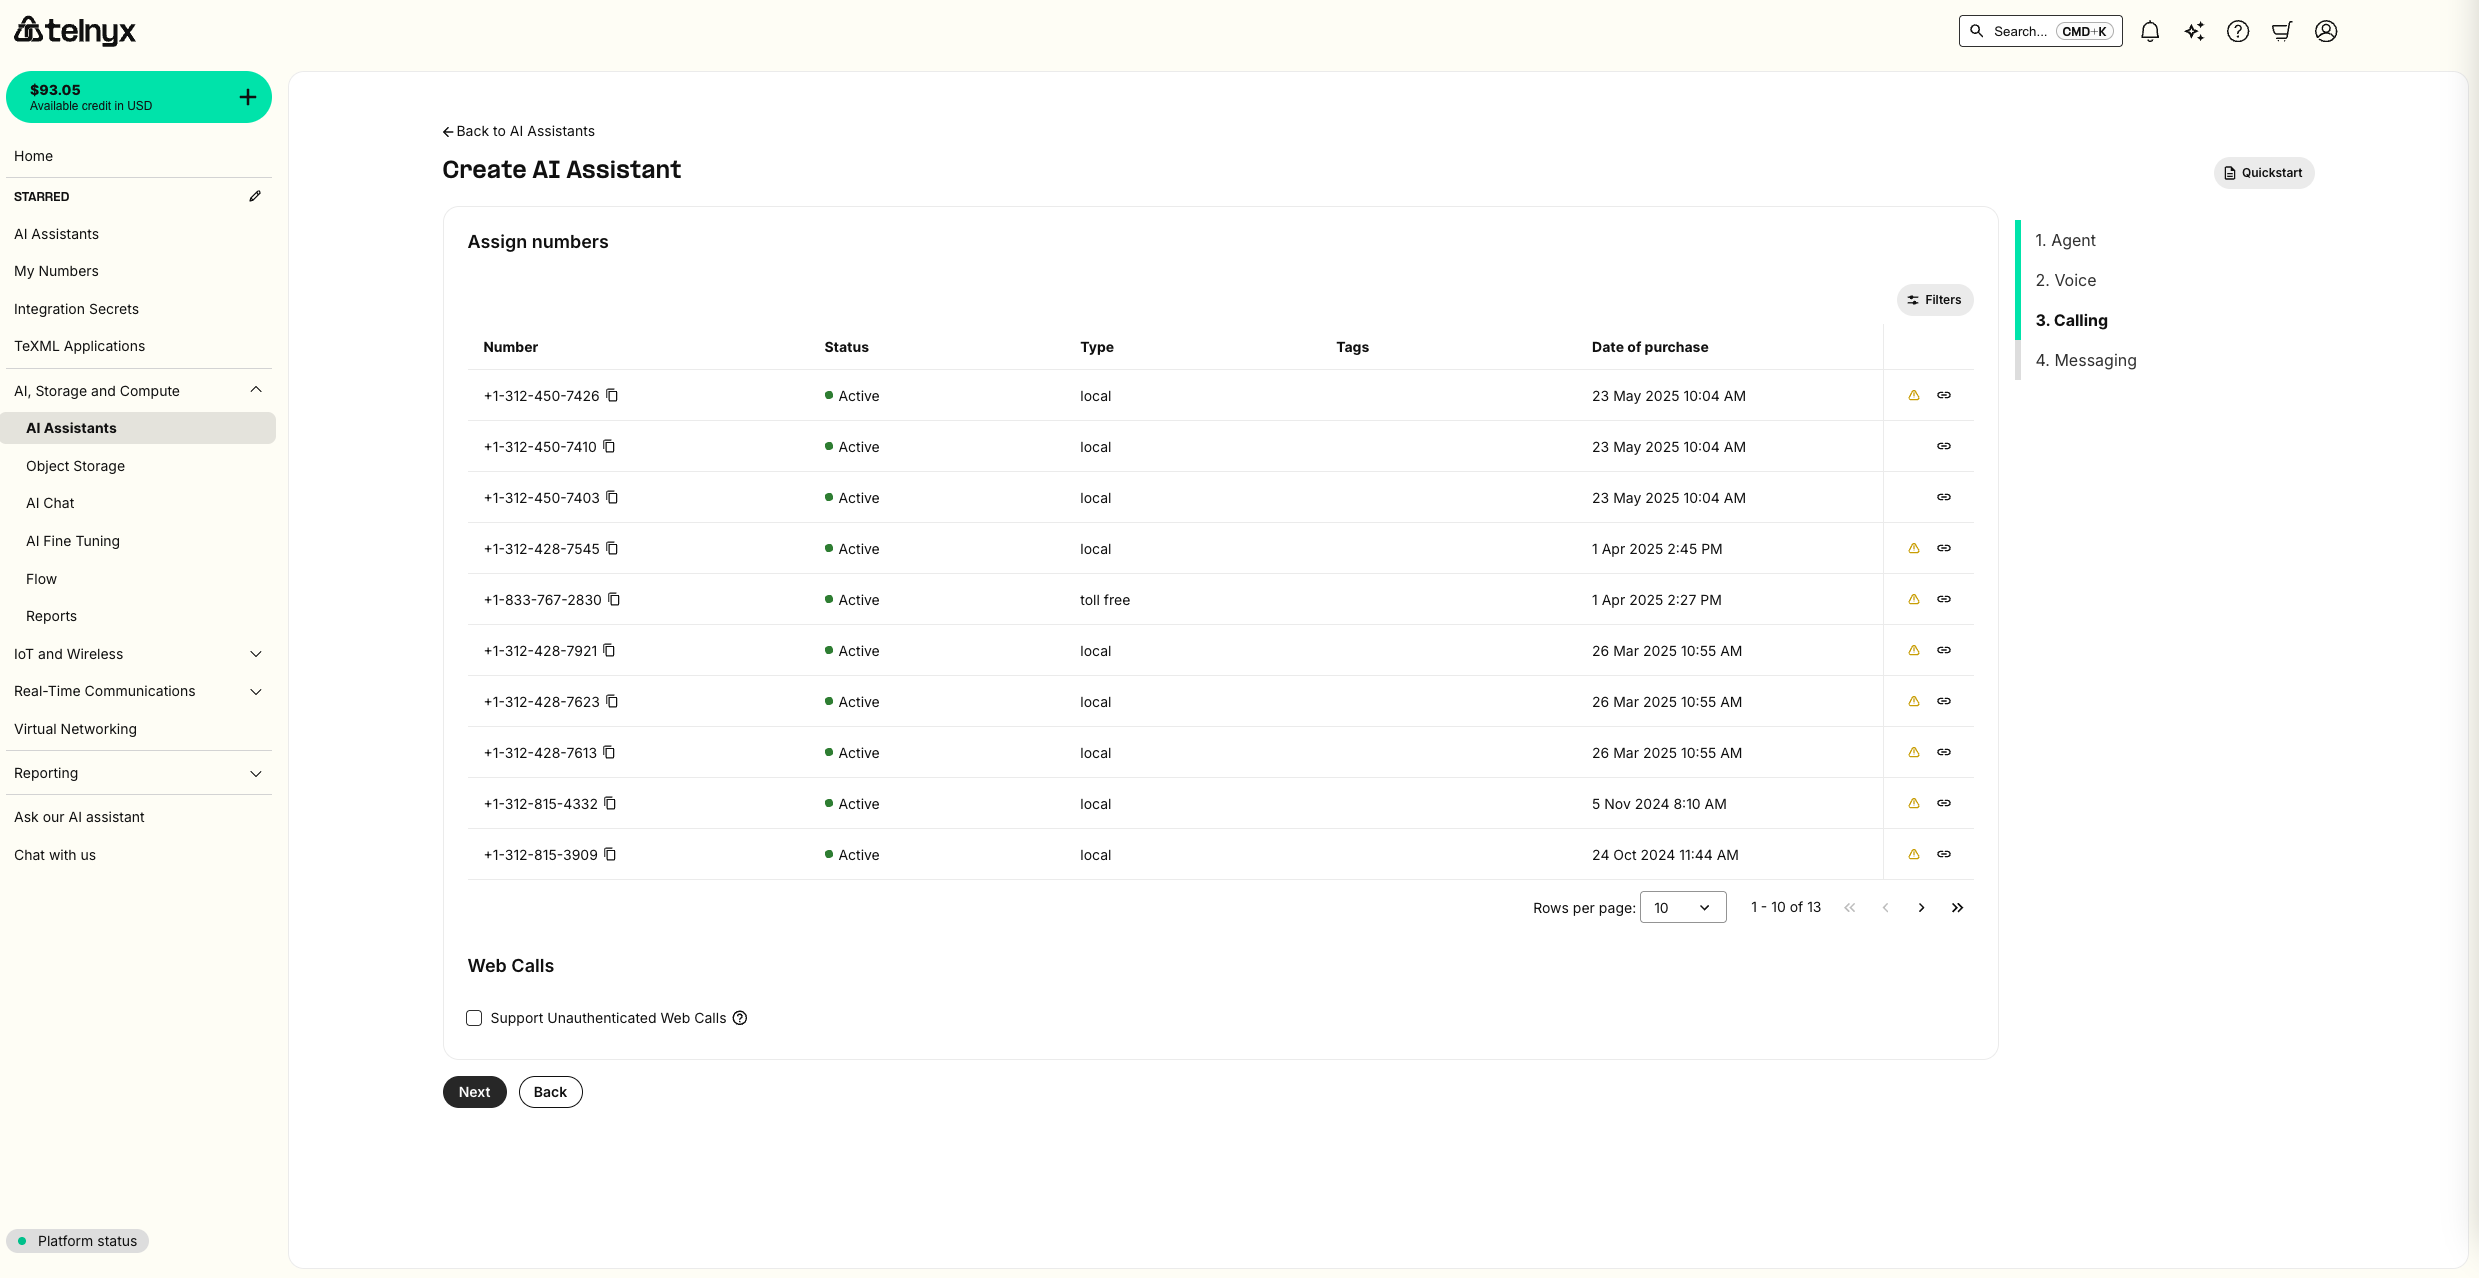
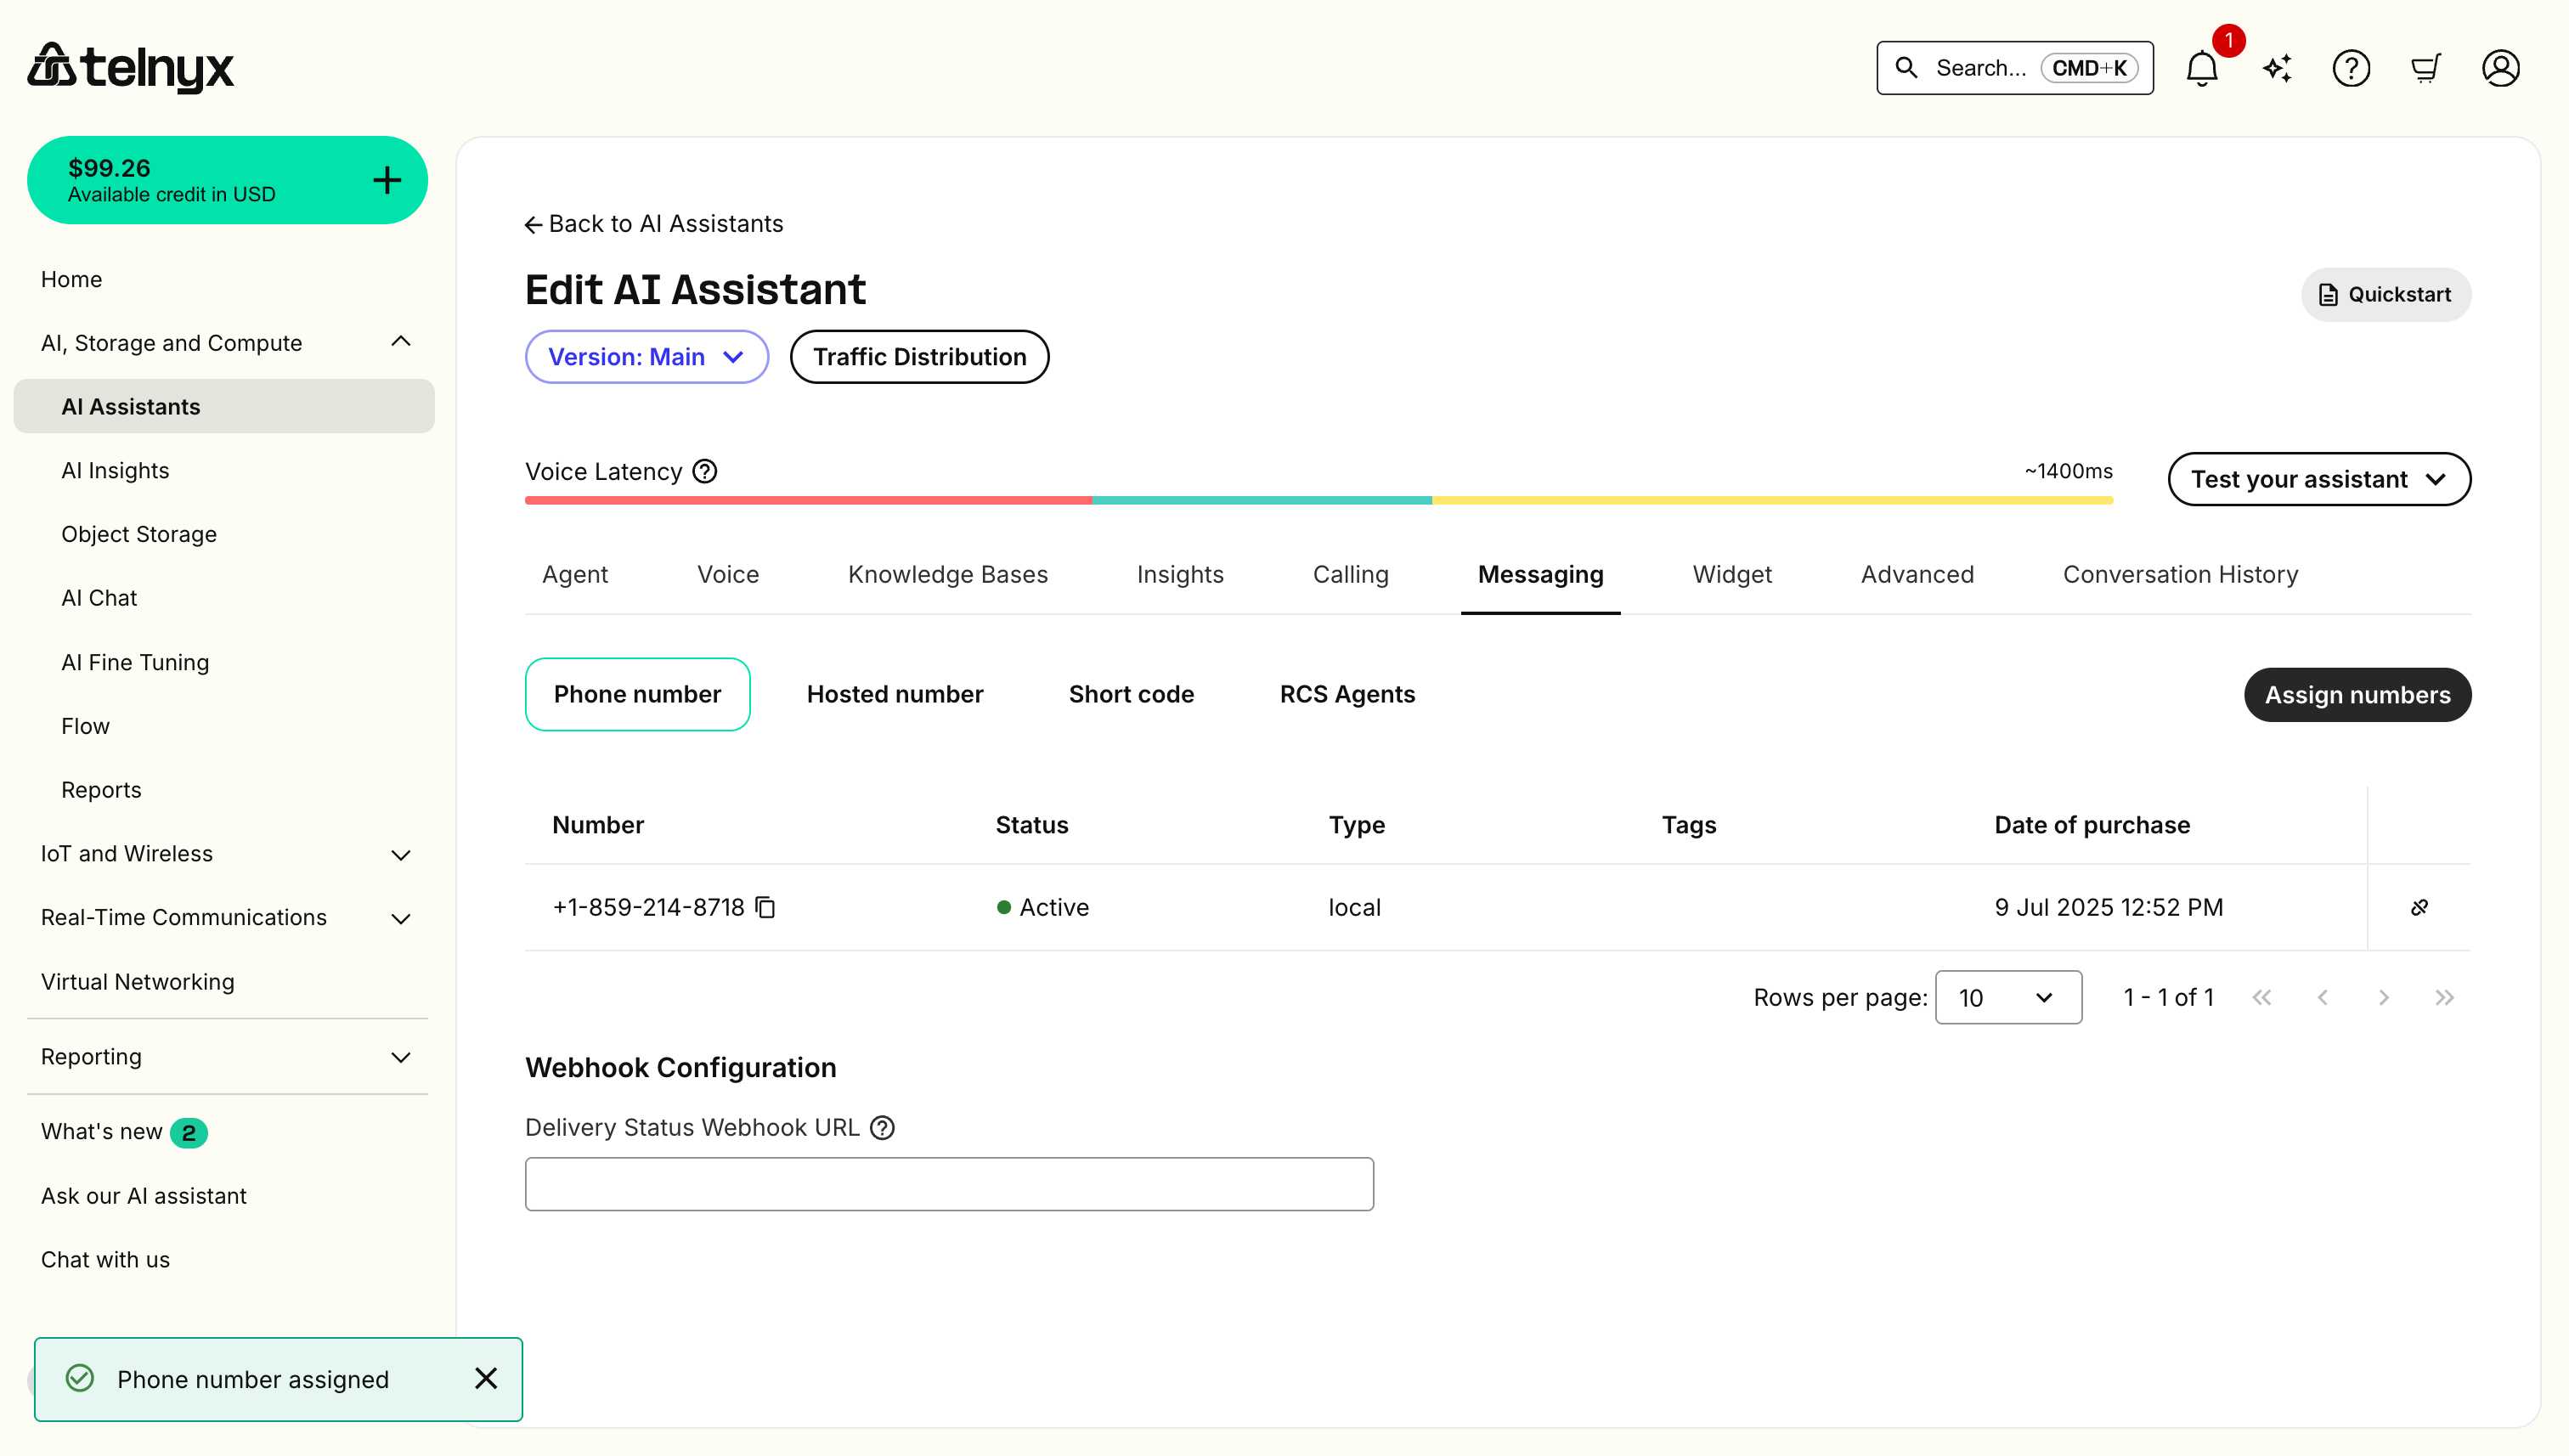
(Optional) Assign a phone number
If you have already purchased a Telnyx number with voice features, you can immediately assign it to your assistant.
You can also click Next, as completing this step is not needed for testing your assistant.
(Optional) Enable messaging
Telnyx assistants work with messaging as well. This is not covered in this tutorial.
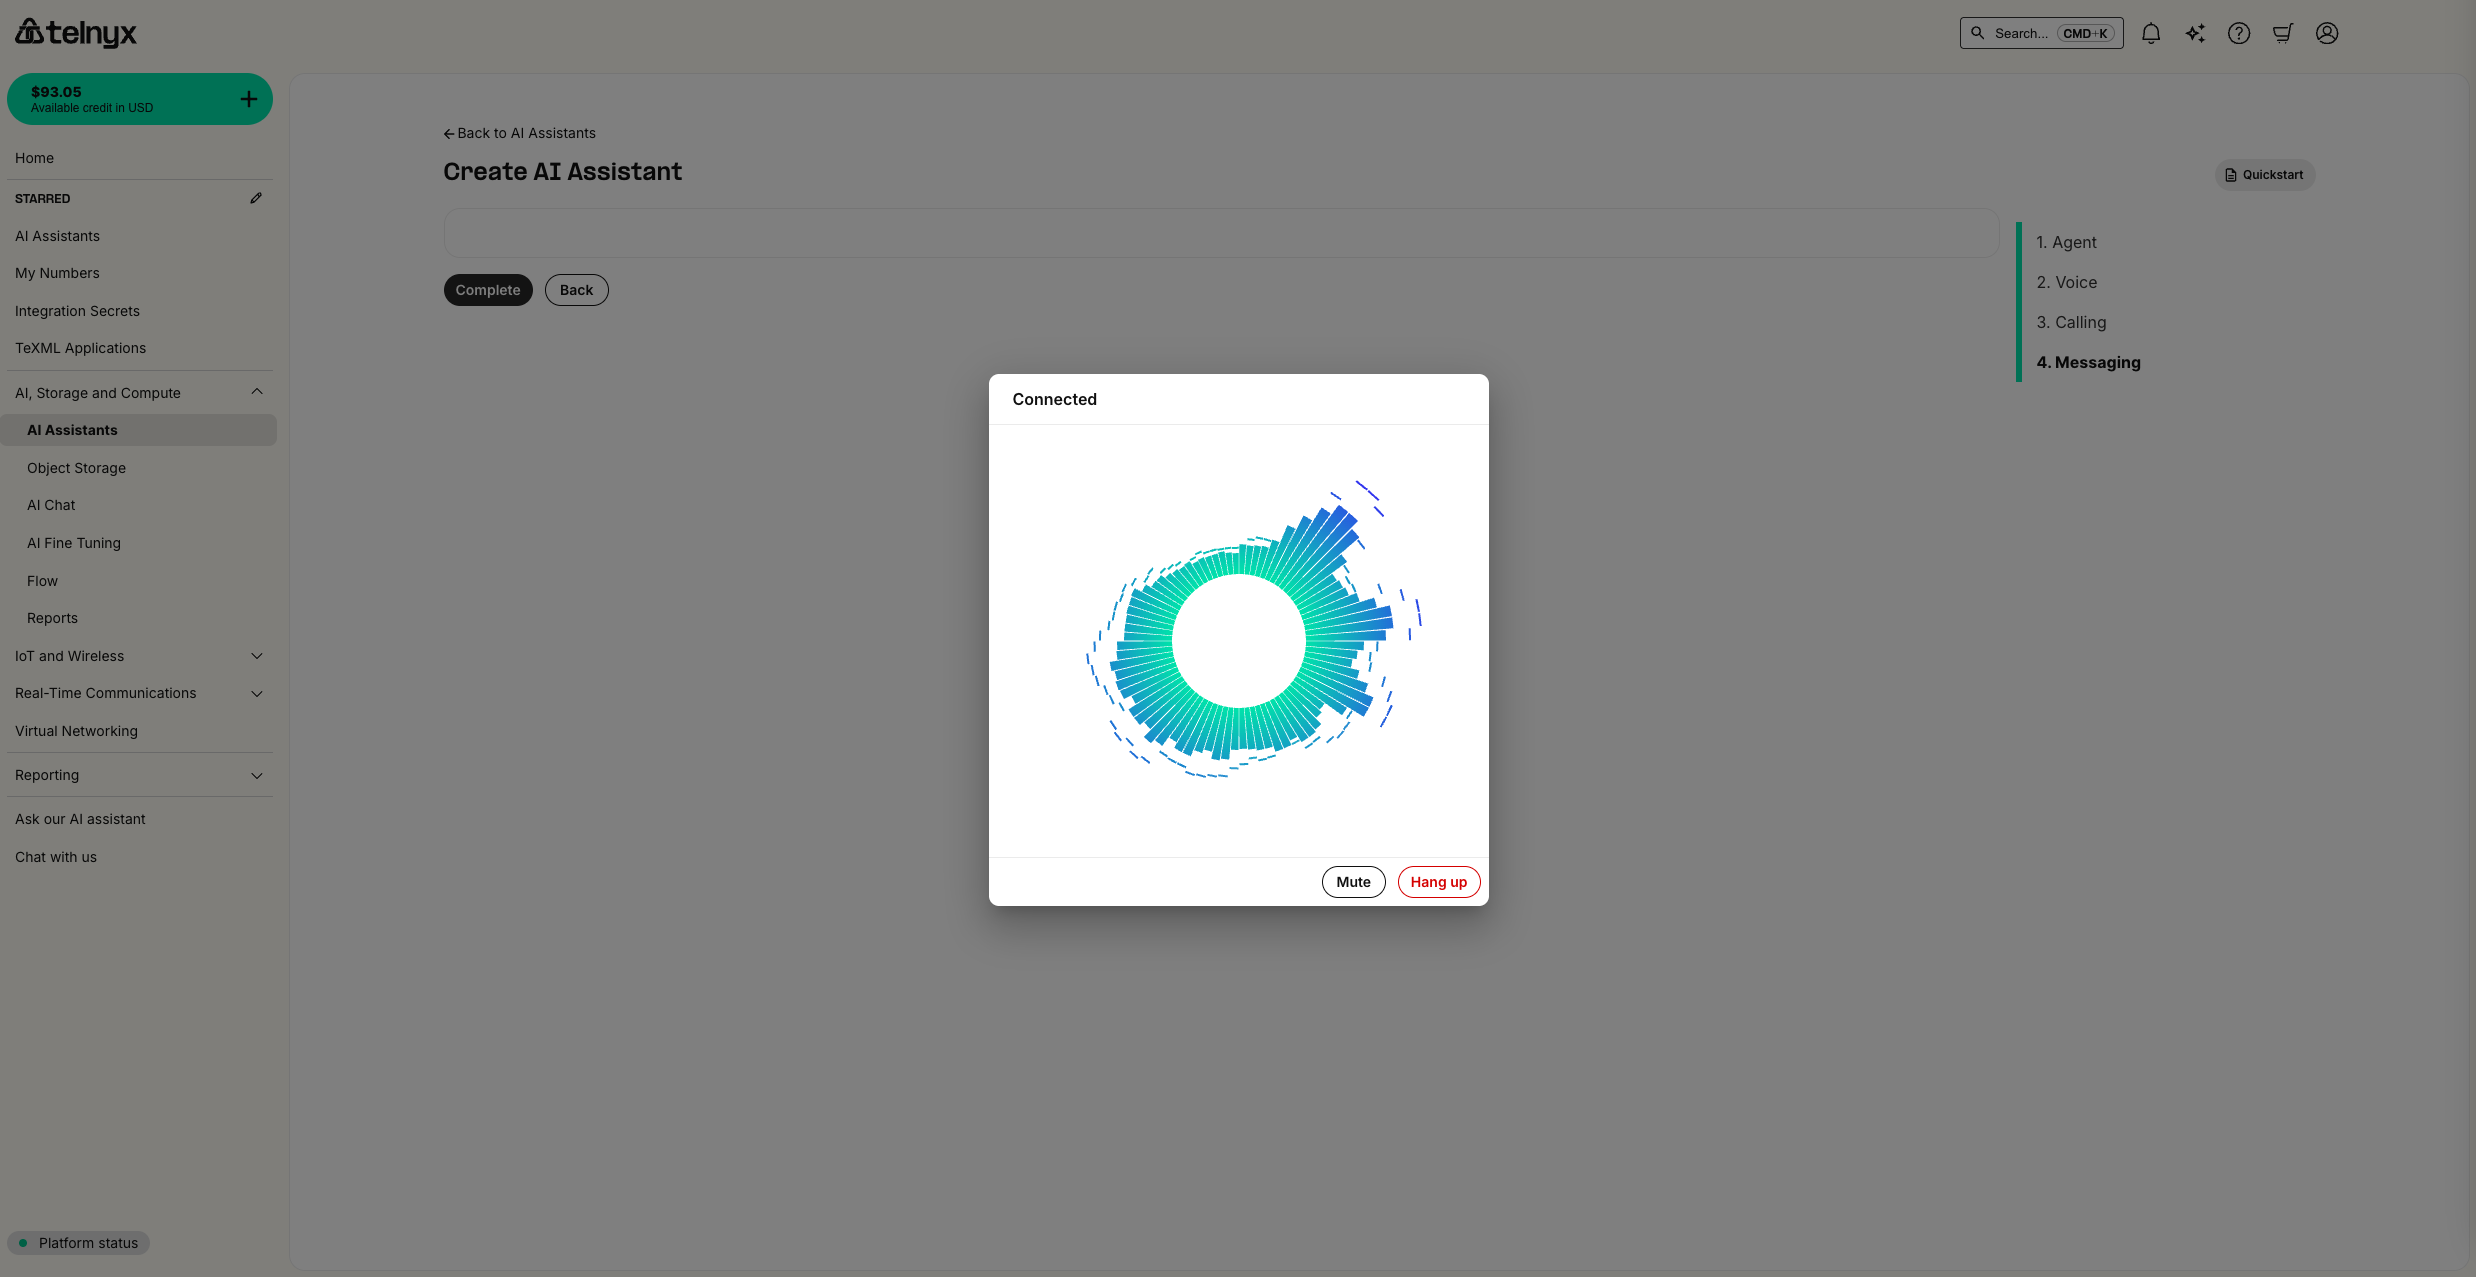
Test it out!
You should now be able to interact with your voice assistant. When you are ready, you can ask the assistant to hang up to test out the Hangup tool.
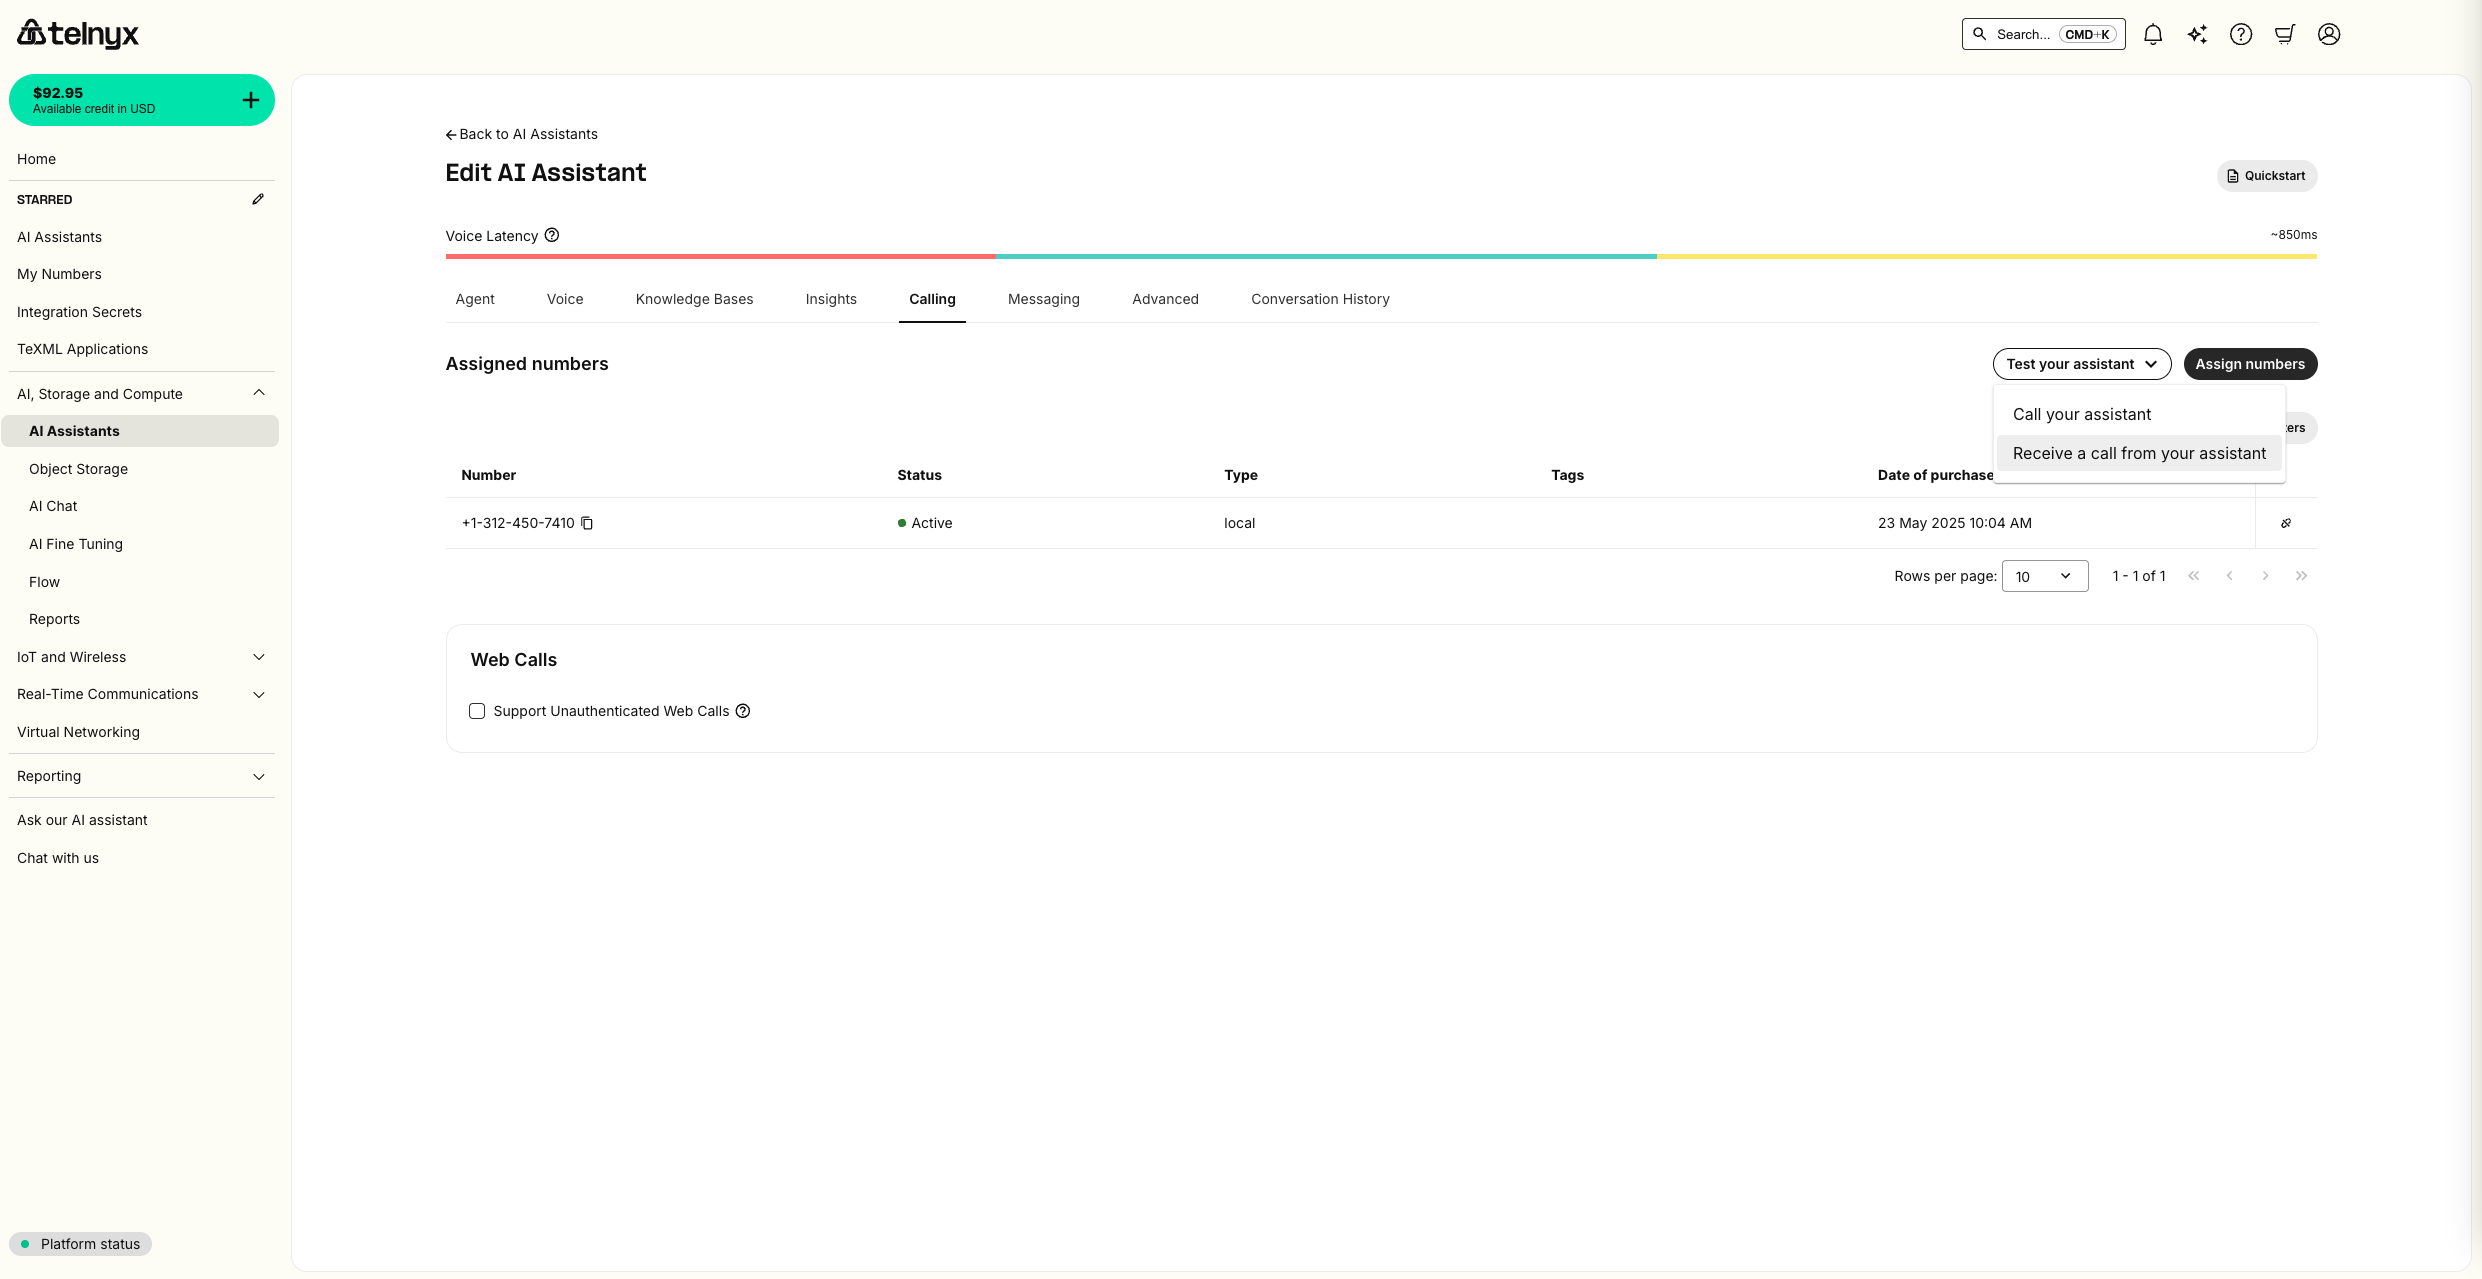
If you assigned a number to your assistant, you can also have your assistant call you:
- from the portal
- via API/CLI
- in an automated workflow like Zapier using our TeXML Outbound Call action.
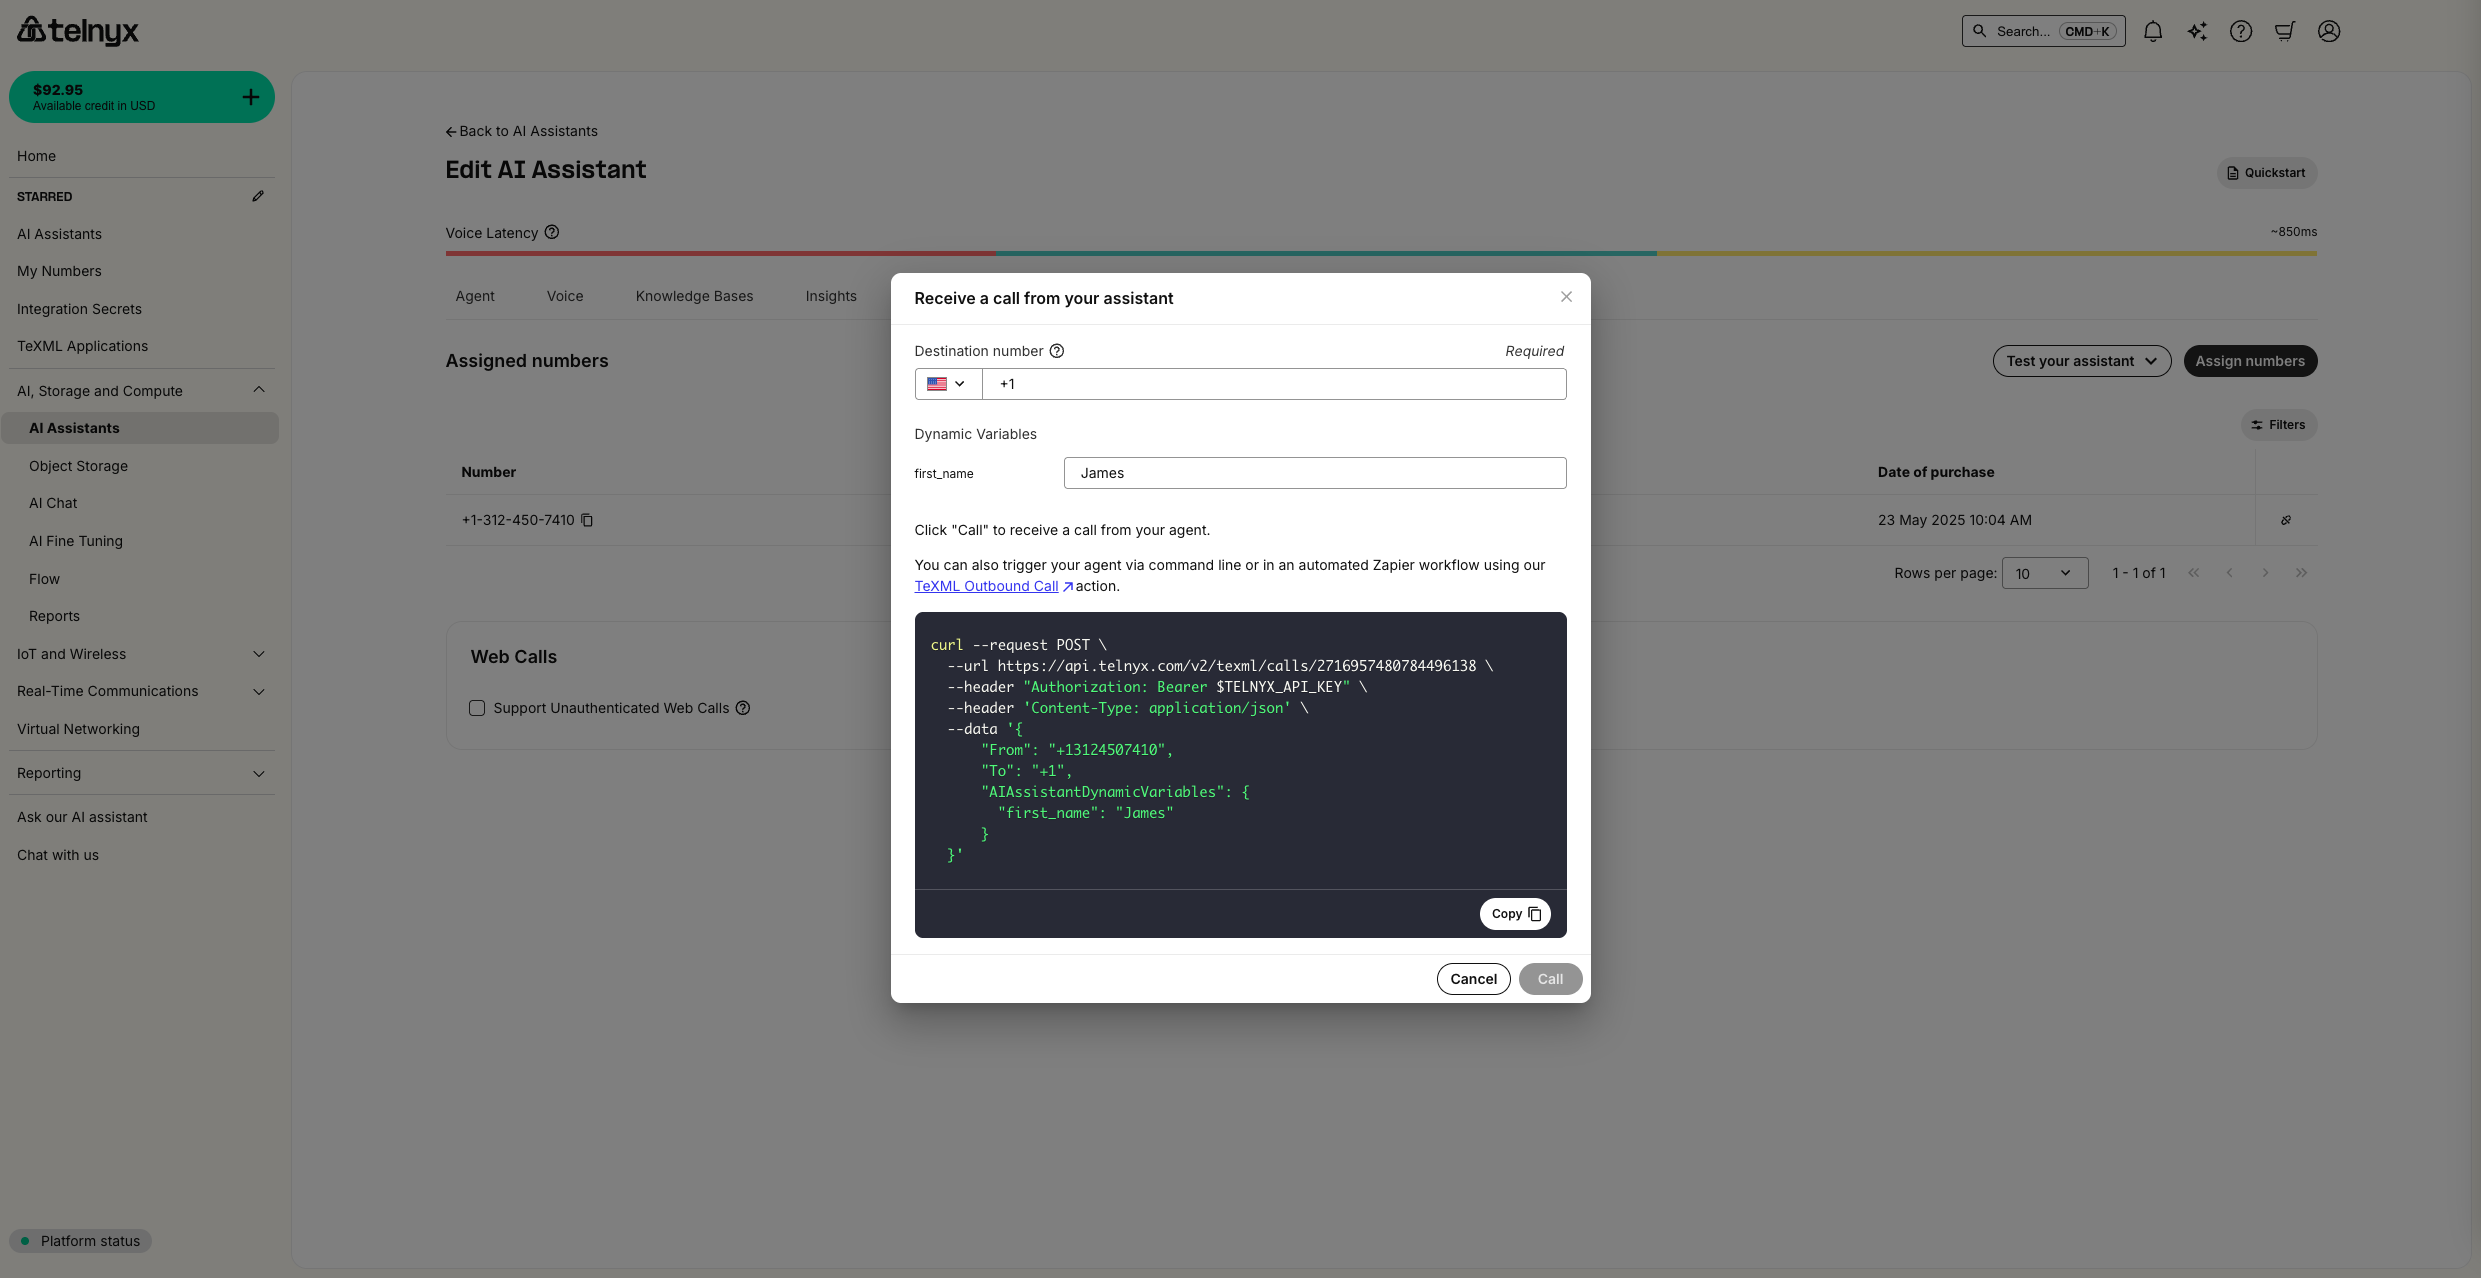
If you are using the curl provided, make sure to set the TELNYX_API_KEY environment variable with your API Key
Review the conversation
You can see all historical conversations in the Conversation History tab
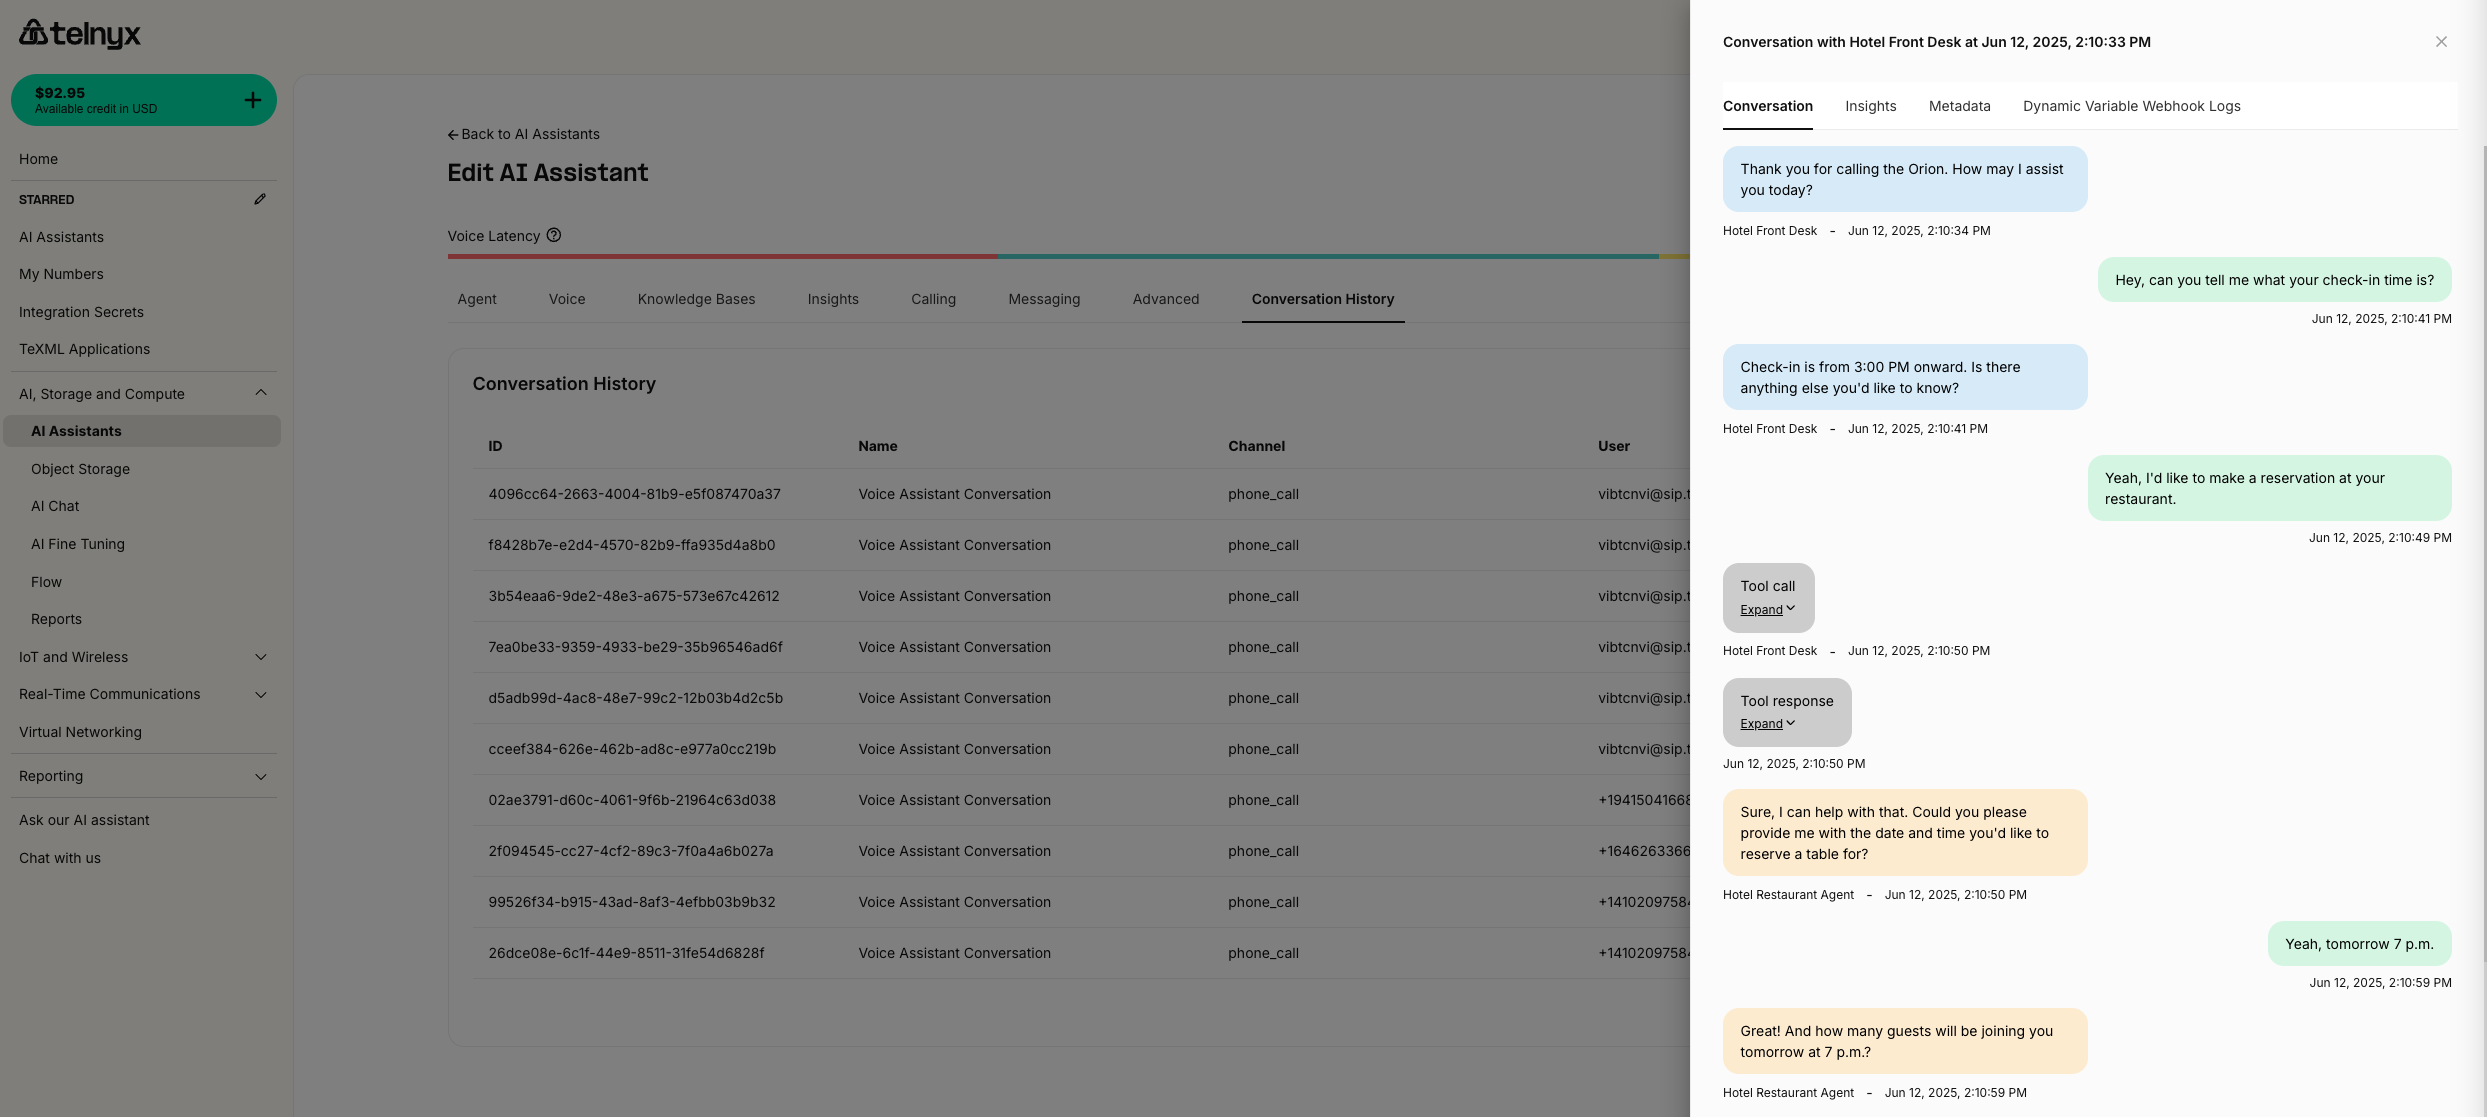
This example shows a conversation where the Handoff tool was used.
MMS integration during voice calls
Your AI Assistant can now receive and process MMS messages during live voice calls, enabling visual context and real-time image analysis. This powerful feature allows your assistant to handle complex scenarios where visual information is crucial.
How it works
When a user sends an MMS message during an ongoing voice call with your AI Assistant, the agent can:
- Automatically detect incoming MMS messages.
- Access and analyze attached images using vision-capable Language Models (VLMs).
- Provide real-time responses based on visual content.
- Continue the voice conversation with enhanced context.
Use cases
| Category | Use Case | Description |
|---|---|---|
| Visual Support | Customer Service | Analyze product photos sent by customers |
| Technical Support | Review error screenshots or equipment photos | |
| Healthcare | Examine medical documents or symptoms | |
| Document Verification | Insurance Claims | Process claims with photo evidence |
| Identity Verification | Verify identity with document images | |
| Compliance | Conduct compliance checks with visual documentation | |
| Real-time Analysis | Quality Control | Perform inspections with photo submissions |
| Inventory Management | Manage inventory with visual confirmation | |
| Damage Assessment | Assess damage with real-time photo analysis |
Configuration
MMS integration requires the following setup for your AI Assistant:
- Messaging must be enabled - Ensure messaging is enabled for your Voice AI Agent to receive MMS during calls.
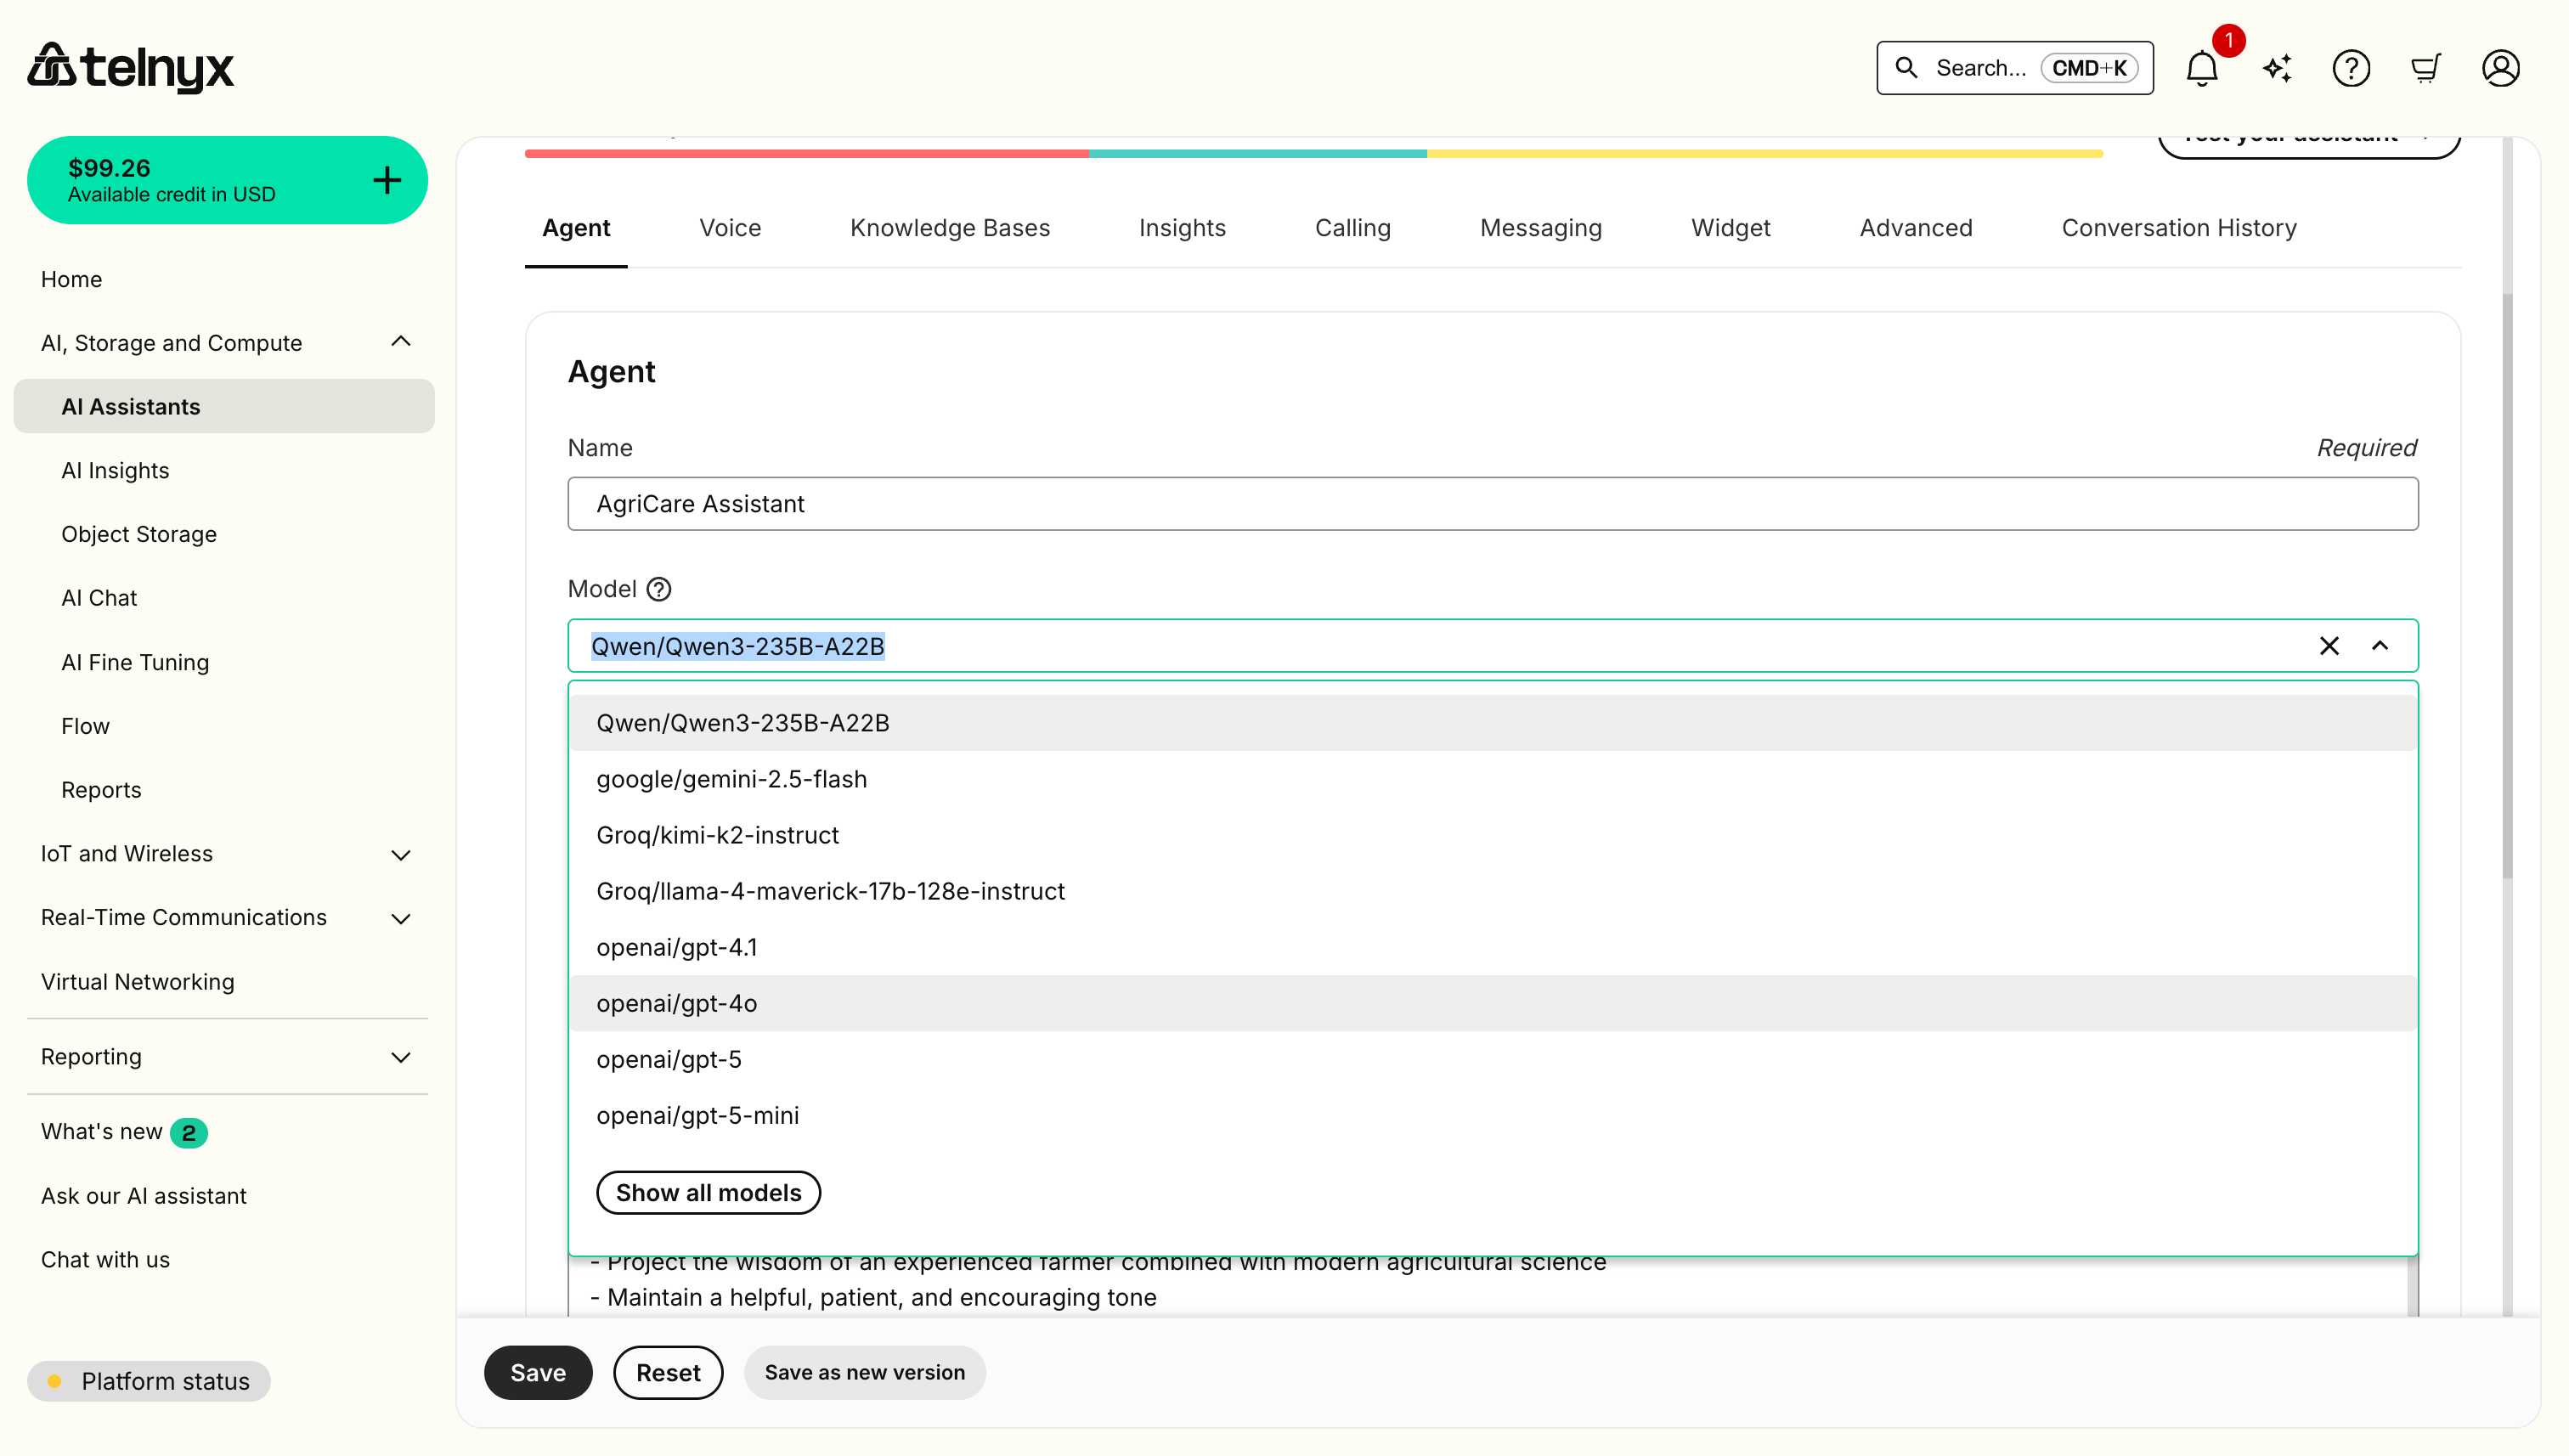
- Vision-capable models required - Use one of the two supported vision models:
Groq/llama-4-maverick-17b-128e-instructorOpenAI/gpt-4ofor image processing. - Image processing - The assistant can handle common image formats (JPEG, PNG, etc.).
Best practices
- Model selection: Choose one of the two supported vision models when configuring your assistant.
- Response timing: The assistant will process images and respond within the voice call flow.
- Image quality: Higher resolution images provide better analysis results.
- Context integration: The assistant seamlessly combines visual and conversational context.
For detailed information about vision Language Models and how to use them with our API, see our Vision Capabilities guide.
Optional enhancements
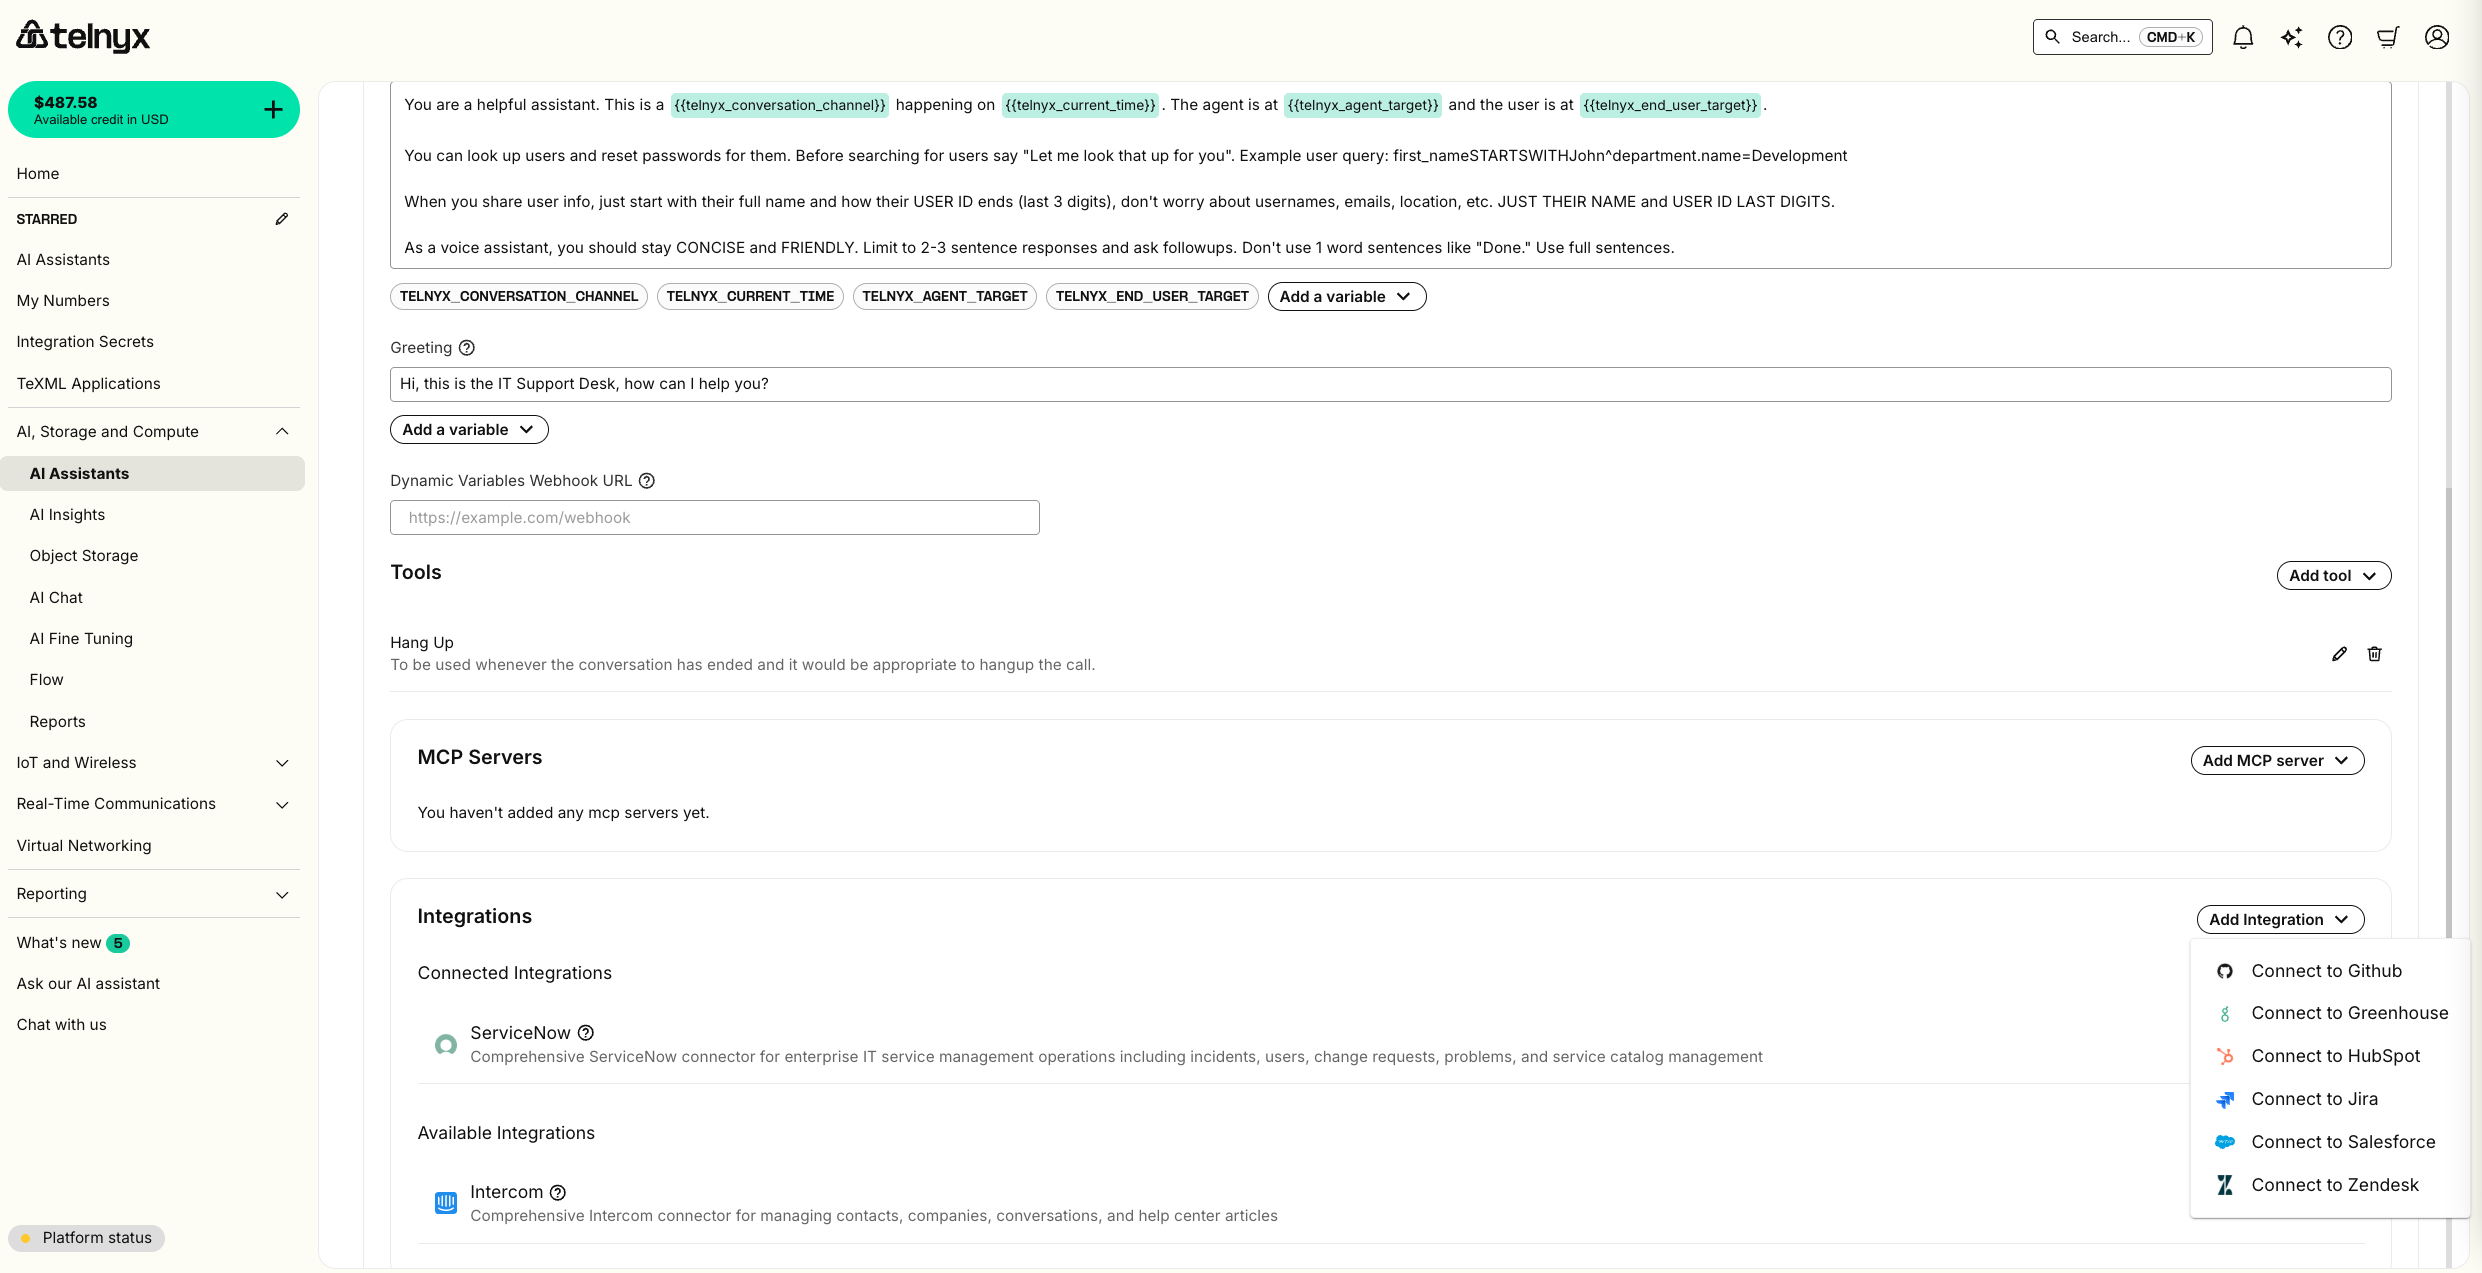
Integrations
You can integrate your assistant with enterprise platforms to access customer data, create tickets, update records, and automate workflows directly during conversations.
Telnyx AI assistants support integrations with:
- Salesforce - CRM and customer service
- ServiceNow - IT service management
- Jira - Project and issue tracking
- HubSpot - Marketing and sales CRM
- Zendesk - Customer support
- Intercom - Customer messaging
- Github - Code hosting and version control
- Greenhouse - Applicant tracking
Select the integration from the dropdown
Enter your credentials
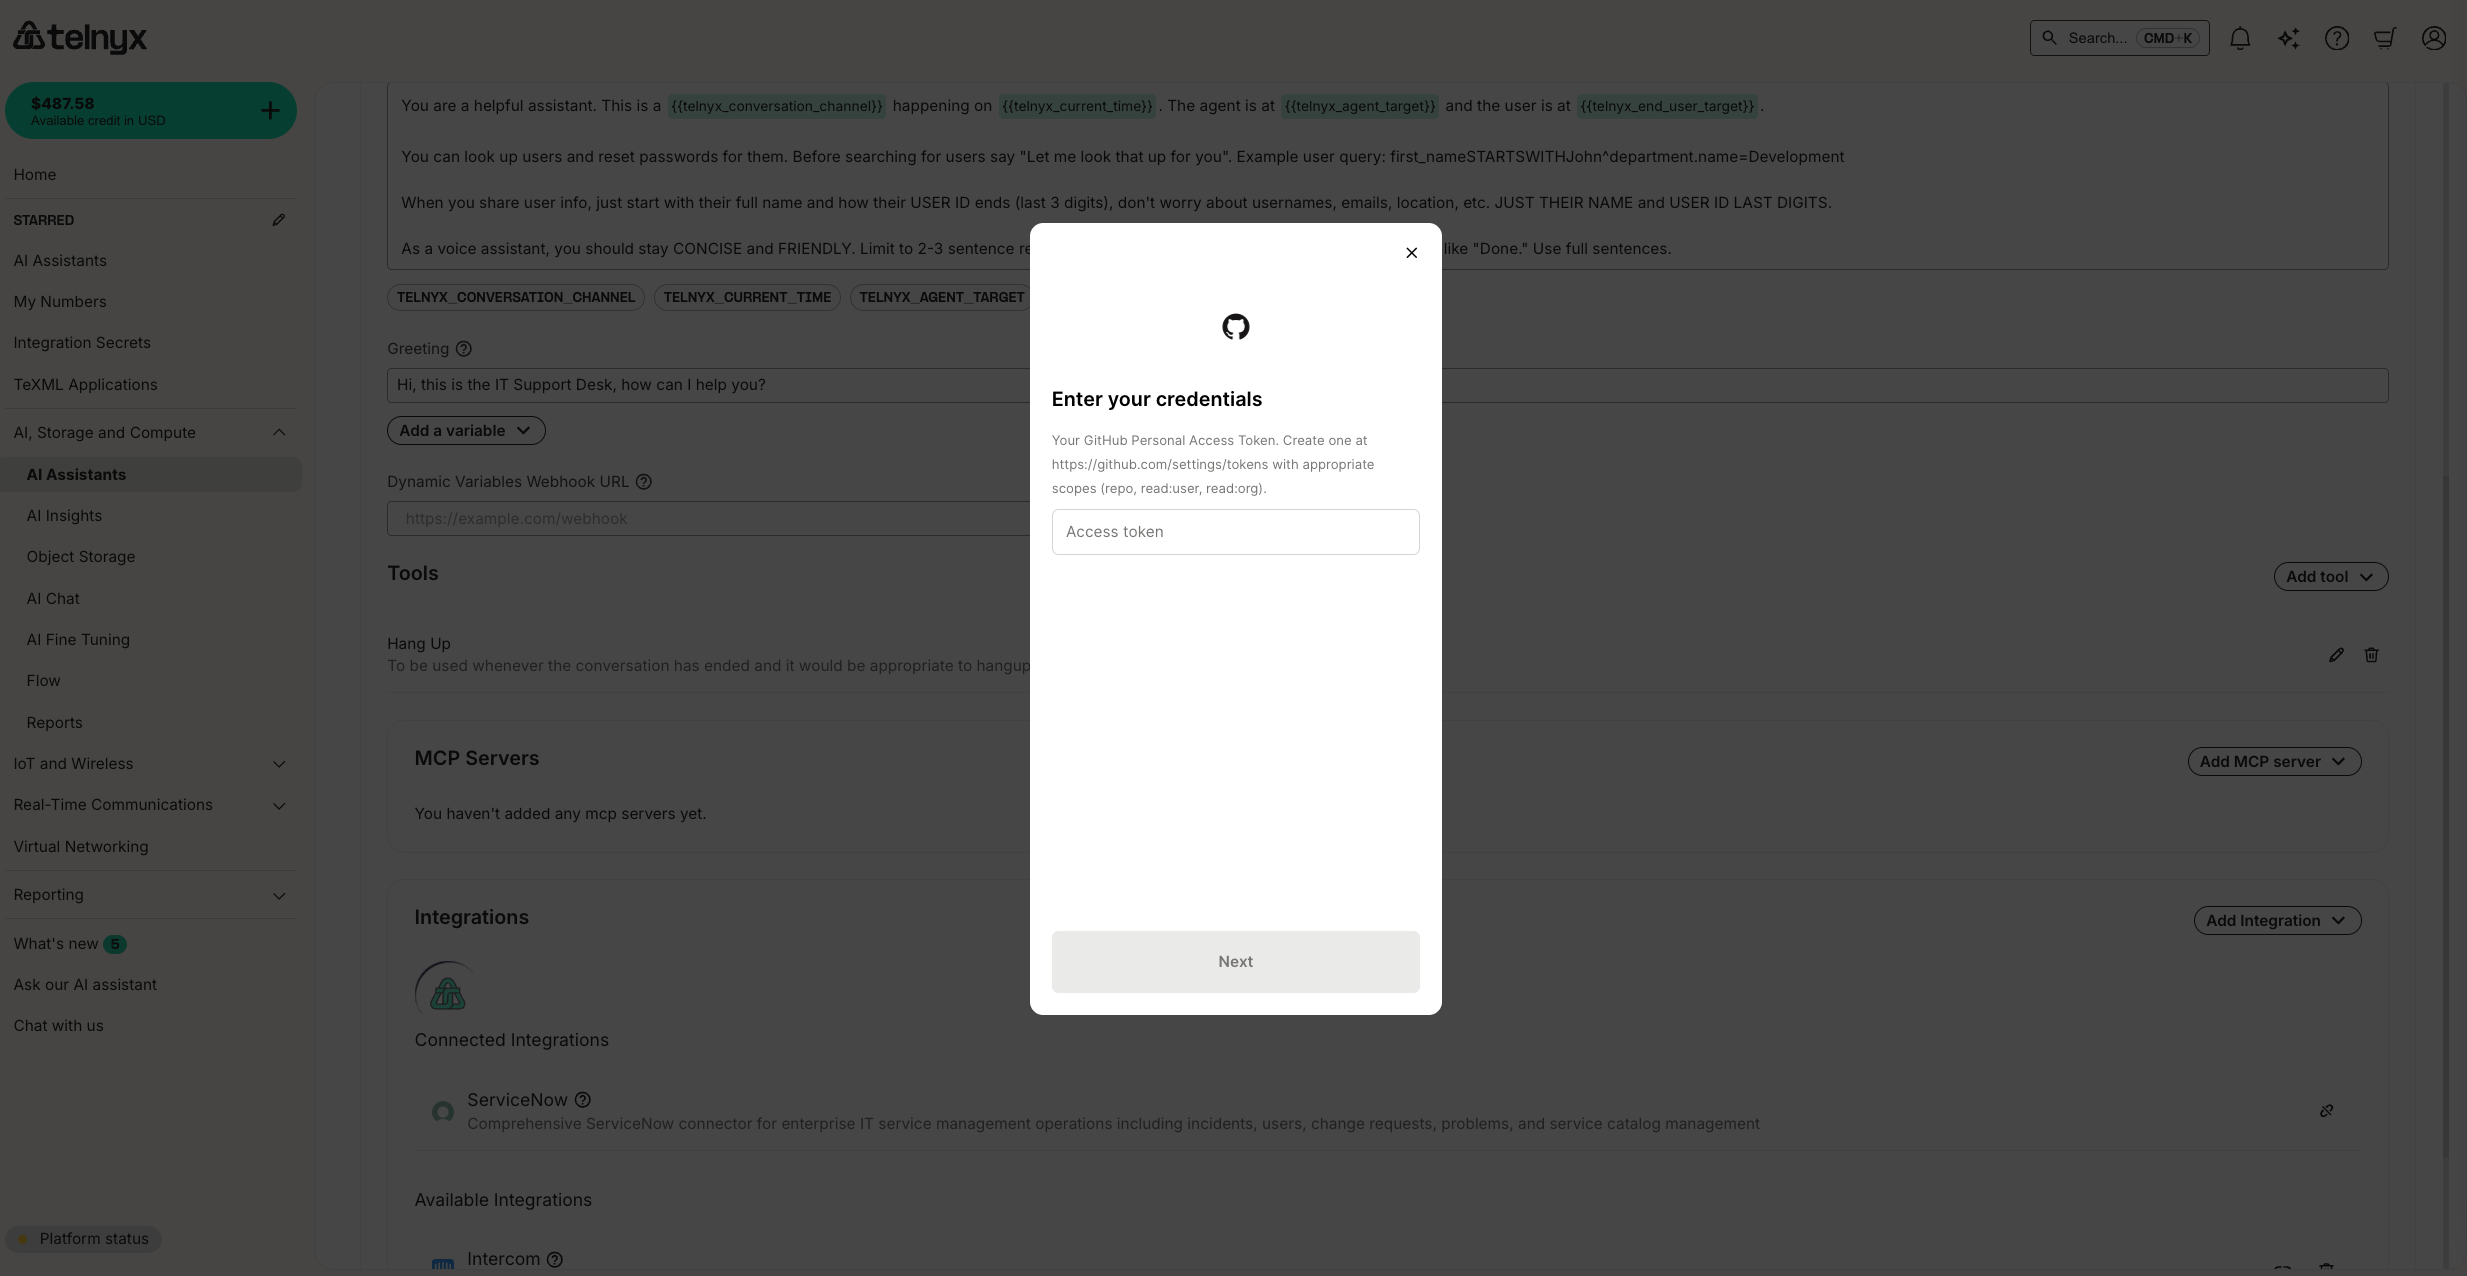
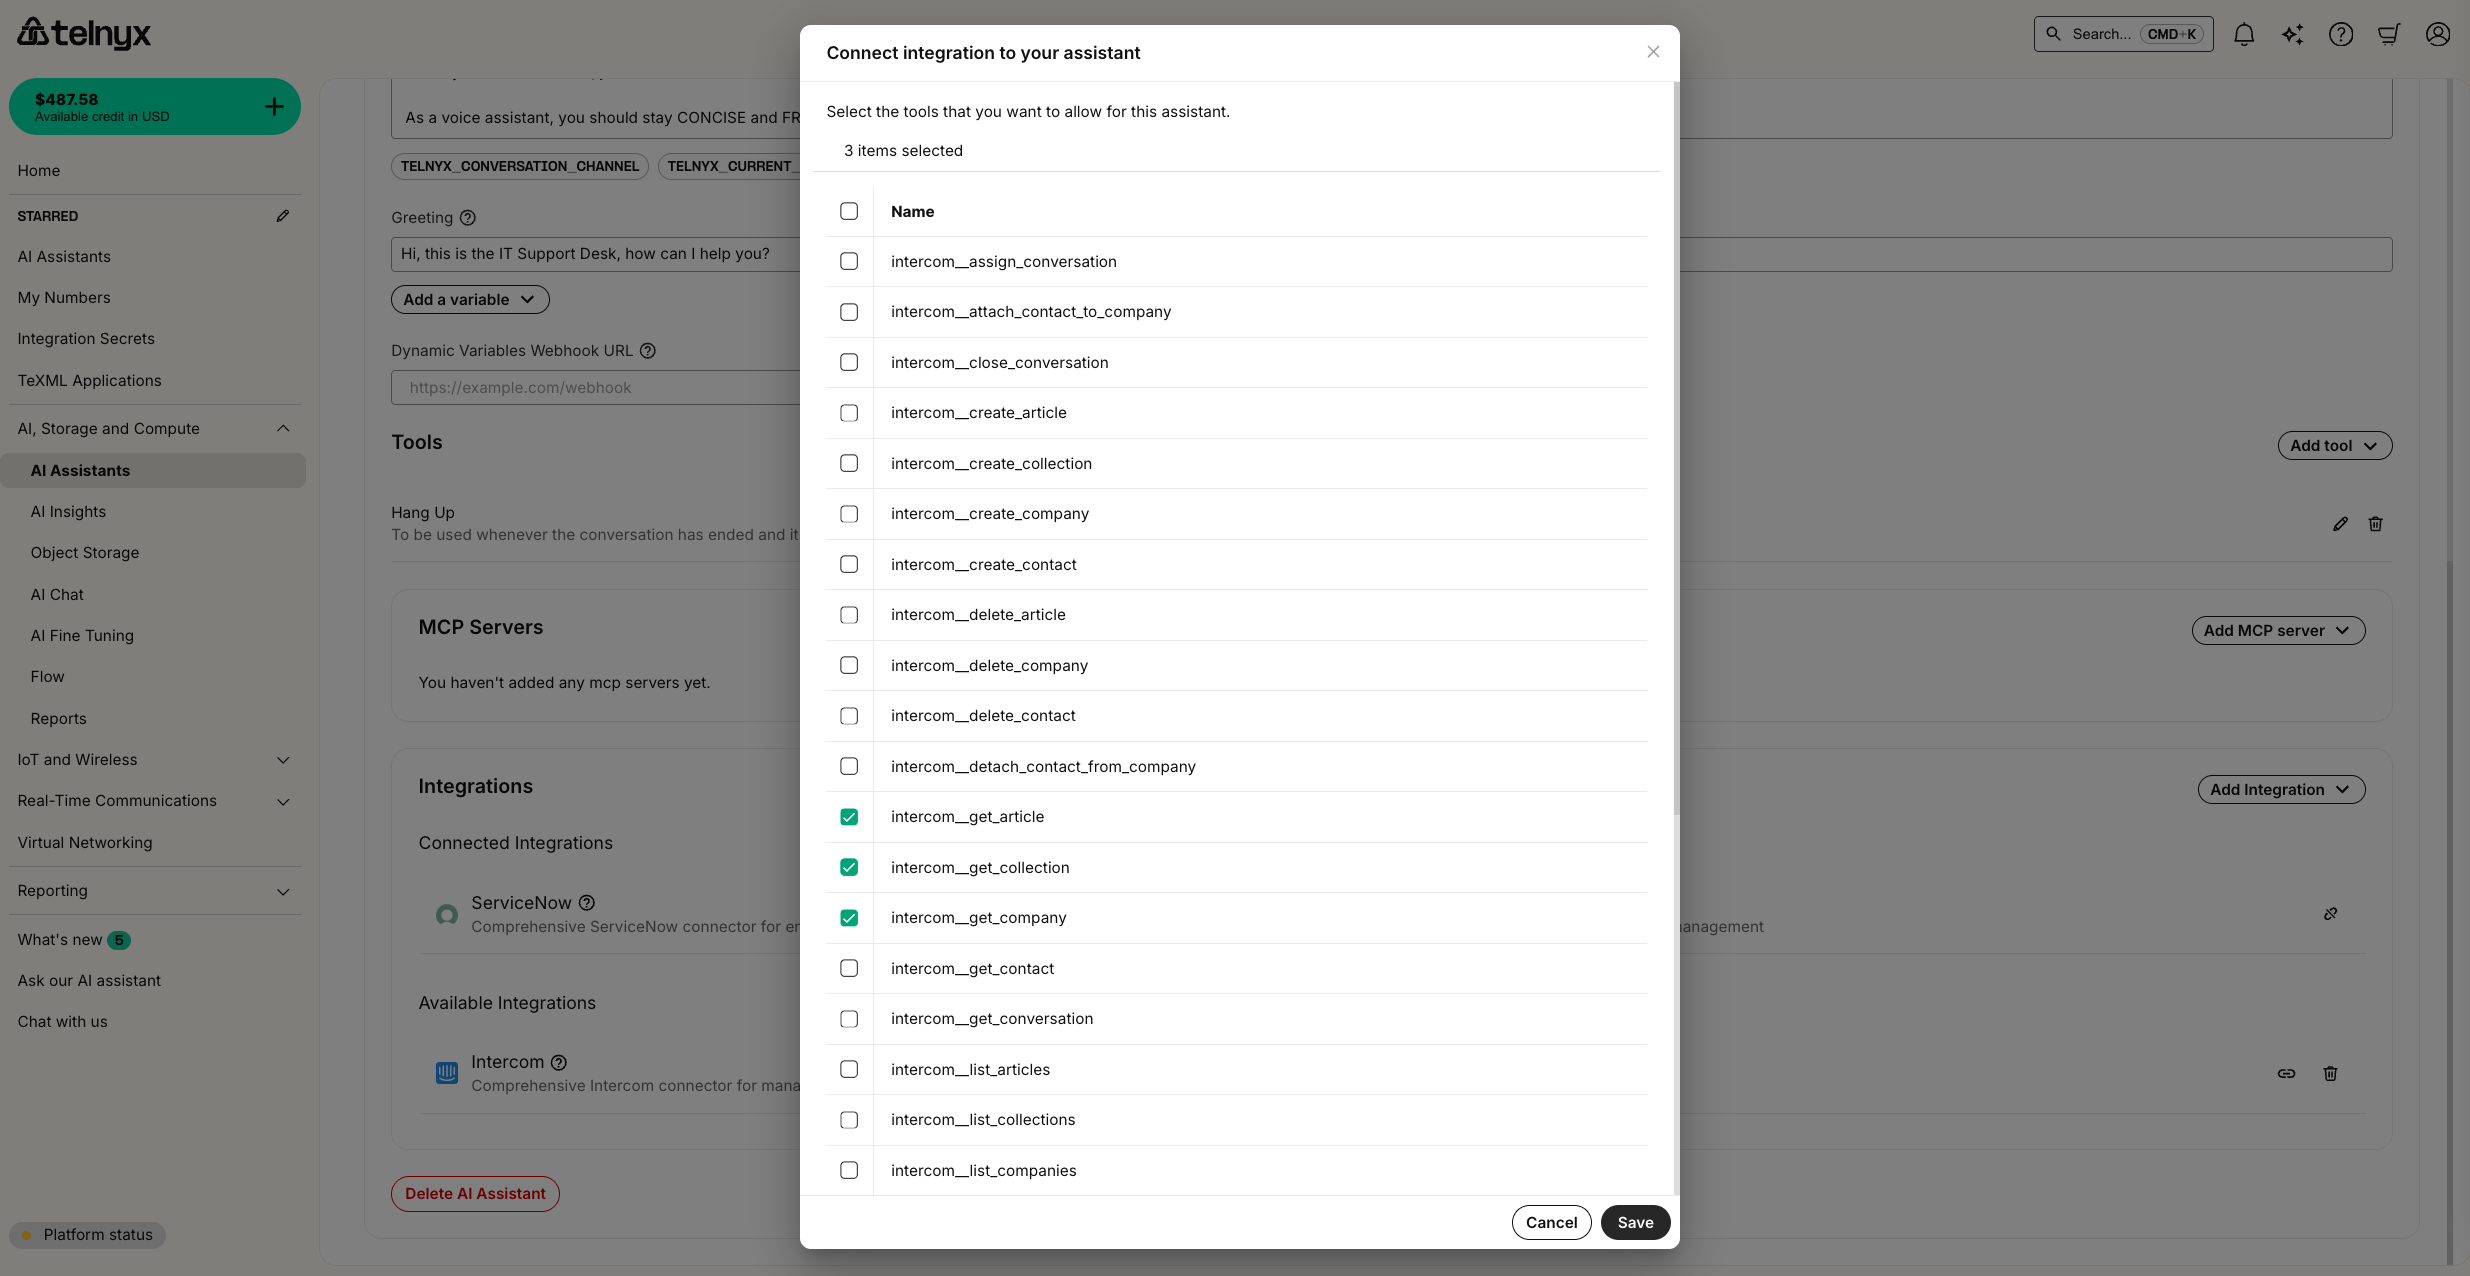
Connect the integration to the assistant and choose the enabled tools
Learn more: For comprehensive setup guides, required credentials, available tools, and best practices for each integration, see the AI Assistant Integrations documentation.
Additional built-in tools
Besides Hangup, we offer several additional built-in tools to empower your agent to take real-world actions.
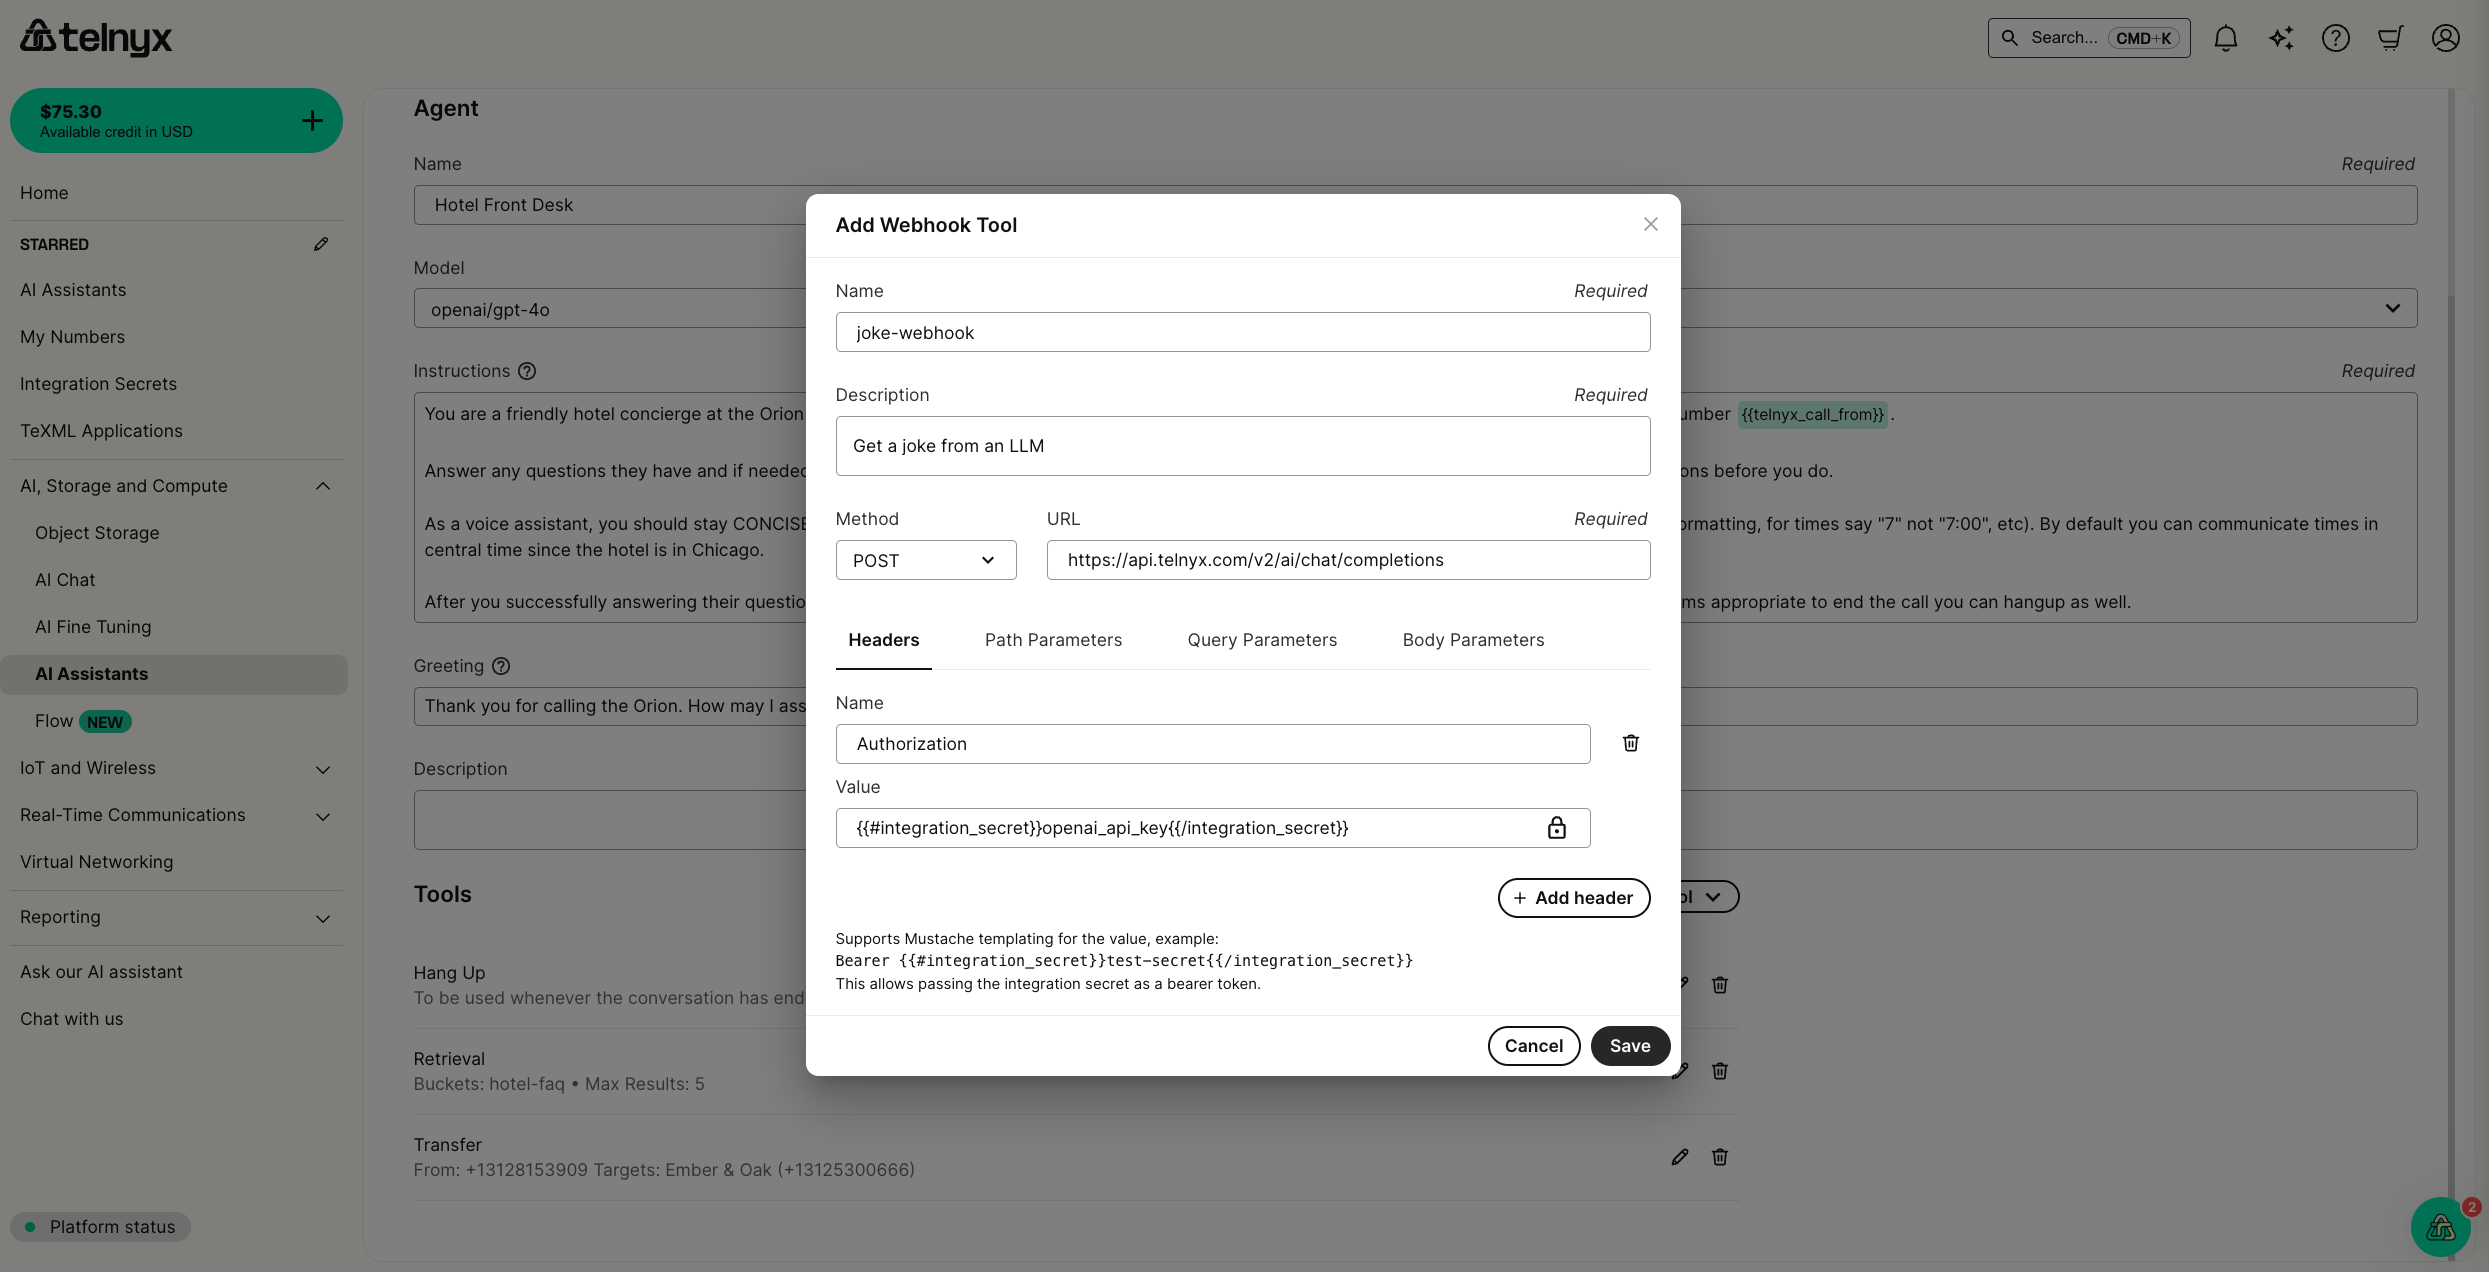
Webhook
With the webhook tool, your agent can make API requests.
You can configure headers (with integration secrets), along with path, query, and body parameters. You can also reference dynamic variables in the webhook path or in the parameter descriptions.
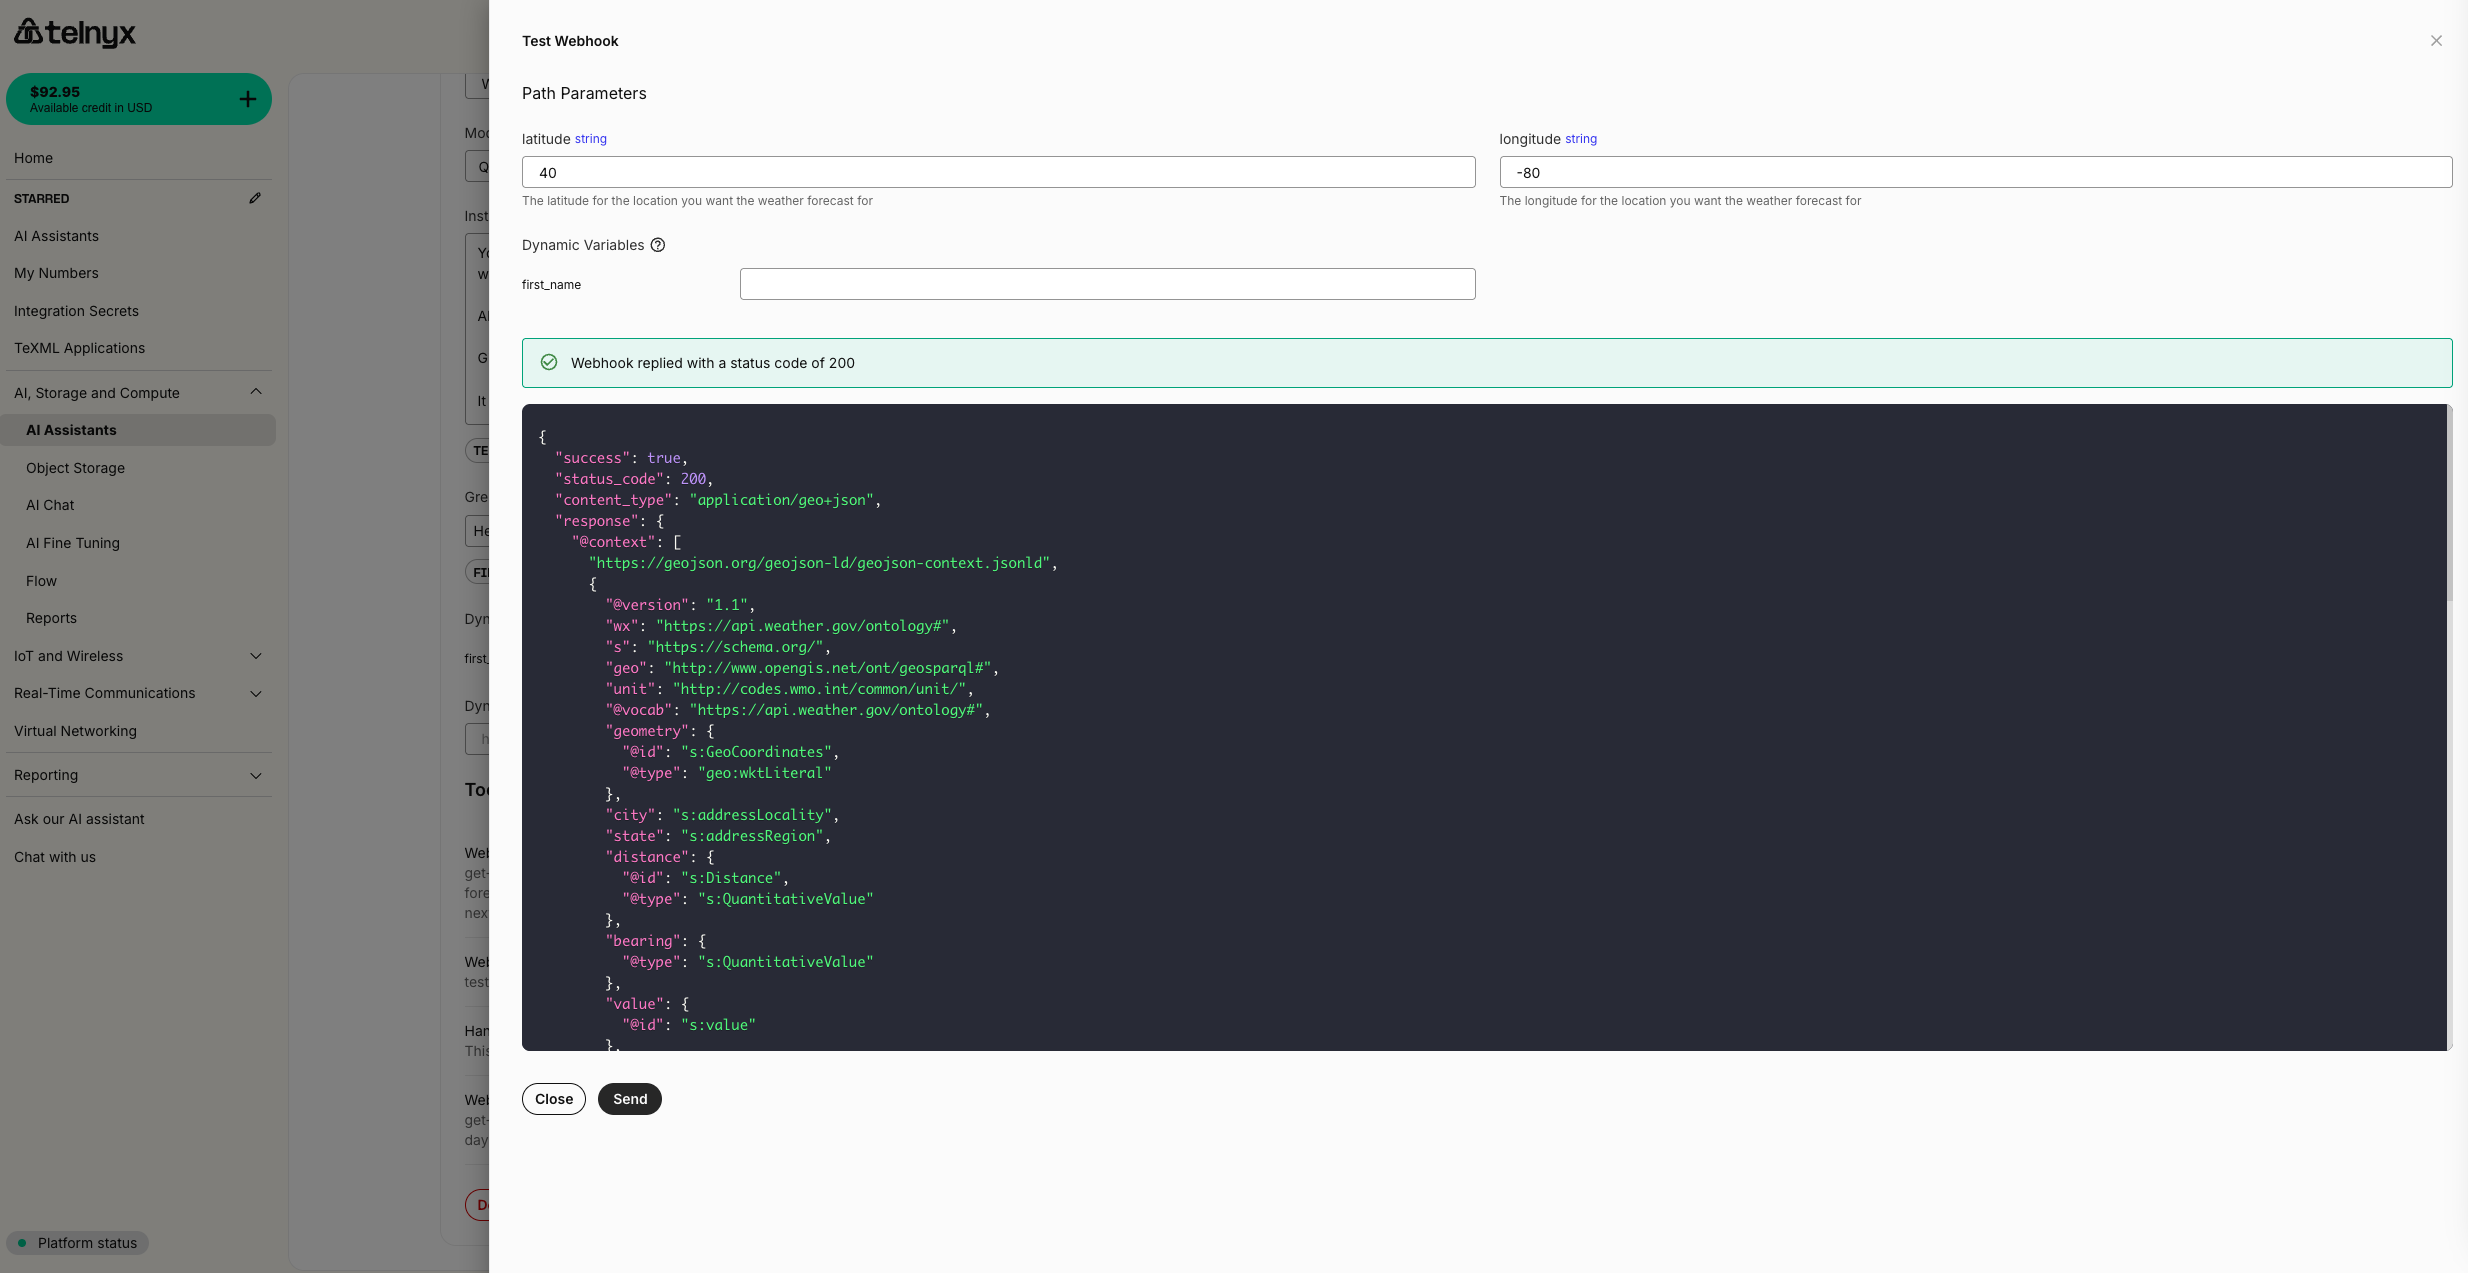
After you've saved a webhook tool on your assistant, you can test it out with sample data by clicking the play button icon on the tool.
Handoff
With the handoff tool, you can enable multiple assistants to support a user in a single conversation. By default, the handoff is transparent to the user: assistants share the same context and voice, allowing for a unified experience where a variety of tasks can be handled by a team of specialists working behind the scenes.
You can also toggle to the distinct voice mode, where all assistants retain their voice configuration, providing the experience of a conference call with a team of assistants
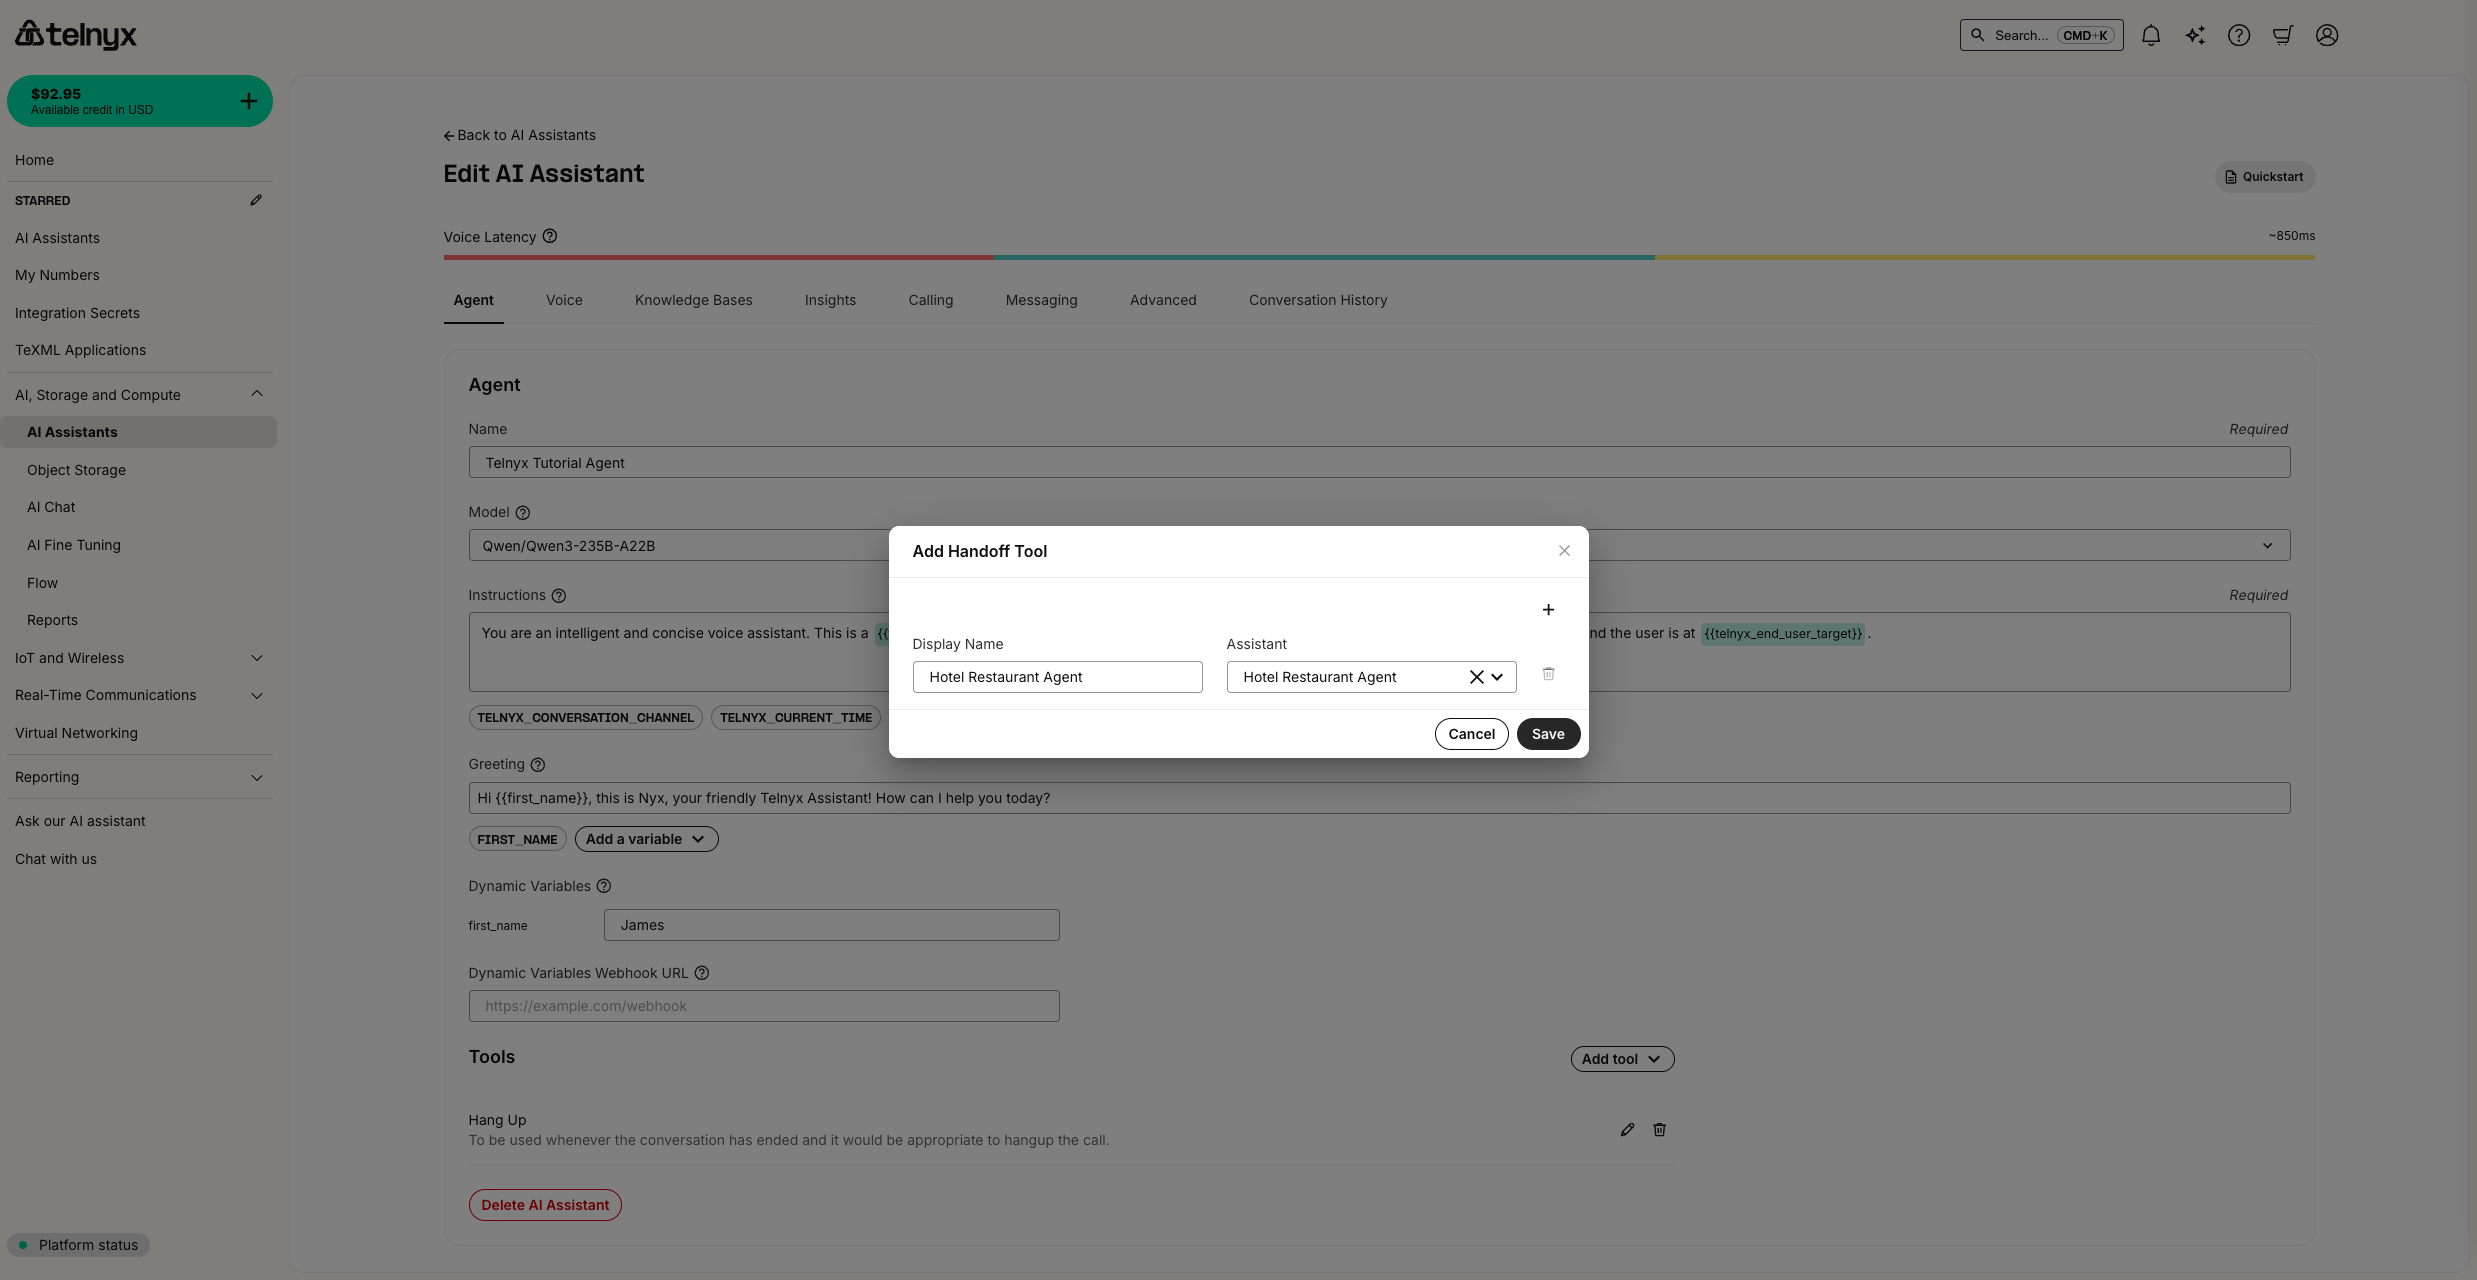
Learn more about agent handoff, including best practices, industry-specific templates, and advanced configuration in the Agent Handoff guide.
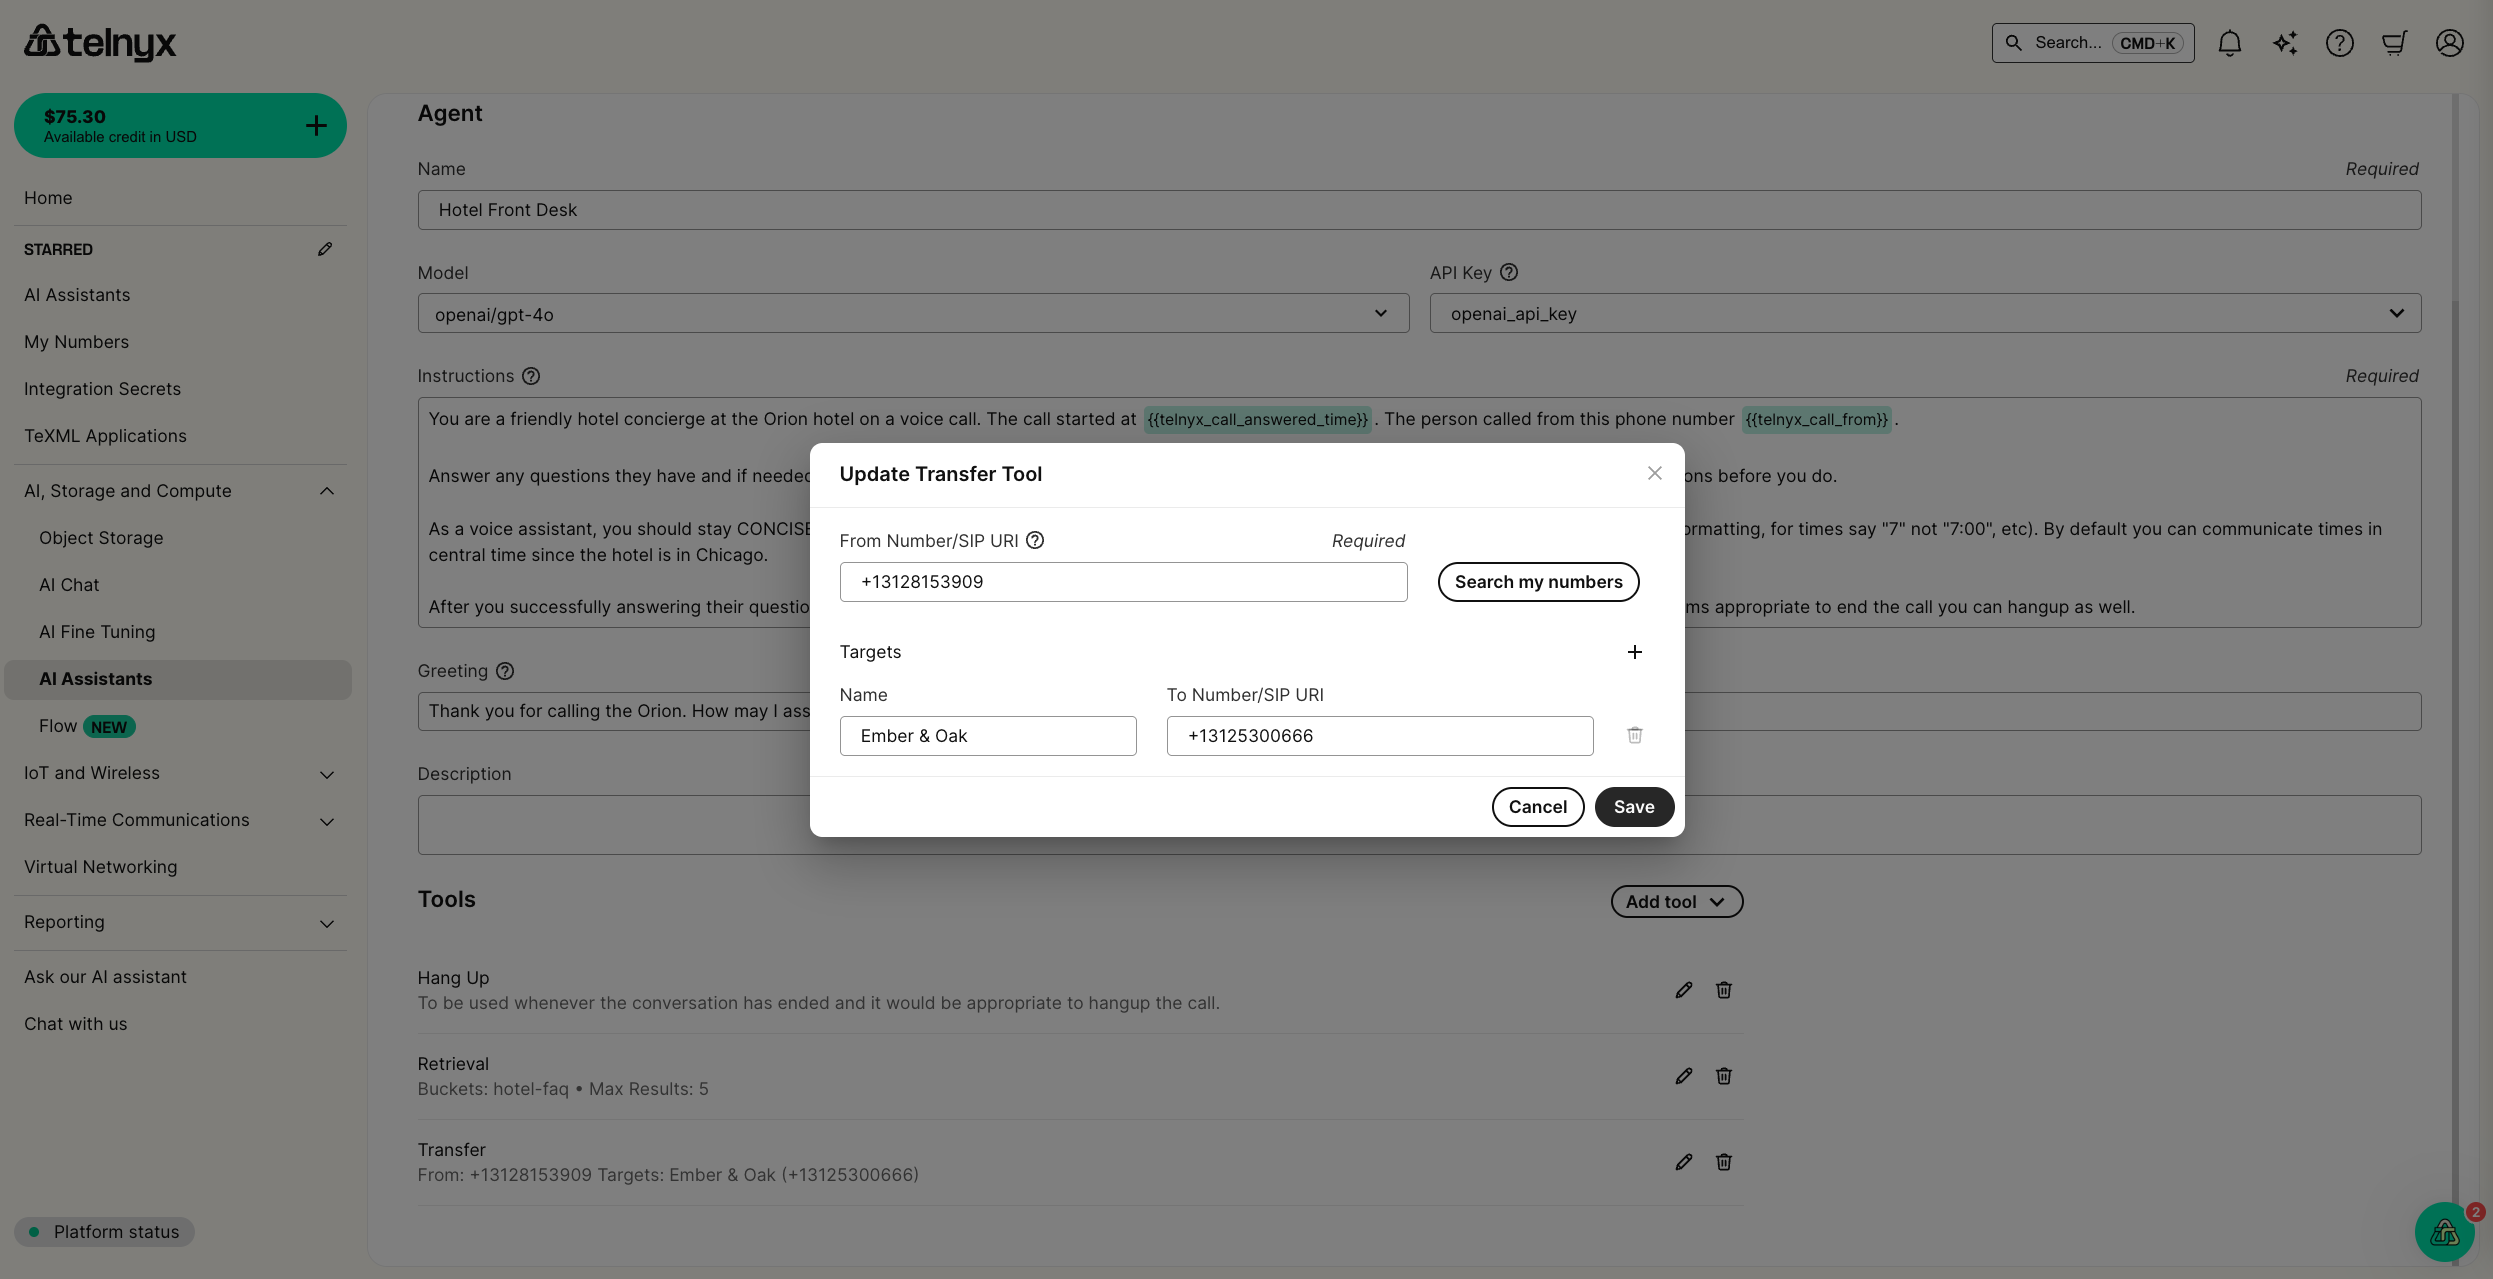
Transfer and SIP Refer
With the transfer and SIP Refer tools, your agent can transfer or refer a call to a list of named targets.
Send DTMF
With the Send DTMF, your agent can interact with legacy IVR systems.
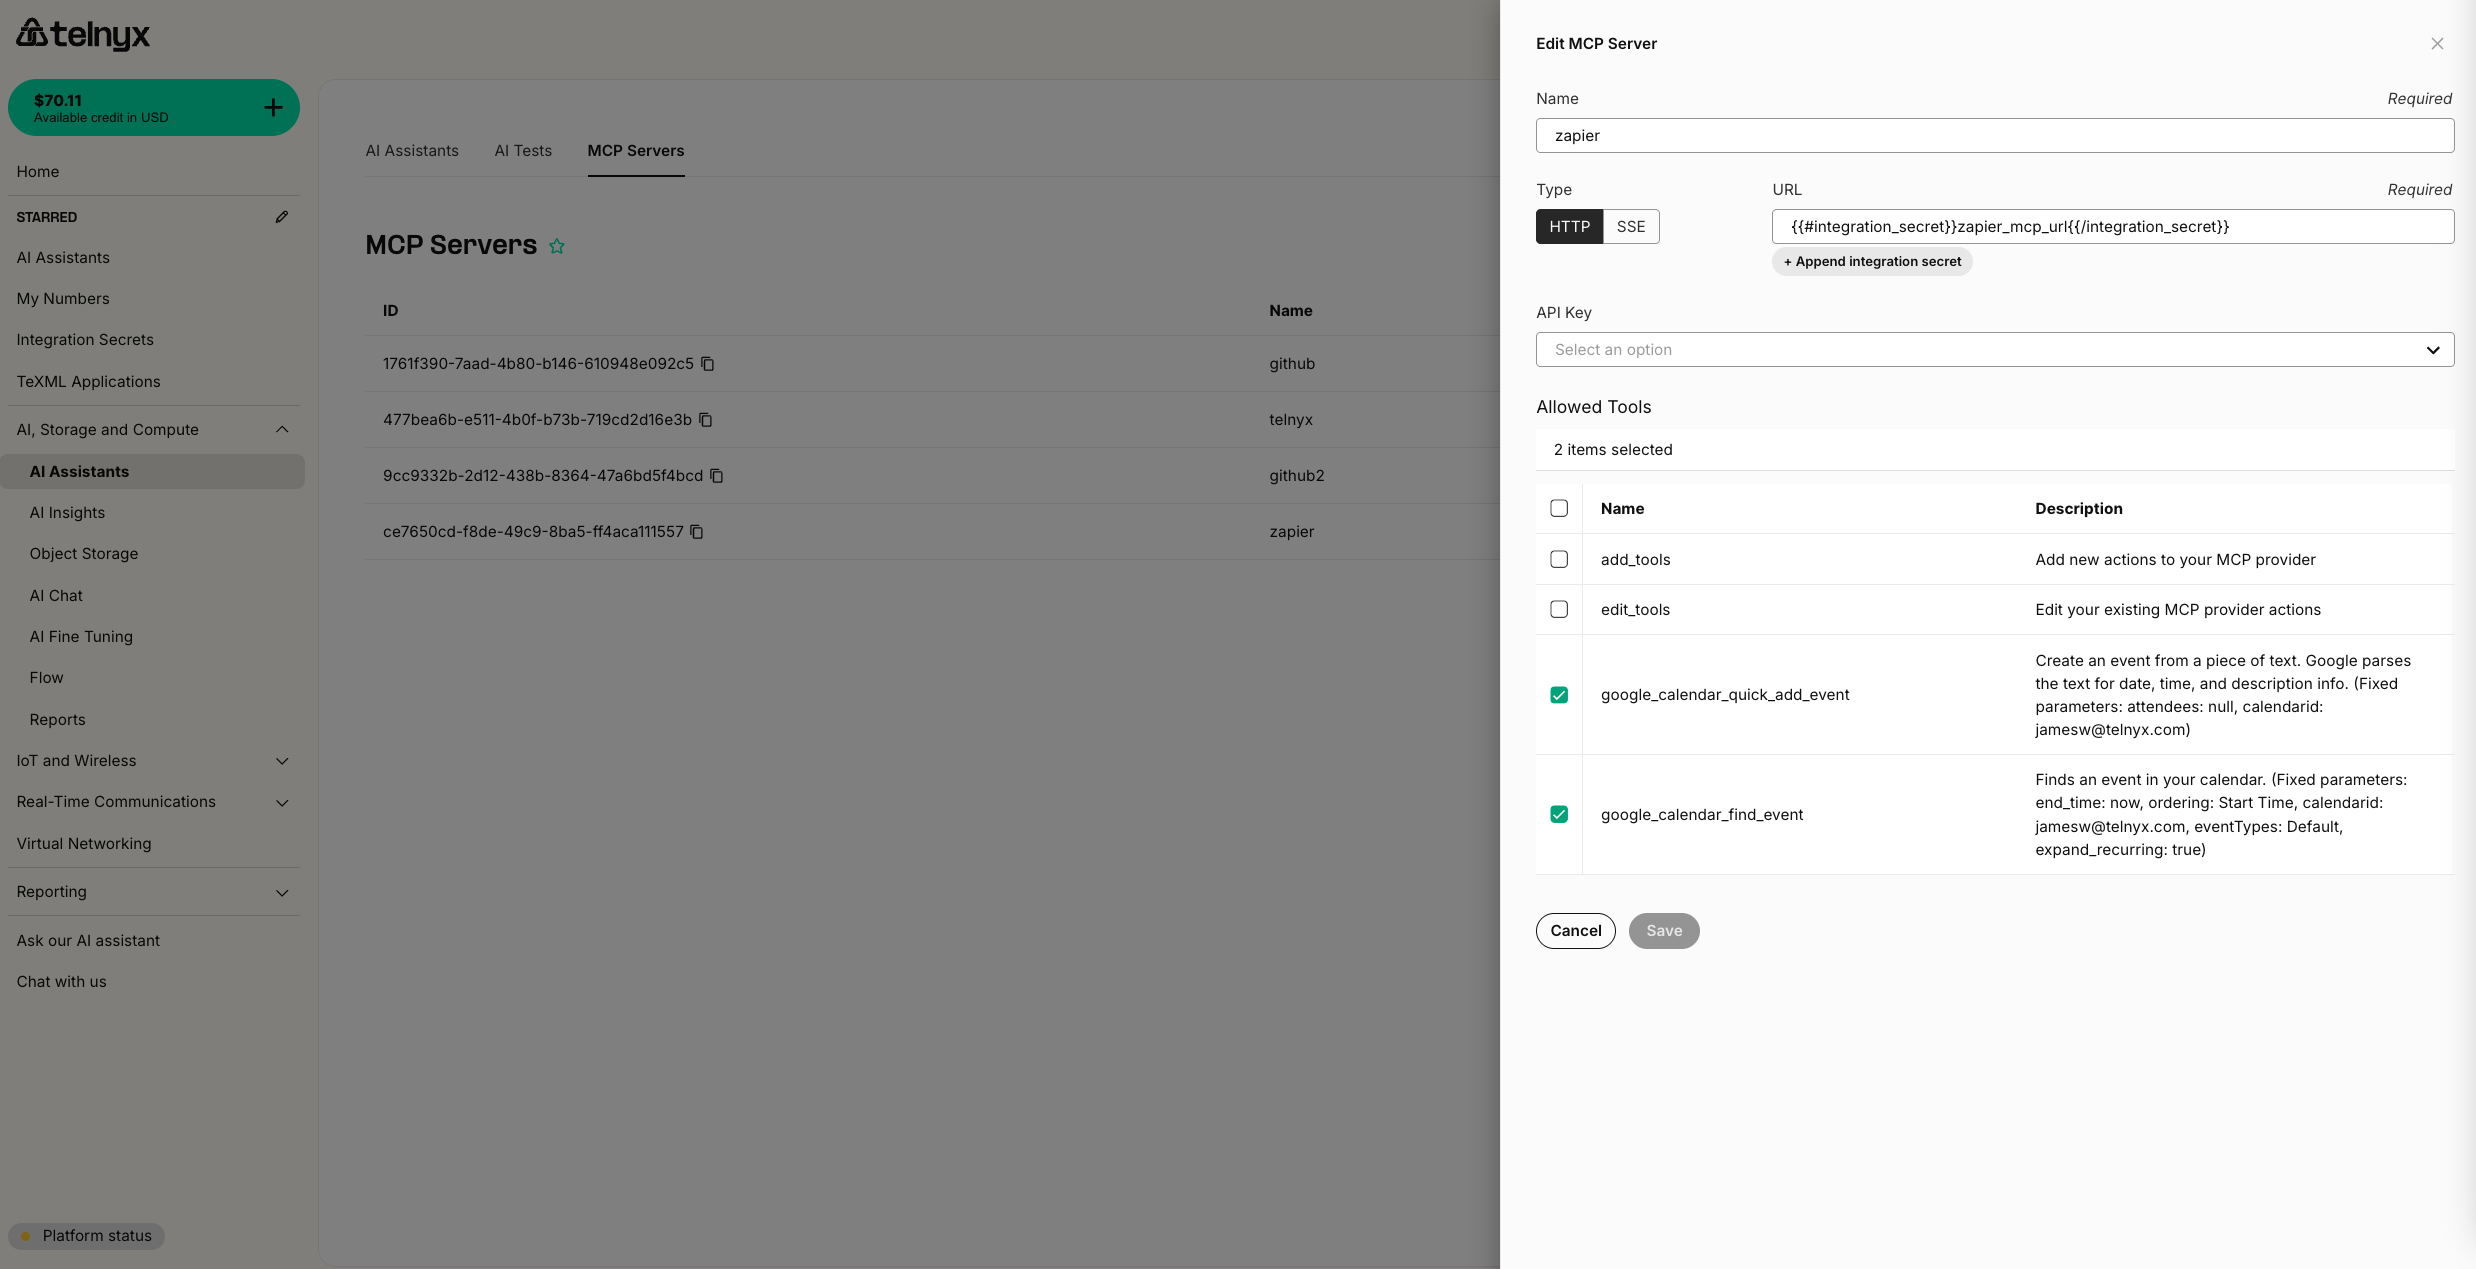
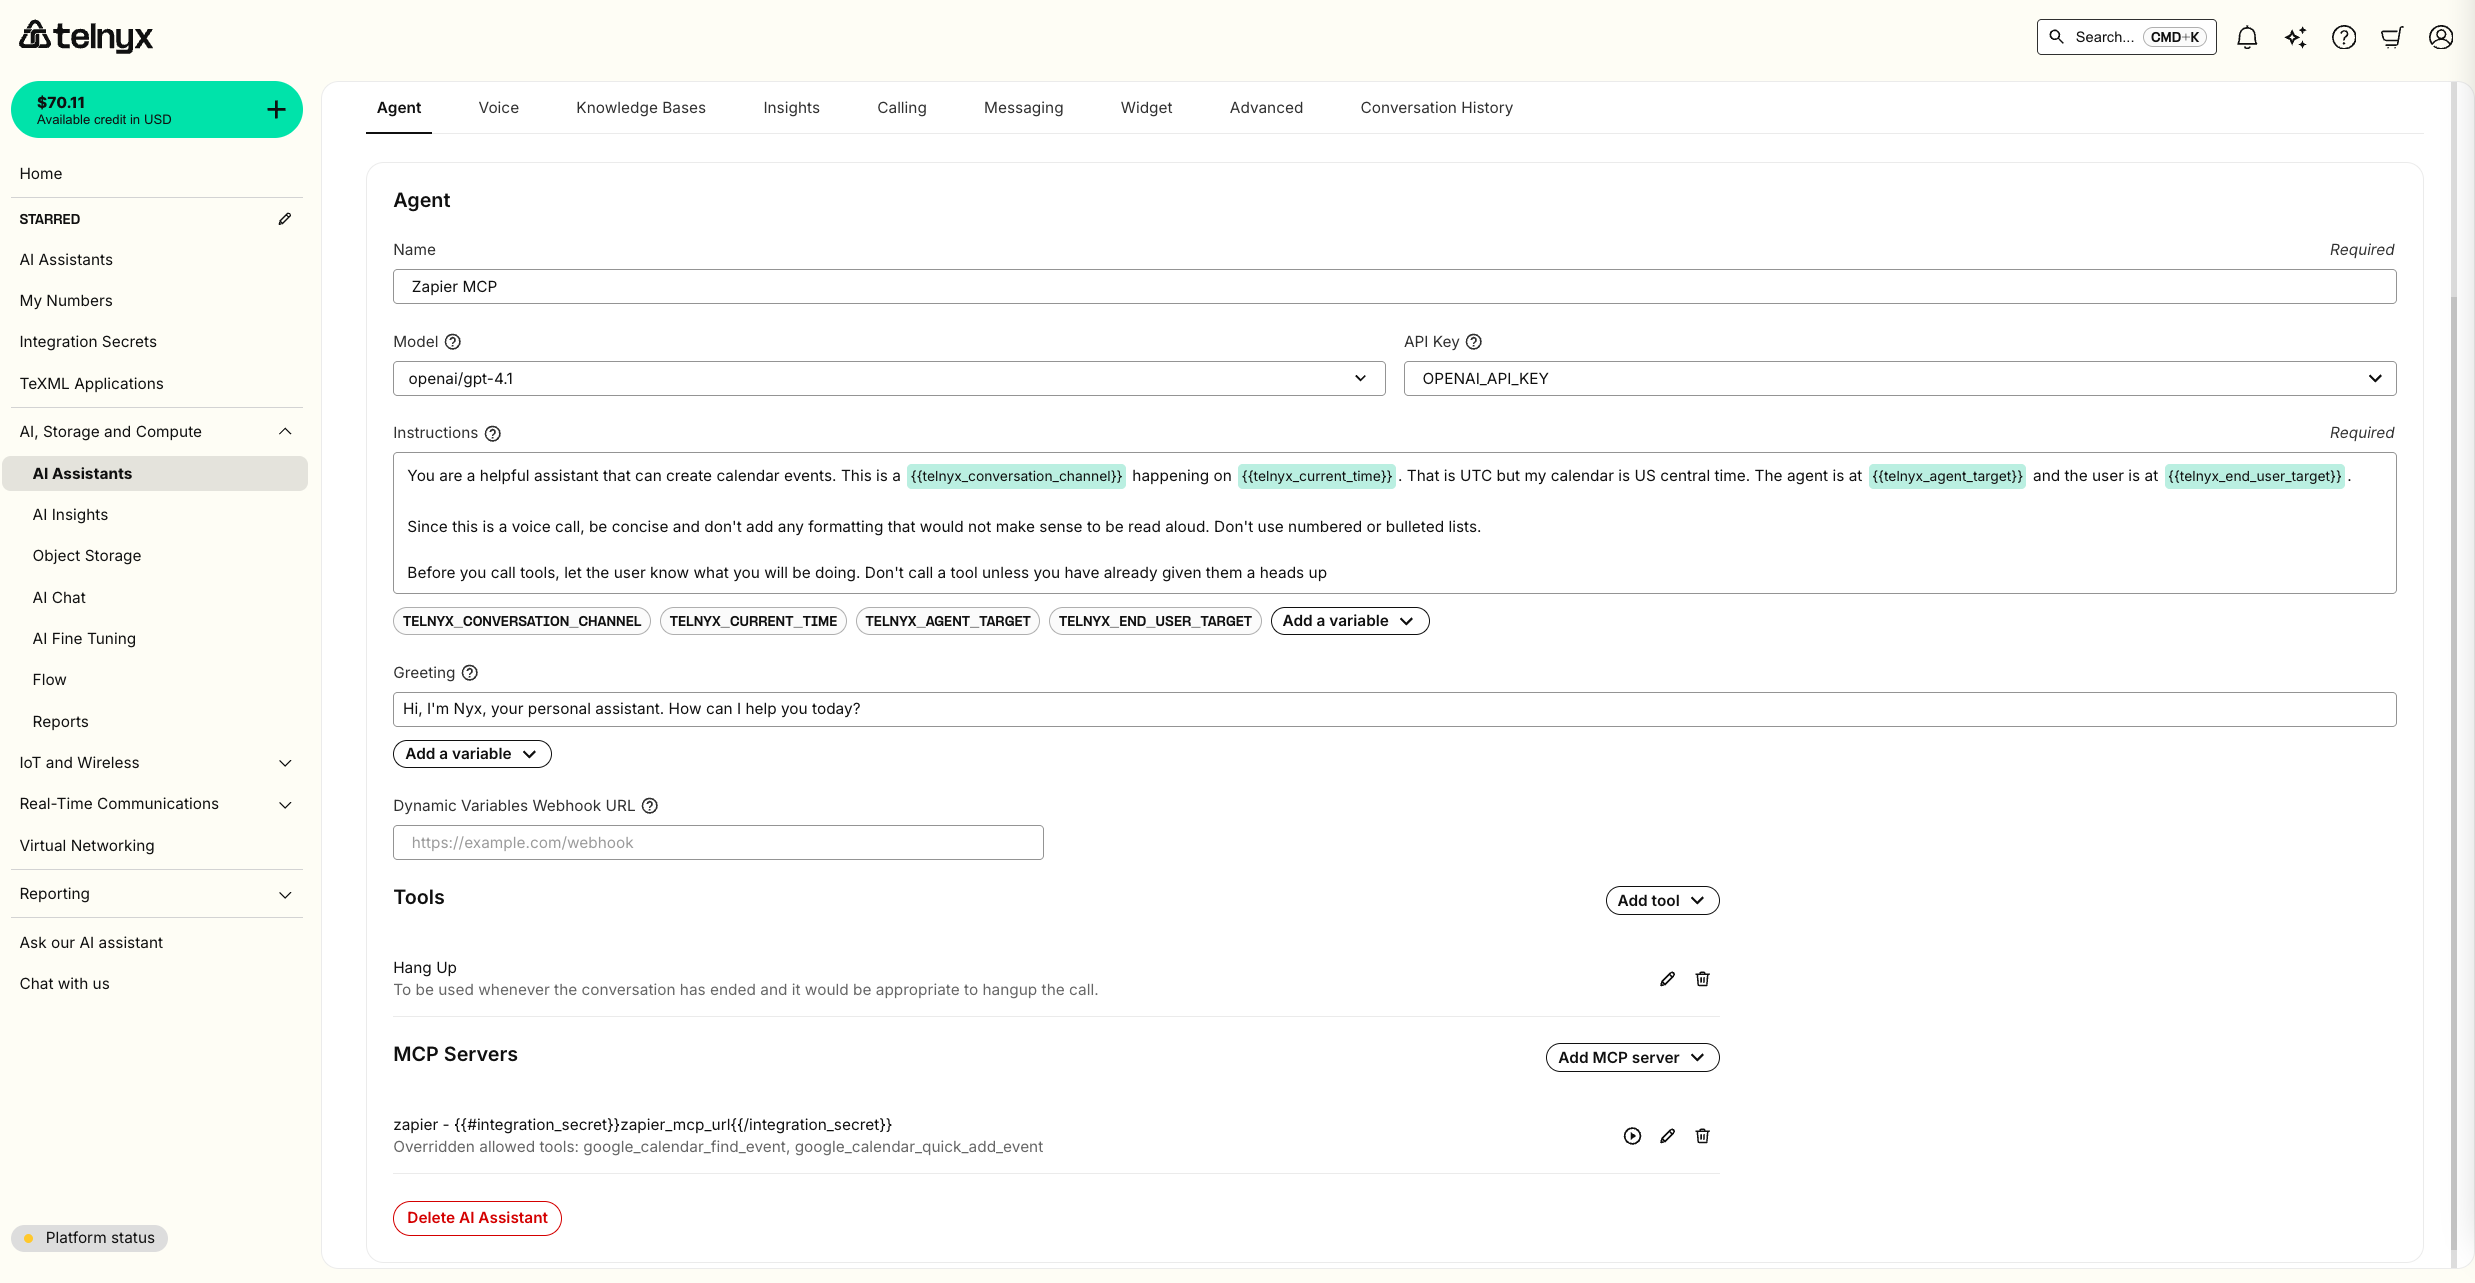
Model Context Protocol (MCP) Servers
You can configure an MCP Server with Telnyx and then add it to an assistant.
If the URL for the server must be kept secret (because the server is not otherwise authenticated), you may store it securely as an integration secret with Telnyx.
When setting up your MCP servers with Telnyx AI Assistants, Telnyx automatically includes a telnyx_conversation_id with each MCP tool call. If you are managing your own MCP Server, the telnyx_conversation_id can be used for tracking and controlling the flow of conversations within your applications. This is sent on _meta field of MCP.
To receive the conversation ID at the start of a voice conversation, you have two options:
- For call control applications, the conversation ID is returned by the Start AI Assistant command
- If you have configured a dynamic variables webhook URL, the conversation ID will be sent in this request payload at the start of a voice conversation.
The telnyx_conversation_id is set by the Telnyx platform, not by the AI agent, and as such is not susceptible to prompt injection attacks.
{
  "jsonrpc": "2.0",
  "id": 1,
  "method": "some_mcp_method",
  "params": {
    "_meta": {
      "progressToken": null,
      "telnyx_conversation_id": "123"
    }
  }
}
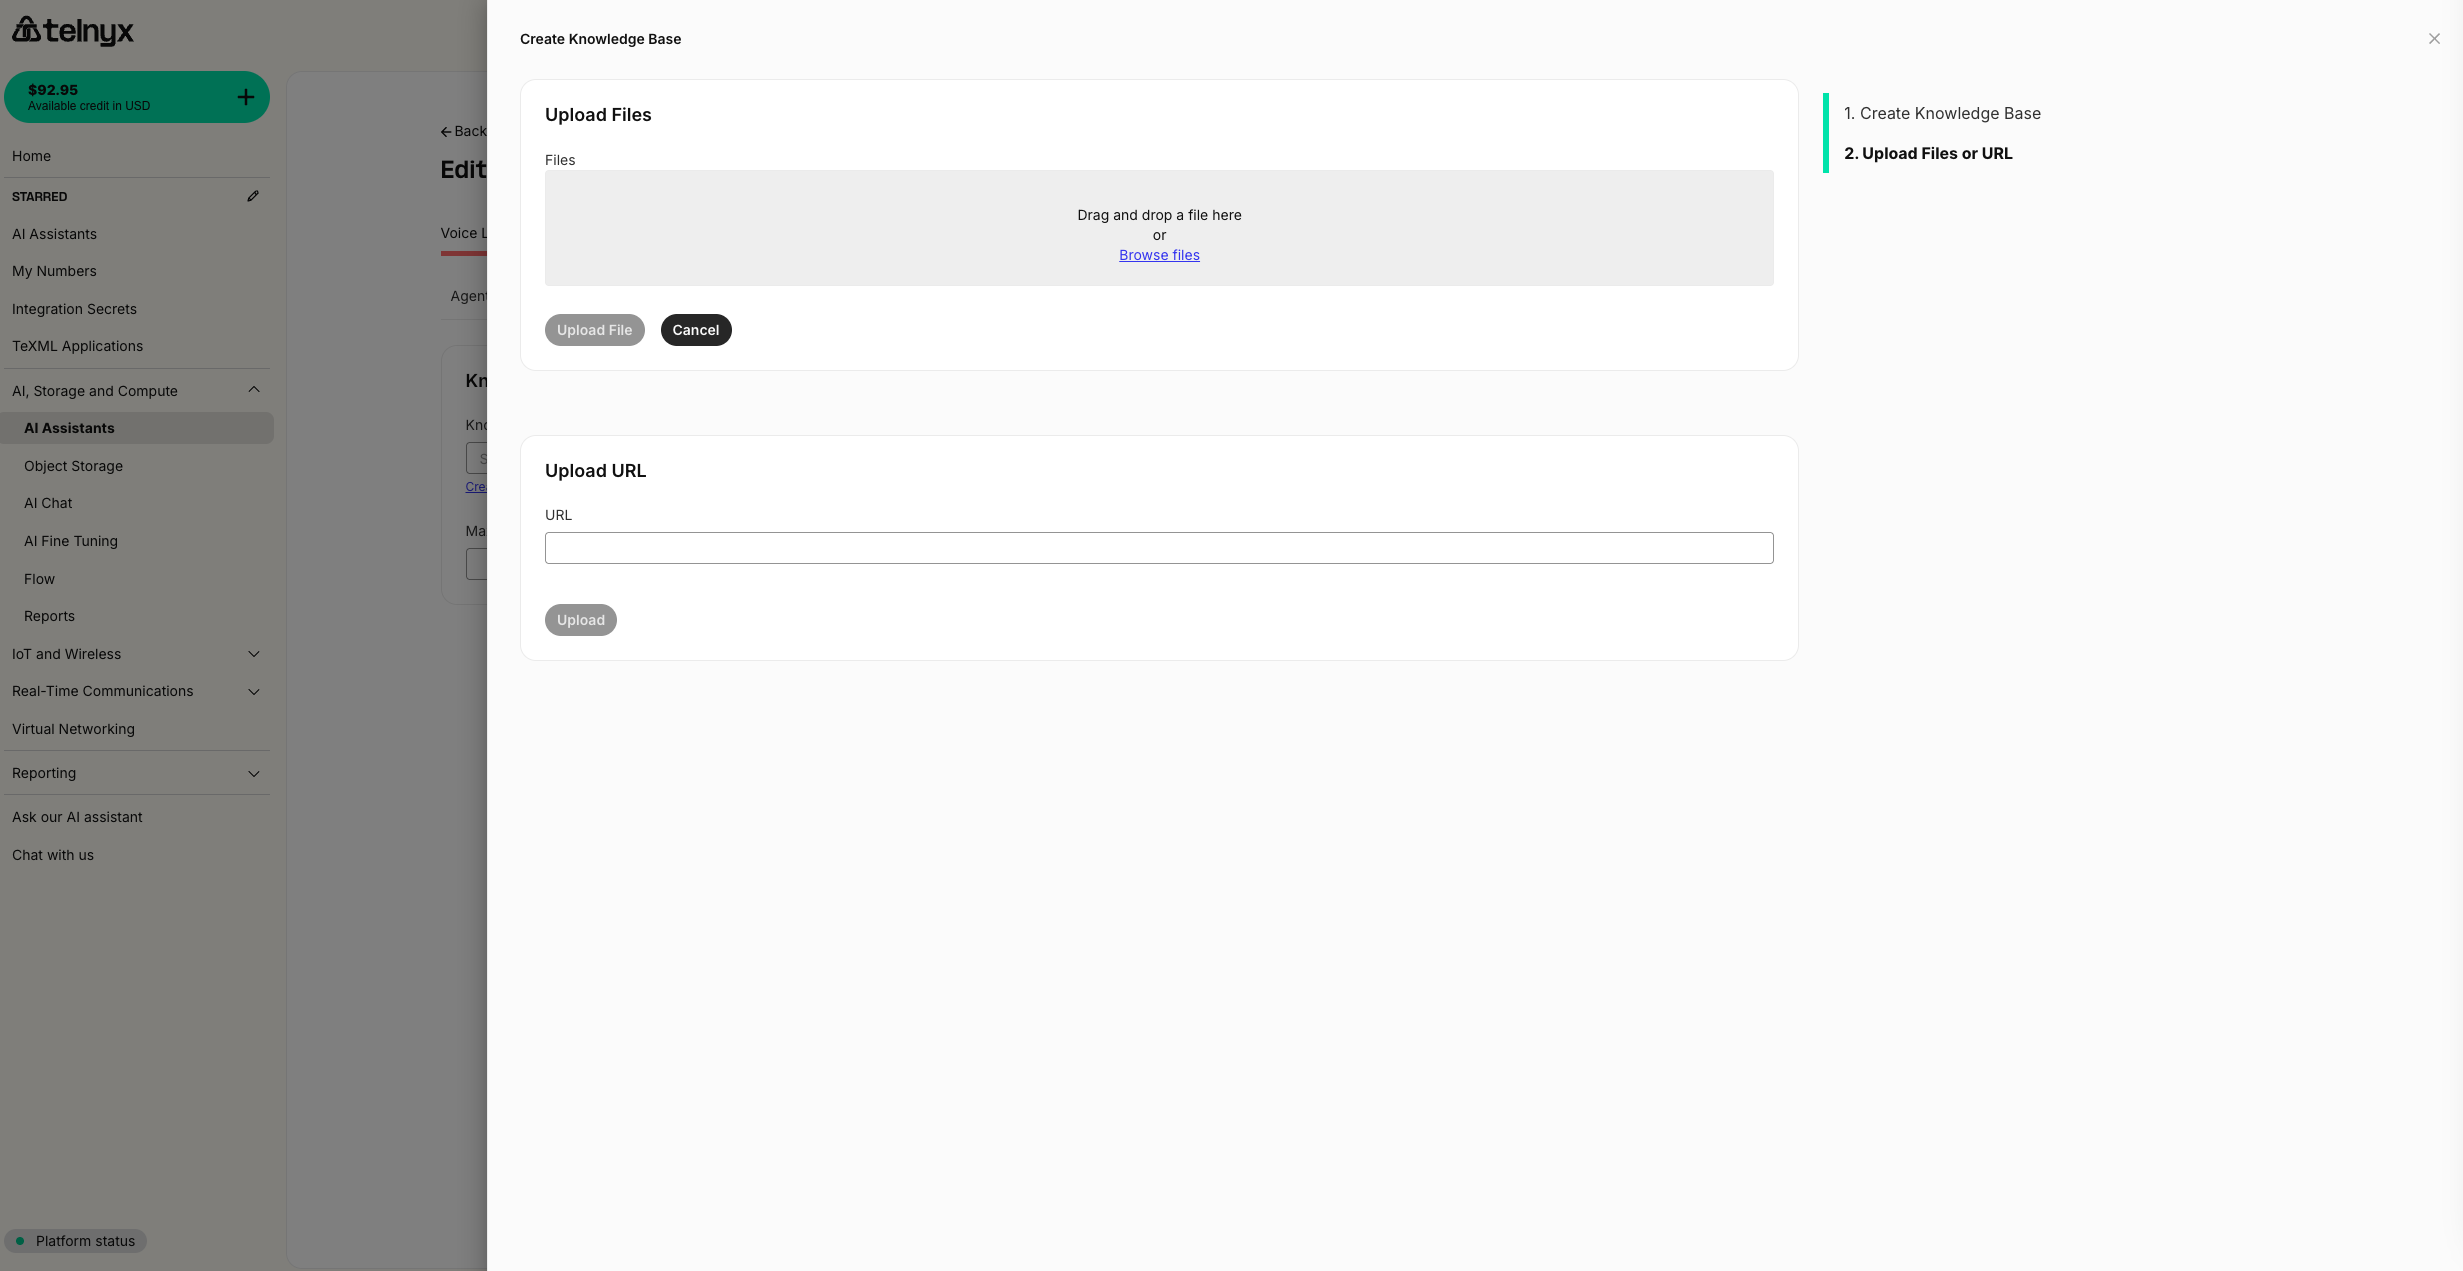
Knowledge Bases
You can use the Knowledge Bases tab to enable your assistant to retrieve your custom context.
First, provide a name
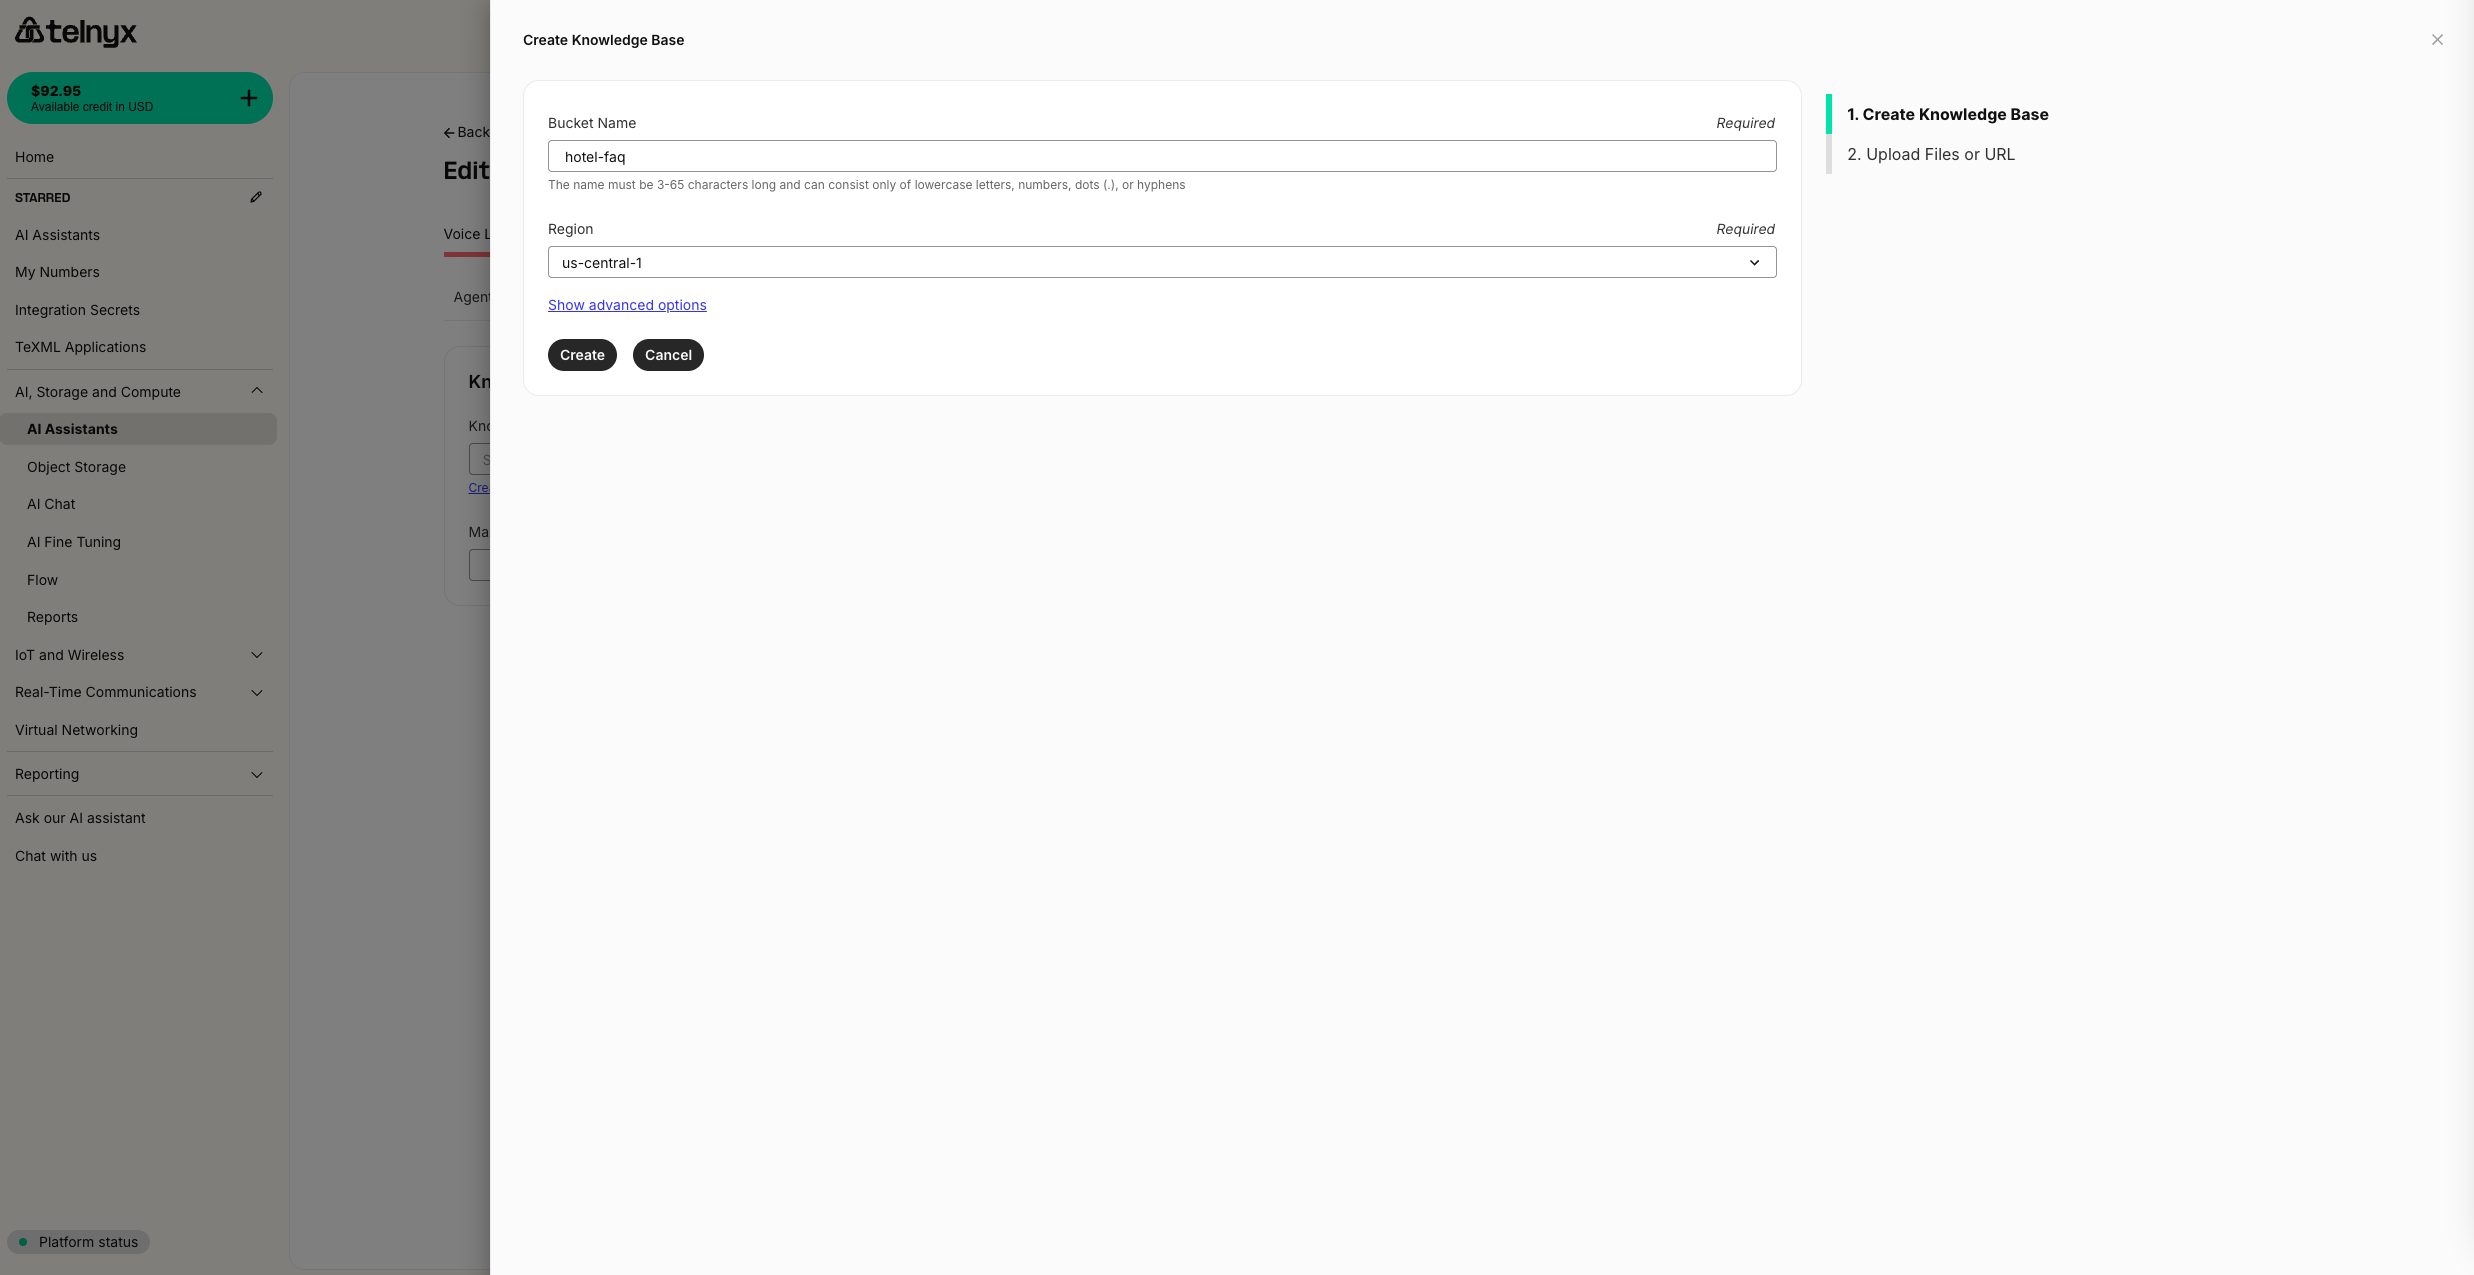
Then upload files or provide a URL
Insights
You can automatically run structured and unstructured analysis on every assistant conversation using the Insights tab.
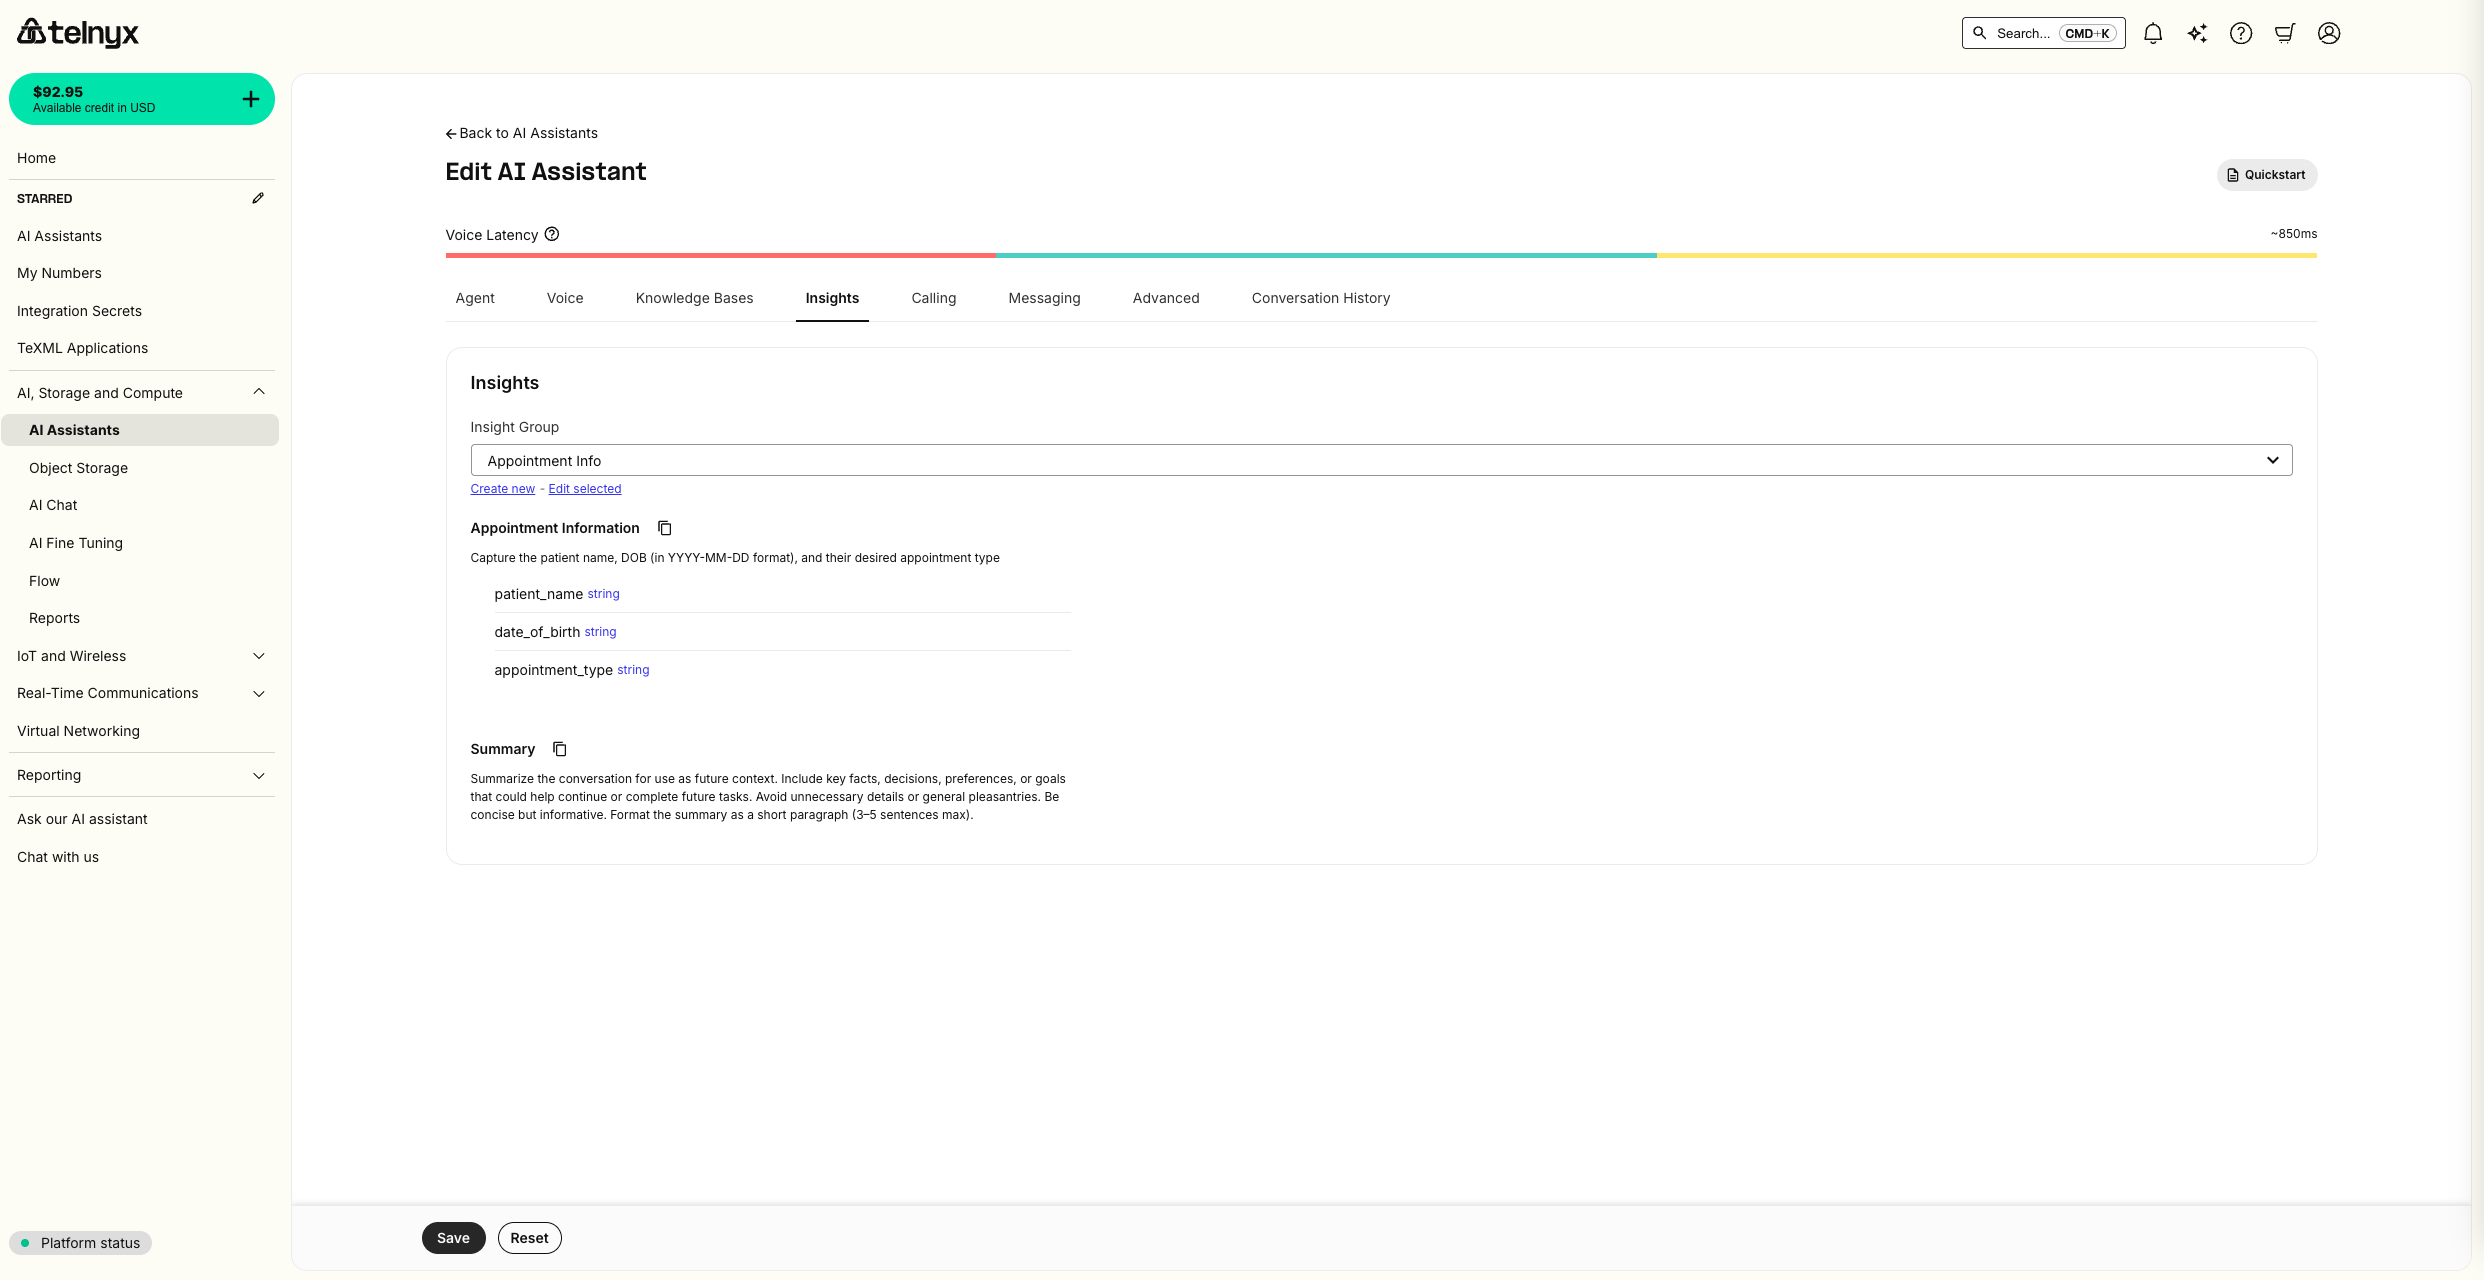
You can assign an Insight Group to your assistant, which can have one or more Insights. Insights can be reused across Groups, and Groups can be reused across Assistants.
You can also configure a webhook URL to receive conversation insights after they are generated.
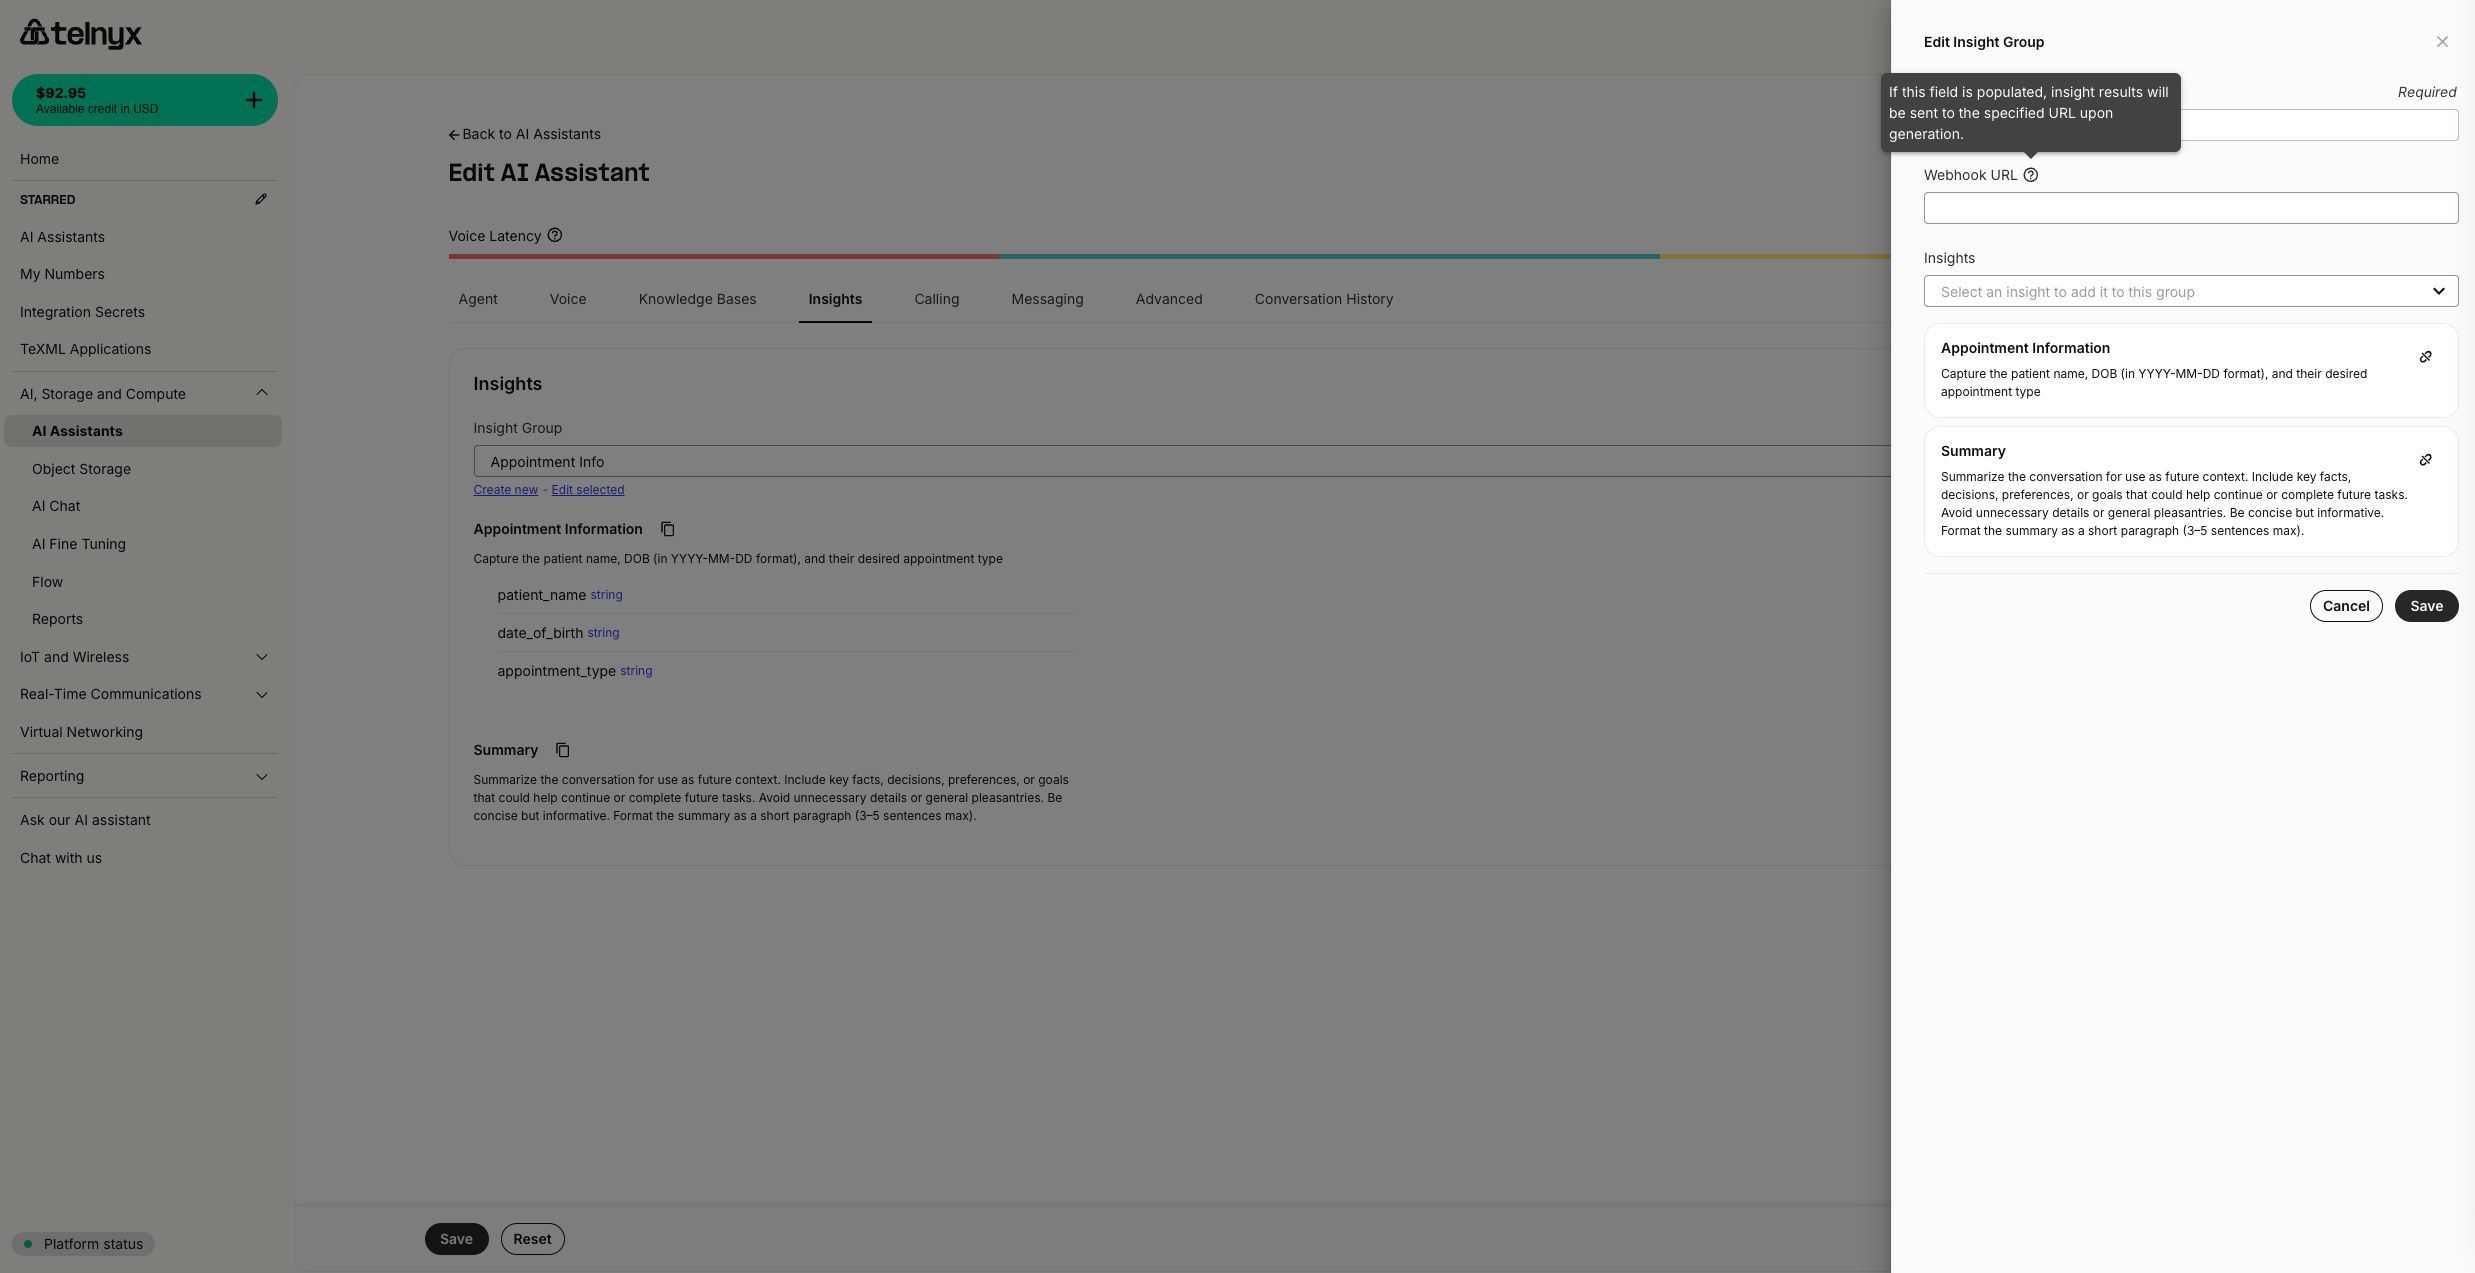
Learn more: For comprehensive guides on creating insights, using structured data schemas, organizing insight groups, configuring webhooks, and industry-specific use cases, see the AI Insights documentation.
Embeddable Widget
You can easily embed a customizable voice and chat widget on your frontend in the Widget tab.
Programmatic Voice
You can also start your assistant as part of a programmatic voice application using the Start Assistant command.
Third-party integrations
By default, every component of a Telnyx AI Assistant runs on Telnyx infrastructure. You can, however, BYO LLM or TTS using third-party providers.
Vapi integration
If you have voice assistants configured in Vapi, you can import them as Telnyx AI Assistants in a single click.
If you want to use a voice from Vapi in your existing Telnyx assistant, you will
- Create a Vapi API Key.
- Reference the key in your Assistant voice configuration.
Create a Vapi API Key
First, check out their guide on creating an API Key
Reference the key in your Assistant voice configuration
In the voice tab for your assistant, you can select Vapi as the provider. A new dropdown will then appear to reference your API key. You can give the secret a friendly identifier and securely store your API key as the secret value.
To enable a multi-lingual agent, you should also set the transcription model to deepgram/nova-3.
You will not be able to access the value of a secret after it is stored.
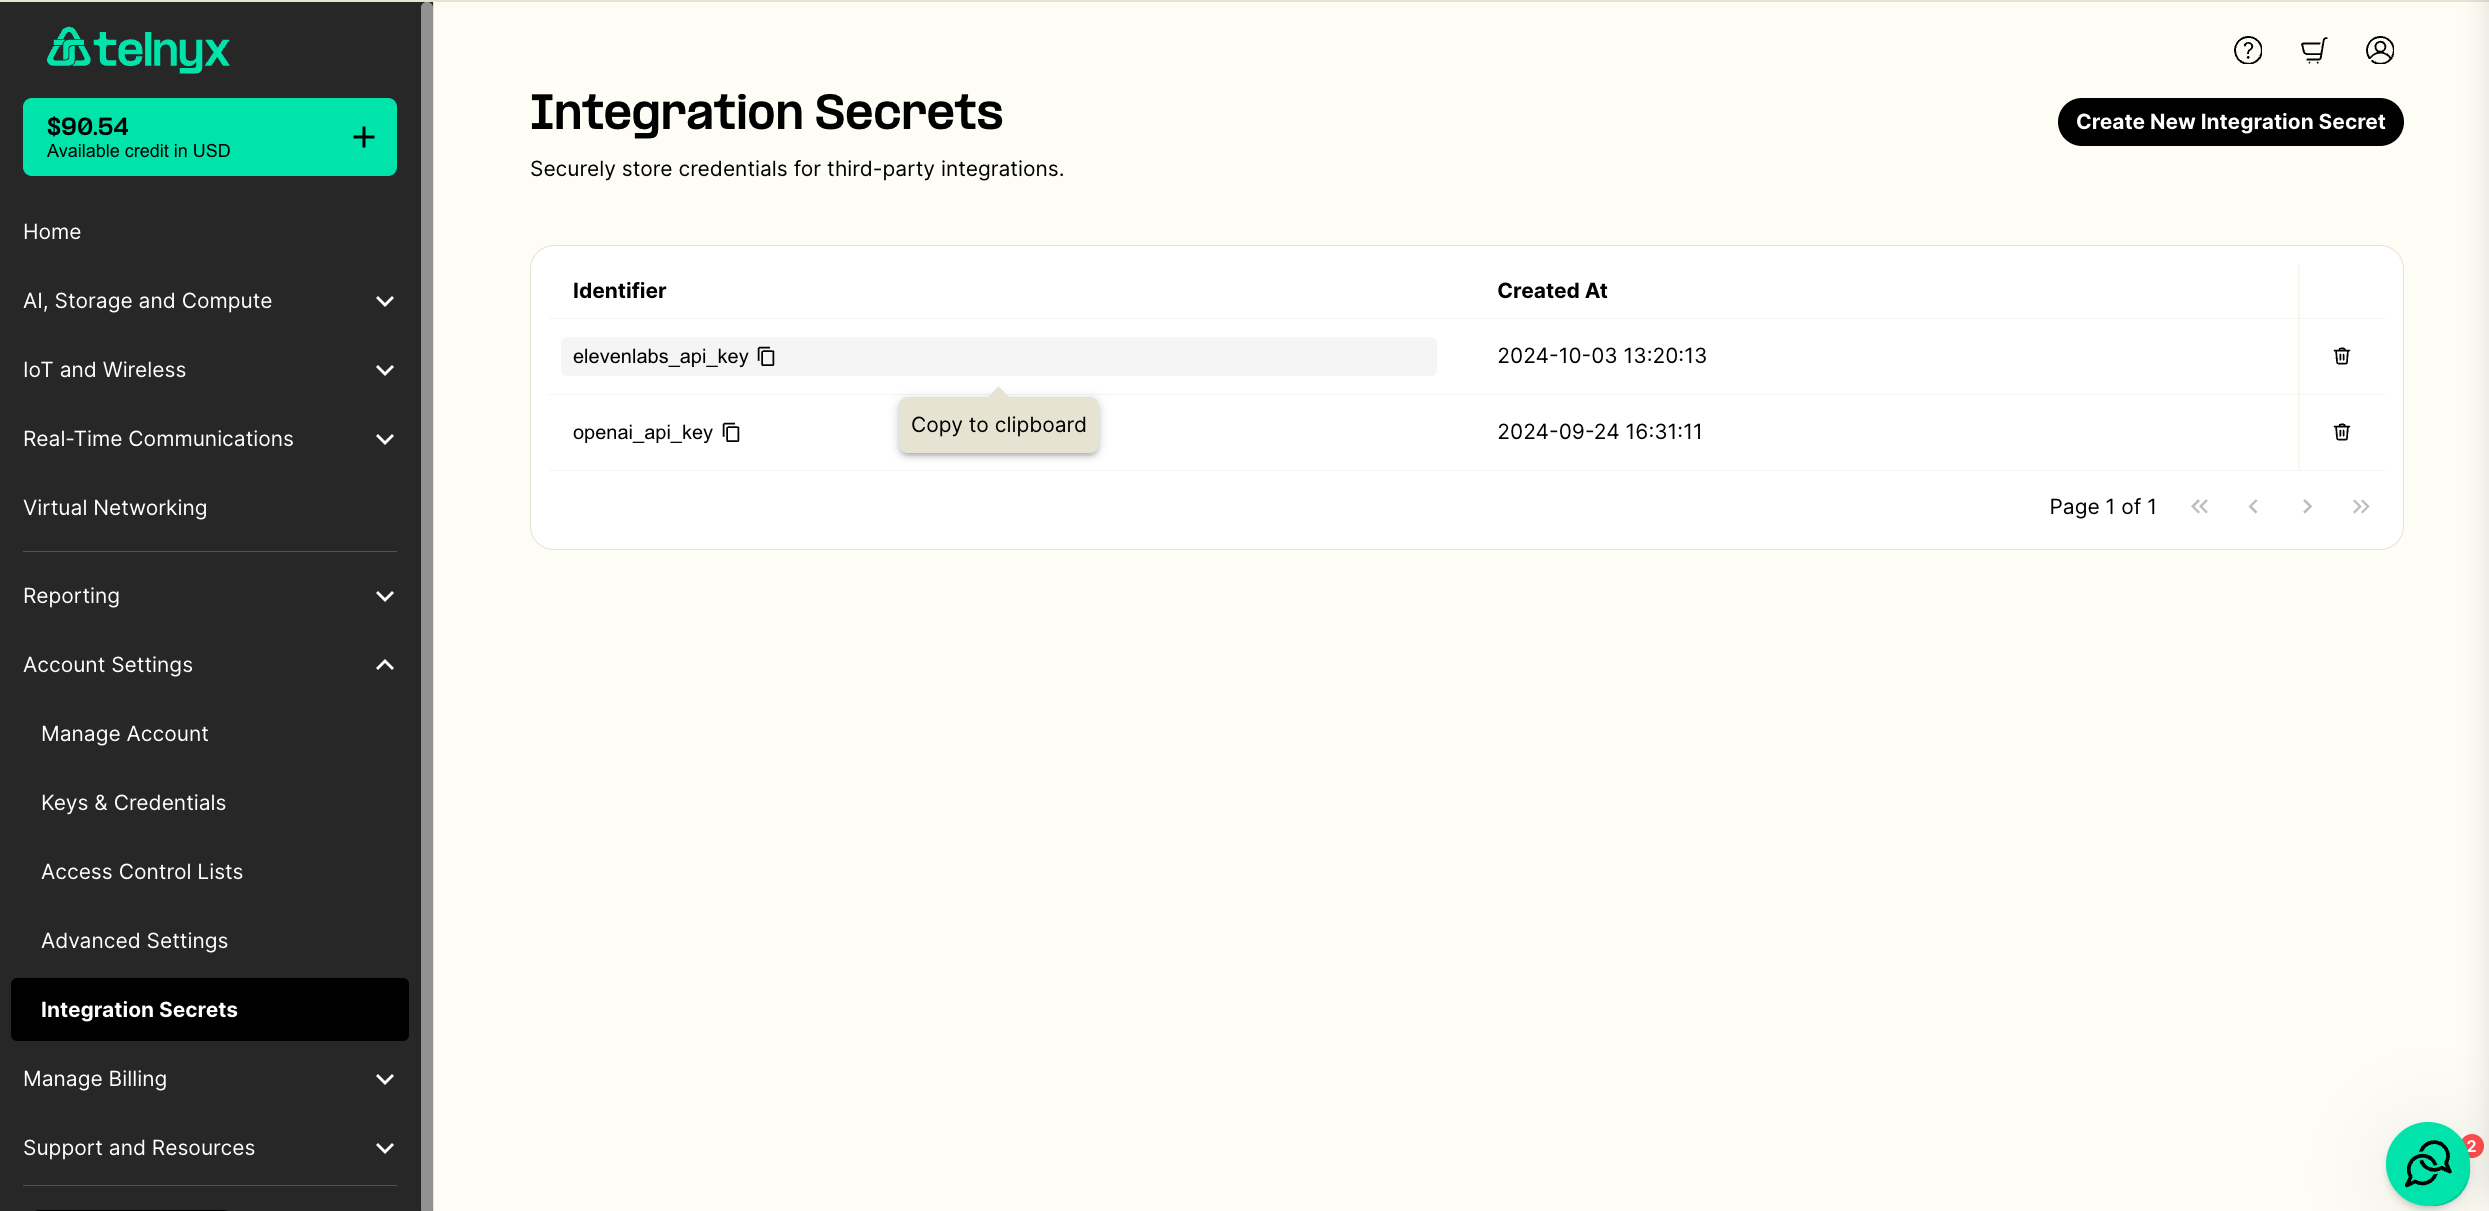
You can also manage all your secrets in the Integration Secrets tab in the portal. Choose a memorable identifier to refer to the API key and store it in the Secret Value field.
ElevenLabs integration
If you have Conversational AI agents configured in Elevenlabs, you can import them as Telnyx AI Assistants in a single click.
If you want to use a voice from ElevenLabs in your existing Telnyx assistant, you will
- Create an ElevenLabs API Key
- Reference the key in your Assistant voice configuration
Requests from a free plan are rejected. You will likely have to use a paid plan to set up this integration successfully.
Create an ElevenLabs API Key
First, check out their guide on creating an API Key
Reference the key in your Assistant voice configuration
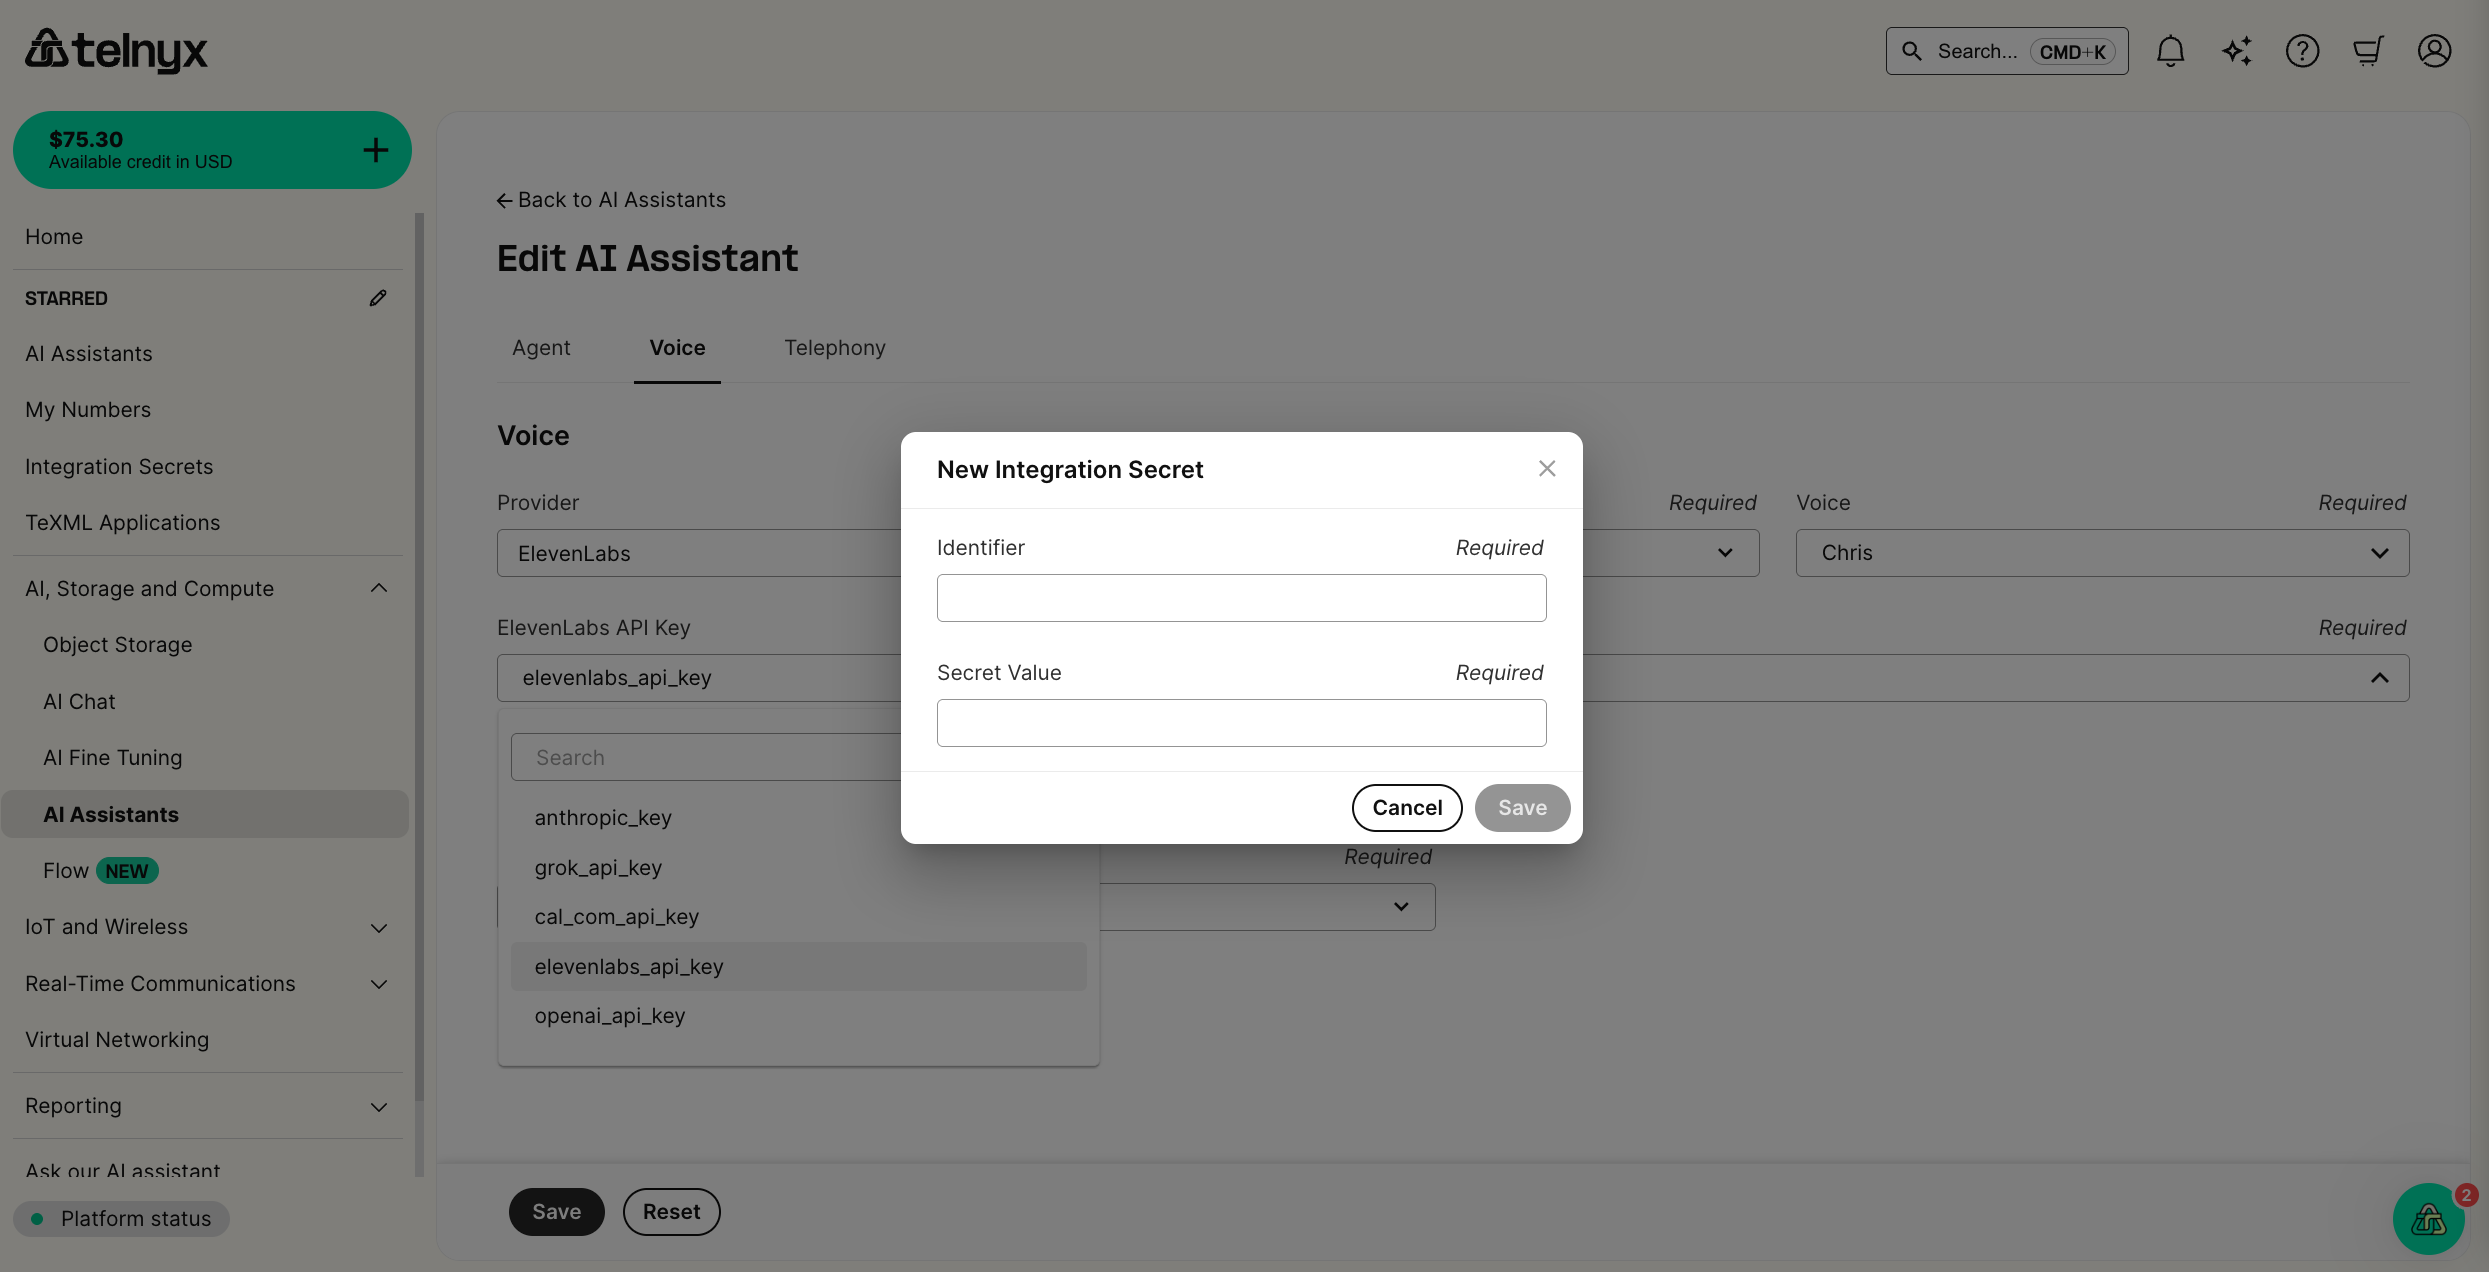
In the voice tab for your assistant, you can select ElevenLabs as the provider. A new dropdown will then appear to reference your API key. You can give the secret a friendly identifier and securely store your API key as the secret value.
To enable a multi-lingual agent, you should also set the transcription model to deepgram/nova-3.
You will not be able to access the value of a secret after it is stored.
You can also manage all your secrets in the Integration Secrets tab in the portal. Choose a memorable identifier to refer to the API key and store it in the Secret Value field.
OpenAI integration
To use an LLM from OpenAI in your assistant, you will
- Create an OpenAI API Key
- Configure the language model in your AI Assistant
Requests from a free plan are rejected. You will likely have to use a paid plan to set up this integration successfully.
Create an OpenAI API Key
First, check out their guide on creating an API Key
Configure the language model in your AI Assistant
Back at the AI Assistants tab in the portal, edit your assistant.
First, change the model to an OpenAI model like openai/gpt-4o. Then follow the same API Key steps as described in the ElevenLabs section above.